Cloth Diaper Conversion Tutorial
by: The Rocky Mountain Mama
Hello! I am the author of Rocky Mountain Mama. I started this blog to write about my journey to becoming a mother and now I use it to write about my adventures or misadventures in mommyhood. I am a “crunchy mama” to 2 year old Christopher James, who is the love of my life.
Cloth diapering is quite an up front investment and in order to protect that investment, I have decided to convert my diapers with velcro. Most of our diapers have velcro on them which was great at first. It was super easy and quick, but as time has gone on the velcro has gotten nasty. I have cleaned the gunk out of it, but it still doesn’t stick very well. After investing some money in Flip diaper covers, I realized that having snaps on diapers would actually be so much easier. Although bumGenius does sell velcro replacements, there would be no need to worry about the wash tabs and replacing the velcro every year. As you can tell, the velcro tabs were curled at the ends and barely even stuck to the velcro on the front of the diaper. After doing research online, I decided to convert our BGs to snaps. I was a bit worried because I can barely sew on a button, but good thing is, there is no needle and thread needed!
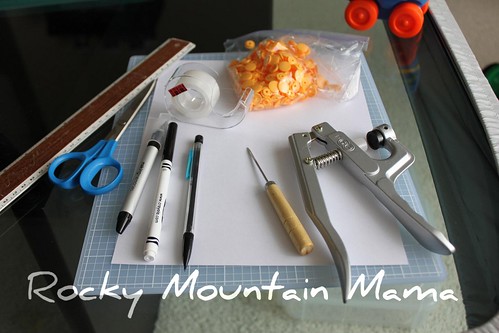
snaps (size 20) from Kamsnaps.com
snap pliers from Kamsnaps.com
pencil
washable marker
seam ripper
awl
ruler
paper
scissors
tape
Directions
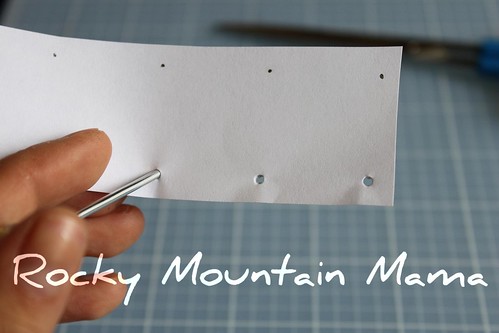
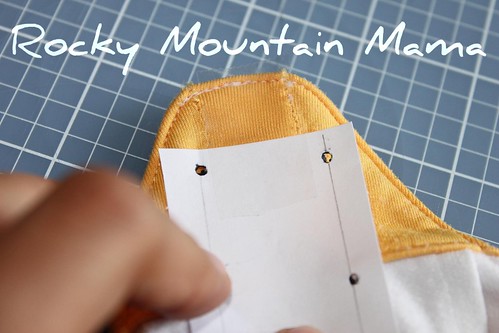
Step 1: Take your sheet of paper and your ruler. You are going to make a 2×8 array with each dot 1-inch apart. I used my craft grid thingy for this (it was a bit easier than the ruler). Once you put a dot every inch and cut it out, you will have something that looks like this:


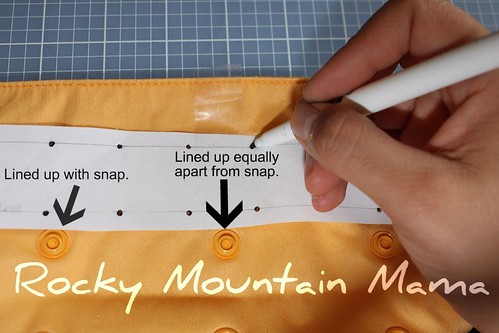
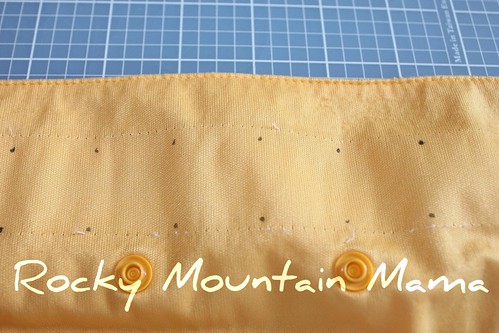
Step 5: Now, take your awl and carefully poke a hole in your diaper. Be very careful to not poke through the liner. You need to poke through cover and the PUL only. I found the easiest way to do this is to put my hand inside the diaper and spread my fingers underneath one of the dots. I line up the awl, then as I push it through I pinch my fingers underneath the fabric to keep the awl going in straight.

Step 6:Once you have all your holes poked, take your cap and put one through each hole. The smooth part of the cap will be on the inside of your diaper. The easiest way to do this is to put your middle or index finger over one of your holes from the outside, then turn your diaper inside out.

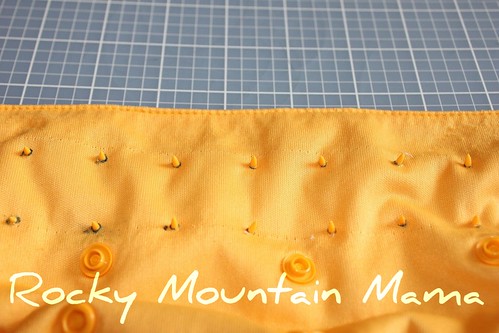
Step 8: To make this entire process quicker, put all your caps in at once. When you are finished your diaper will look like a porcupine.
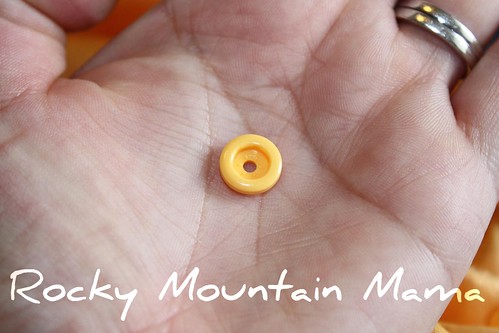
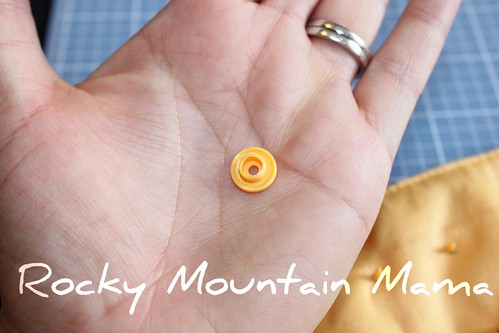
Step 9: Take your socket and place it on top of your cap.
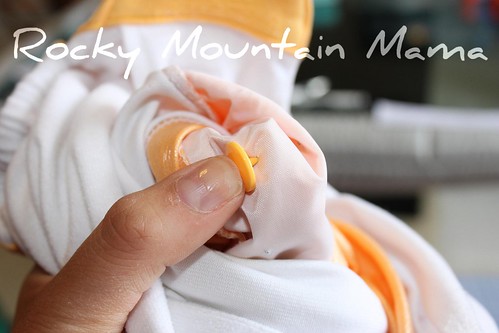
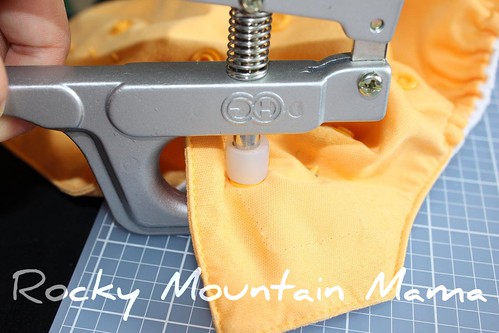
Step 10: Carefully line up your pliers so that the cap is sitting nicely inside the little seat for it. I would barely pinch my pliers once I got the pin lined up in my pliers, then I would pull on the fabric until it felt lined up. Sometimes it would even make a tiny snapping sound once it moved into place. Your pliers need to be on both sides of your diaper – white rubber piece on top and the black rubber piece where your cap sits under the liner. Once you have your pliers lined up, pinch them all the way.
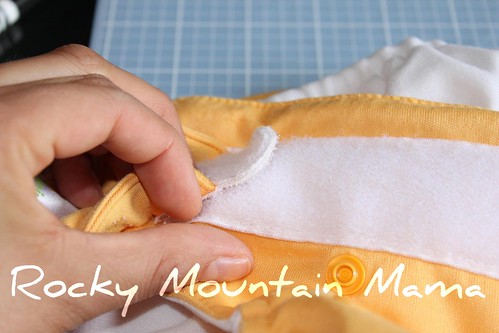
Step 12: Mark them with your marker, then punch a hole through your tabs. This definitely takes a bit more pressure than the body of the diaper.

Step 13: Take your stud and place them on the pins of your caps.
Step 14: Same as before, line up your pliers. This is a lot easier now that you can actually see your cap. Once you have it lined up, pinch.

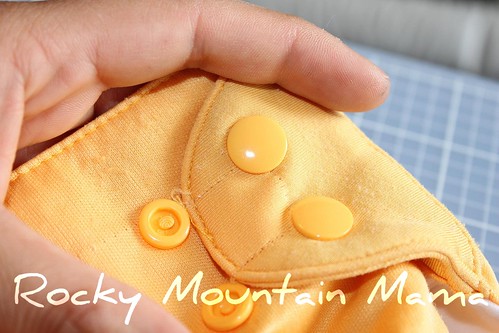
Step 15: When you are finished you will have a new wonderful diaper with snaps!


