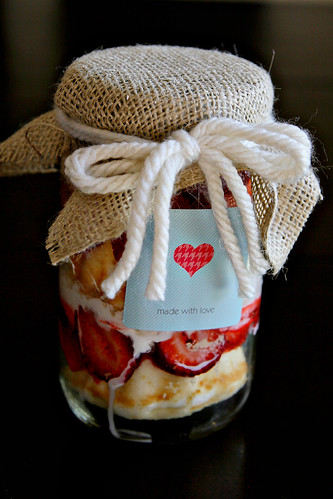
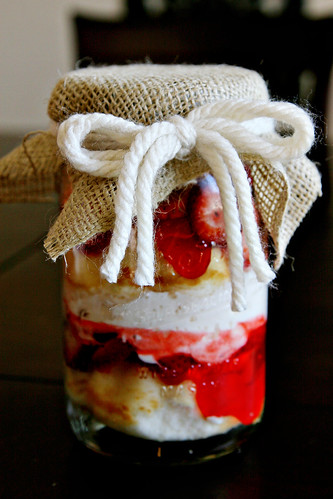
I think the only thing I’ll miss about summertime (here in scorching HOT Arizona anyway), besides living in the pool, is strawberry season. Pear Tree Greetings recently sent all of us Pearistas (aka their team of bloggers) a few labeling stickers and asked us to do something creative with them. So, as a last goodbye to summer and it’s strawberry goodness, I decided to make strawberry shortcake jars. Ok, not make-make, like homemade make it (see the title of the post). But I put it together, so it counts.
A “homemade”/thoughtful/easy/quick gift really is possible, without even turning on your oven. You literally throw a few ingredients in a jar, slap on a cute label and you have yourself a gift in less than 10 minutes. For a little extra thoughtfulness, tie a little spoon to the jar. I think these jars would make the perfect “welcome to the neighborhood” gift or any new parent would appreciate a yummy “homemade” dessert. See, you can totally still be Martha Stewart in a pinch.
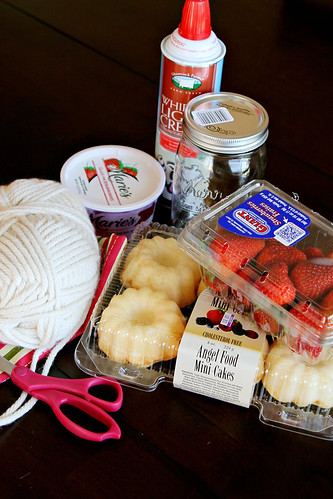
Materials
Mason Jar
Mini Angel Food Cakes
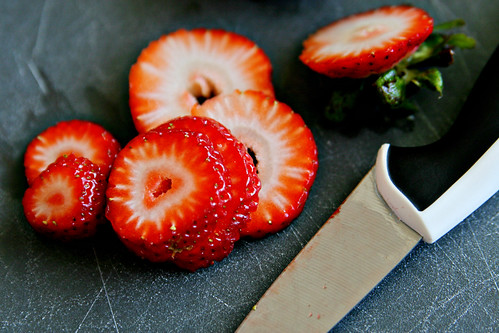
Fresh Strawberries
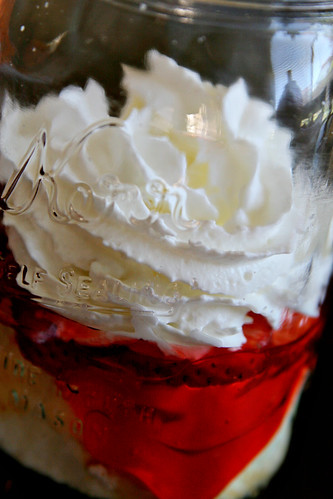
Whip Cream
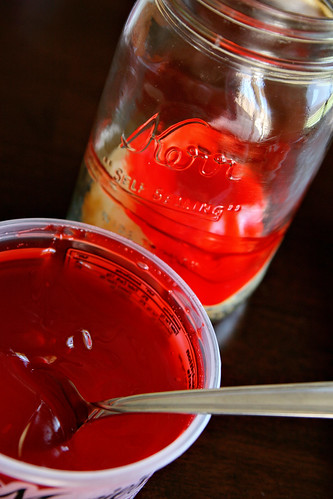
Strawberry Glaze (optional)
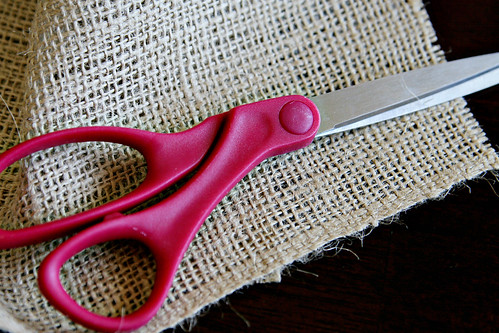
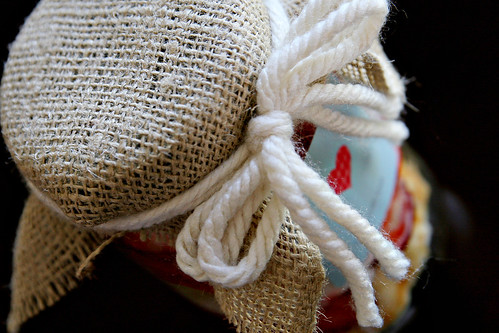
Fabric or Burlap
Yarn or Ribbon
Scissors
Directions
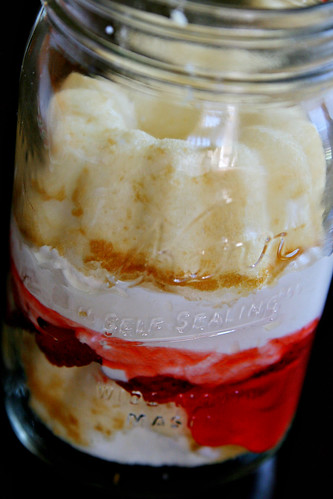
Step 1: Plop a mini angel food cake into the mason jar. These little cakes are just the right size for a large mason jar. If you can’t find the mini cakes, you could buy an angel food cake loaf and just cut it up in cubes and add a few cubes of cake to the bottom.
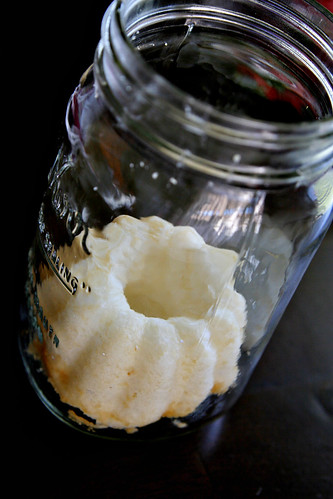
Step 2: Add a teaspoon or 2 (who’s measuring?) of strawberry glaze to the top of the mini cake. You can skip this part if you are counting calories.
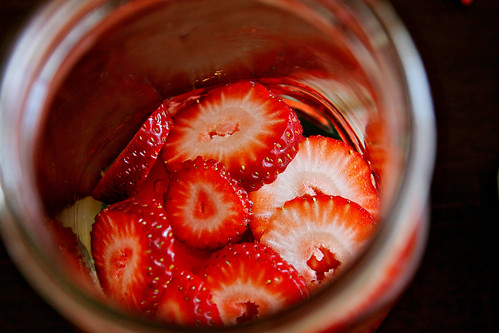
Step 3: Slice a couple of strawberries and add those to the jar. 1

Step 7: Add a super cute “from the kitchen of ______” or “made with love” sticker. I received mine from Pear Tree Greetings. Give away.