
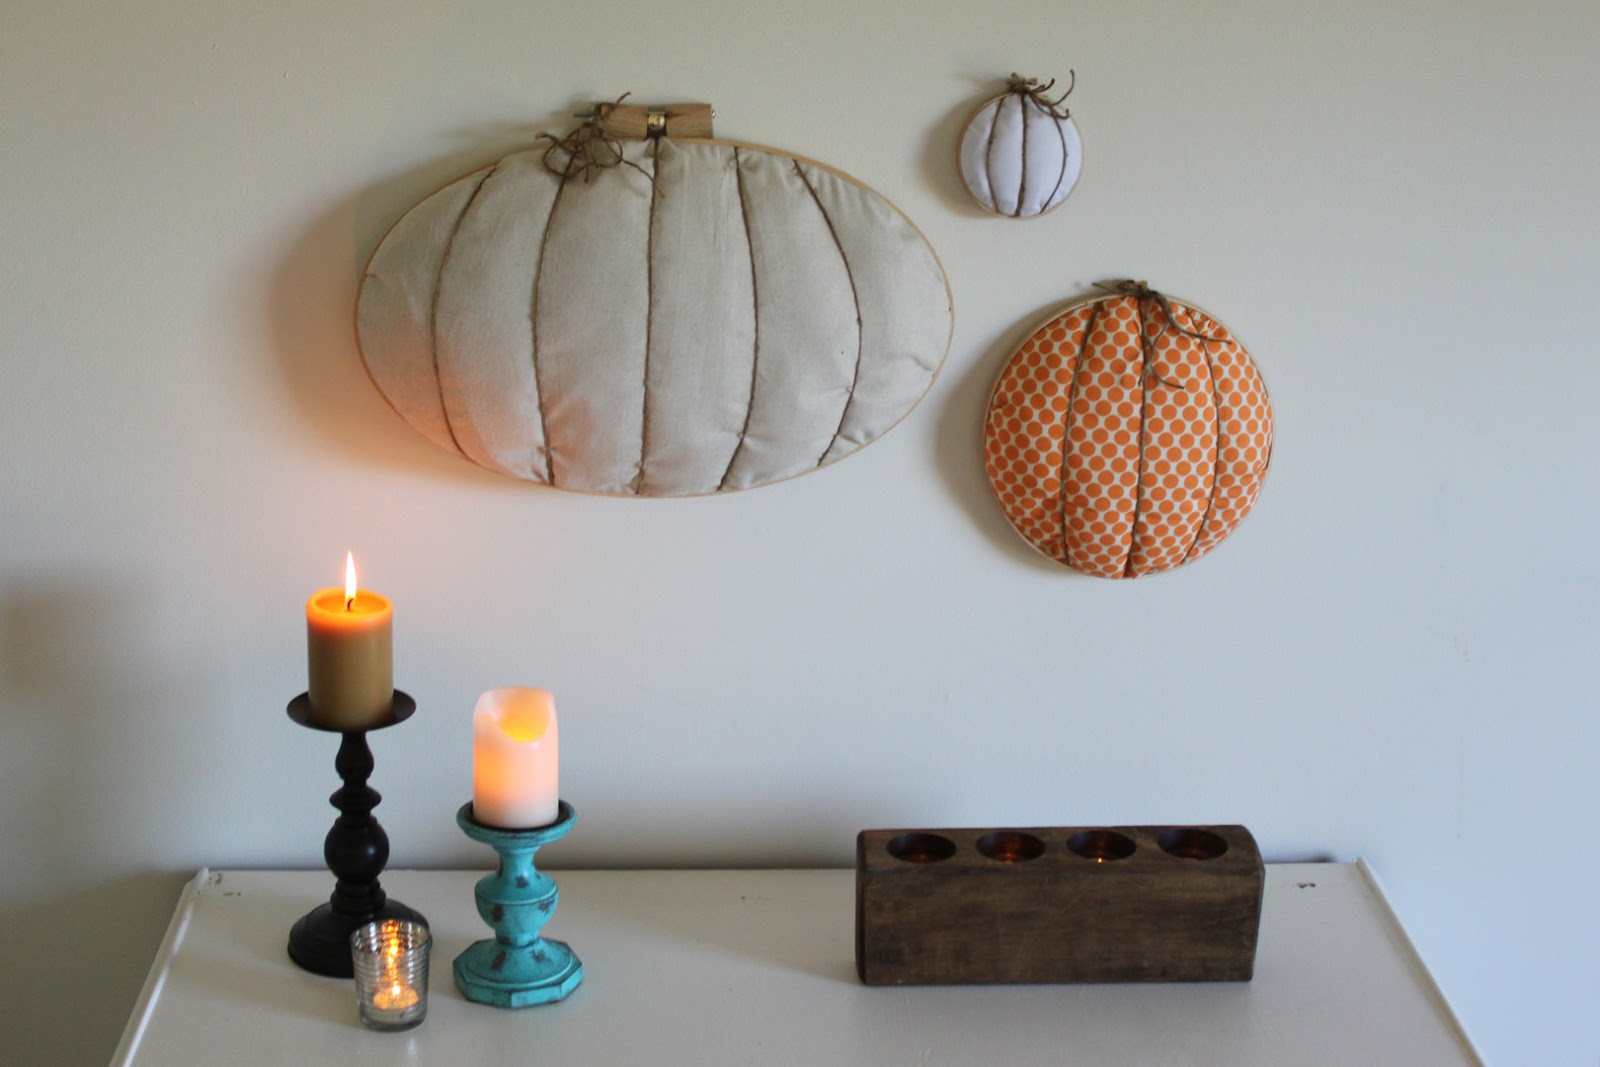
I can’t even stand the cuteness of these 3-D embroidery hoop pumpkins! My friend Christa of c. jane create is here to show us how to make these adorable things. Adding these to my mile long to-do list! Don’t forget to link up your Halloween crafts, recipes and decor HERE.
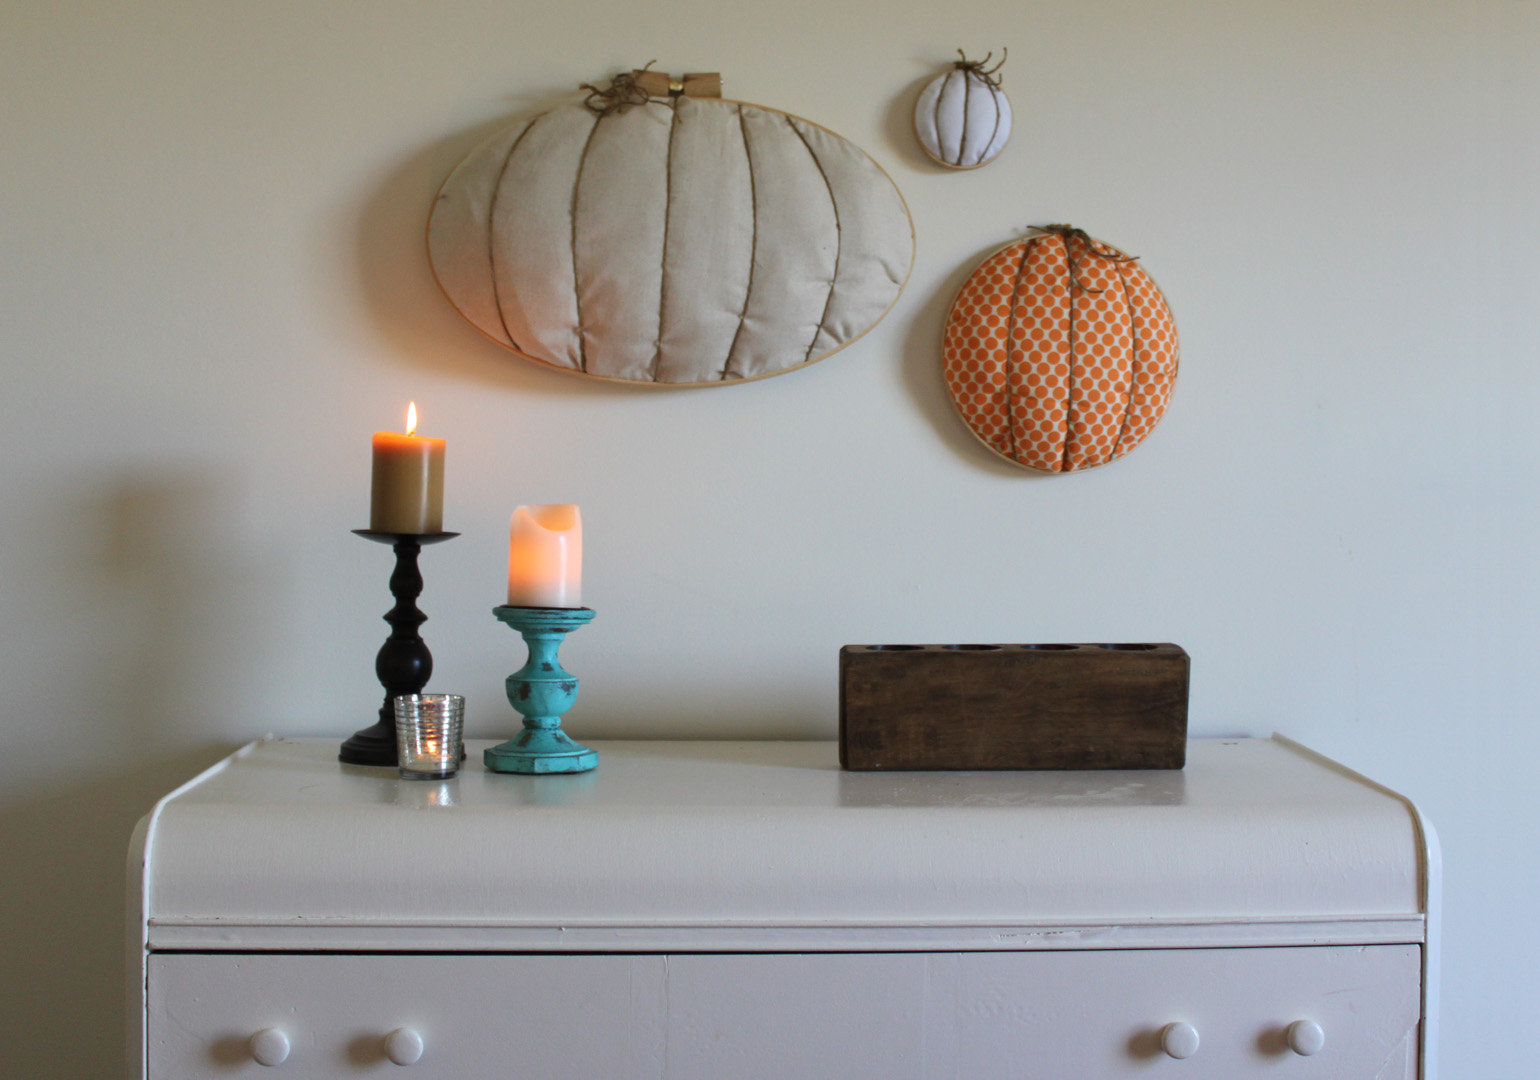
I’ve been slowly adding to my fall and Halloween decorations for the past few years and I’m running out of horizontal surfaces to decorate! I wanted to make something new this year, so the only solution was to go up and create hanging decorations. I always have embroidery hoops and fabric on hand, but wanted something more than the usual flat hoop art, something to add a little interest. I scanned my craft room and landed on the giant bag of stuffing in the corner. I came up with a way to make fun 3-D pumpkins that will decorate my home for the entire season.
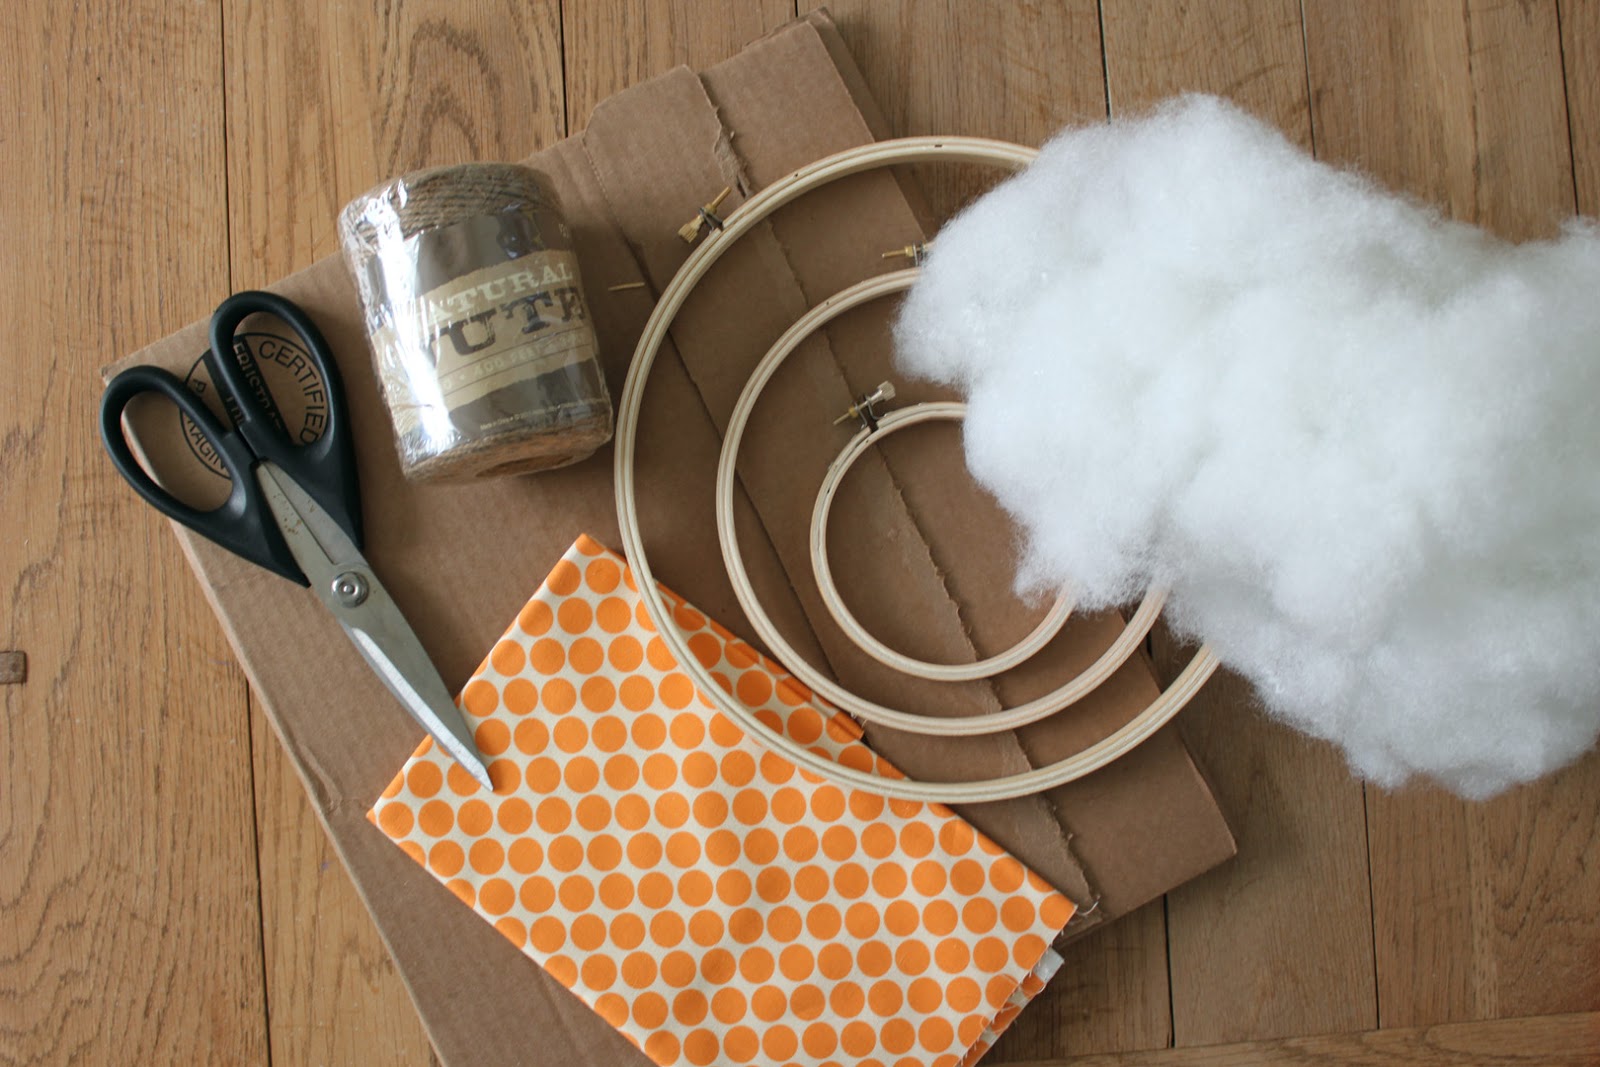
Materials:
embroidery hoop {or 3 or 5…} – any size you’d like
cardboard {larger than your hoop}
masking tape
fabric
batting
poly-fil stuffing
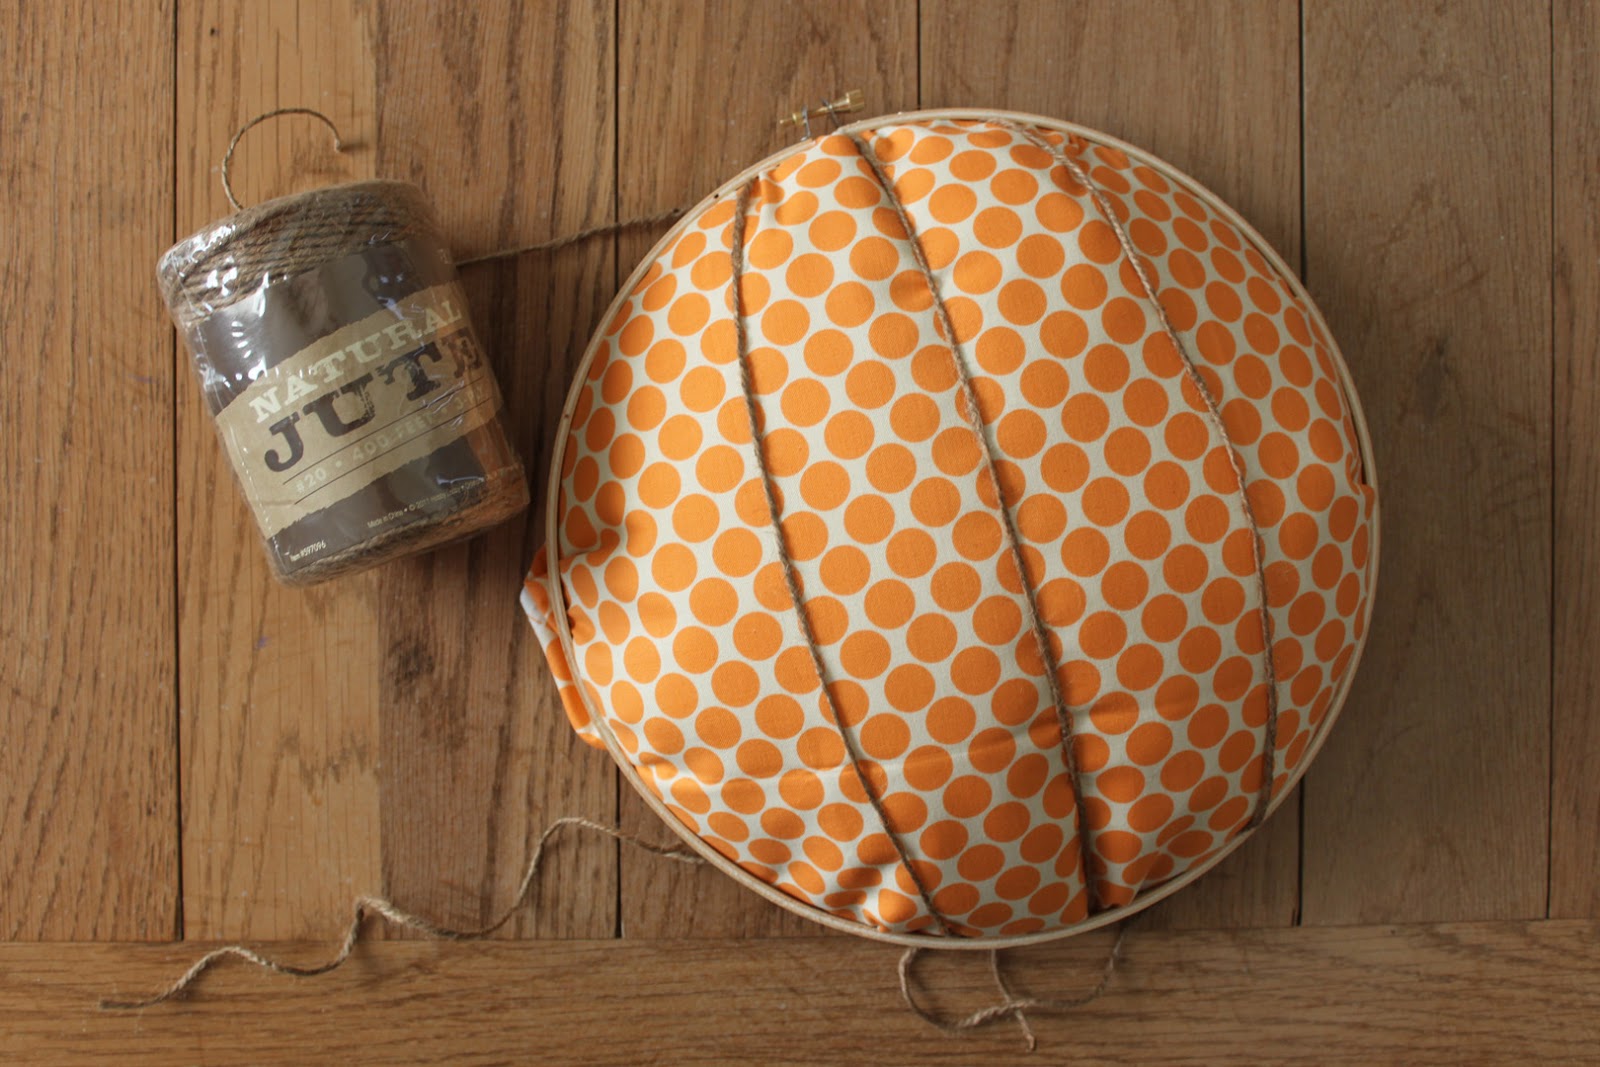
twine/thread/embroidery floss
writing utensil
scissors
Directions:
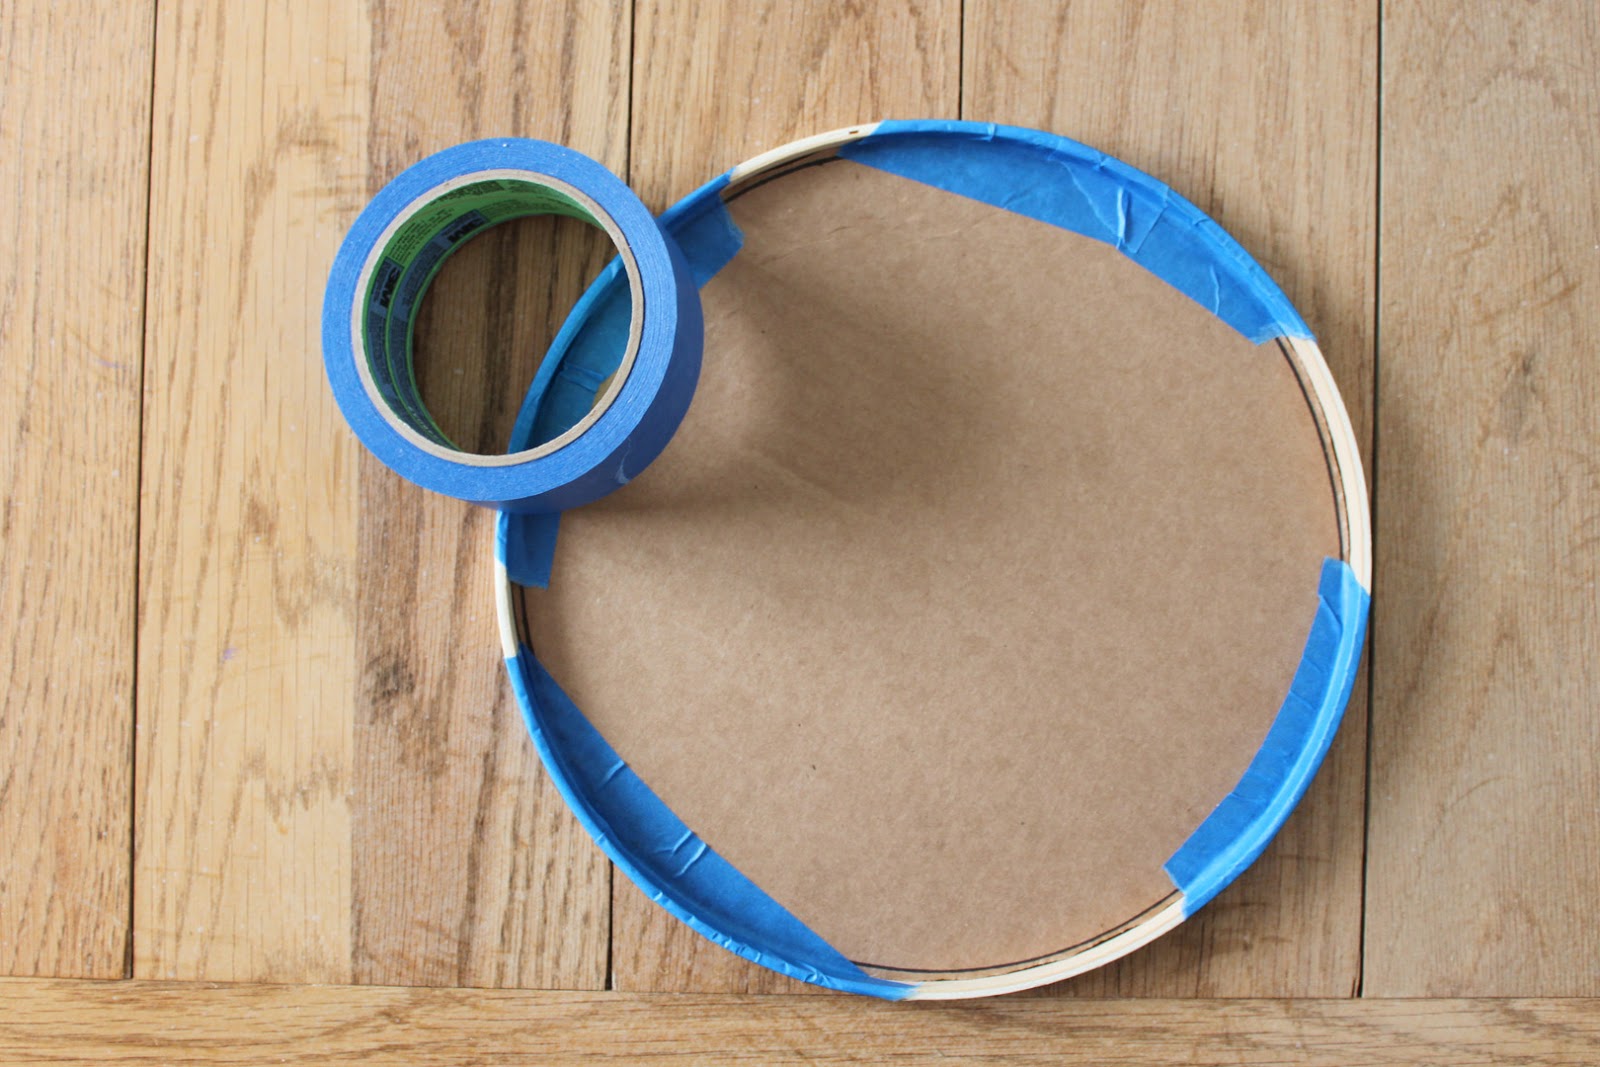
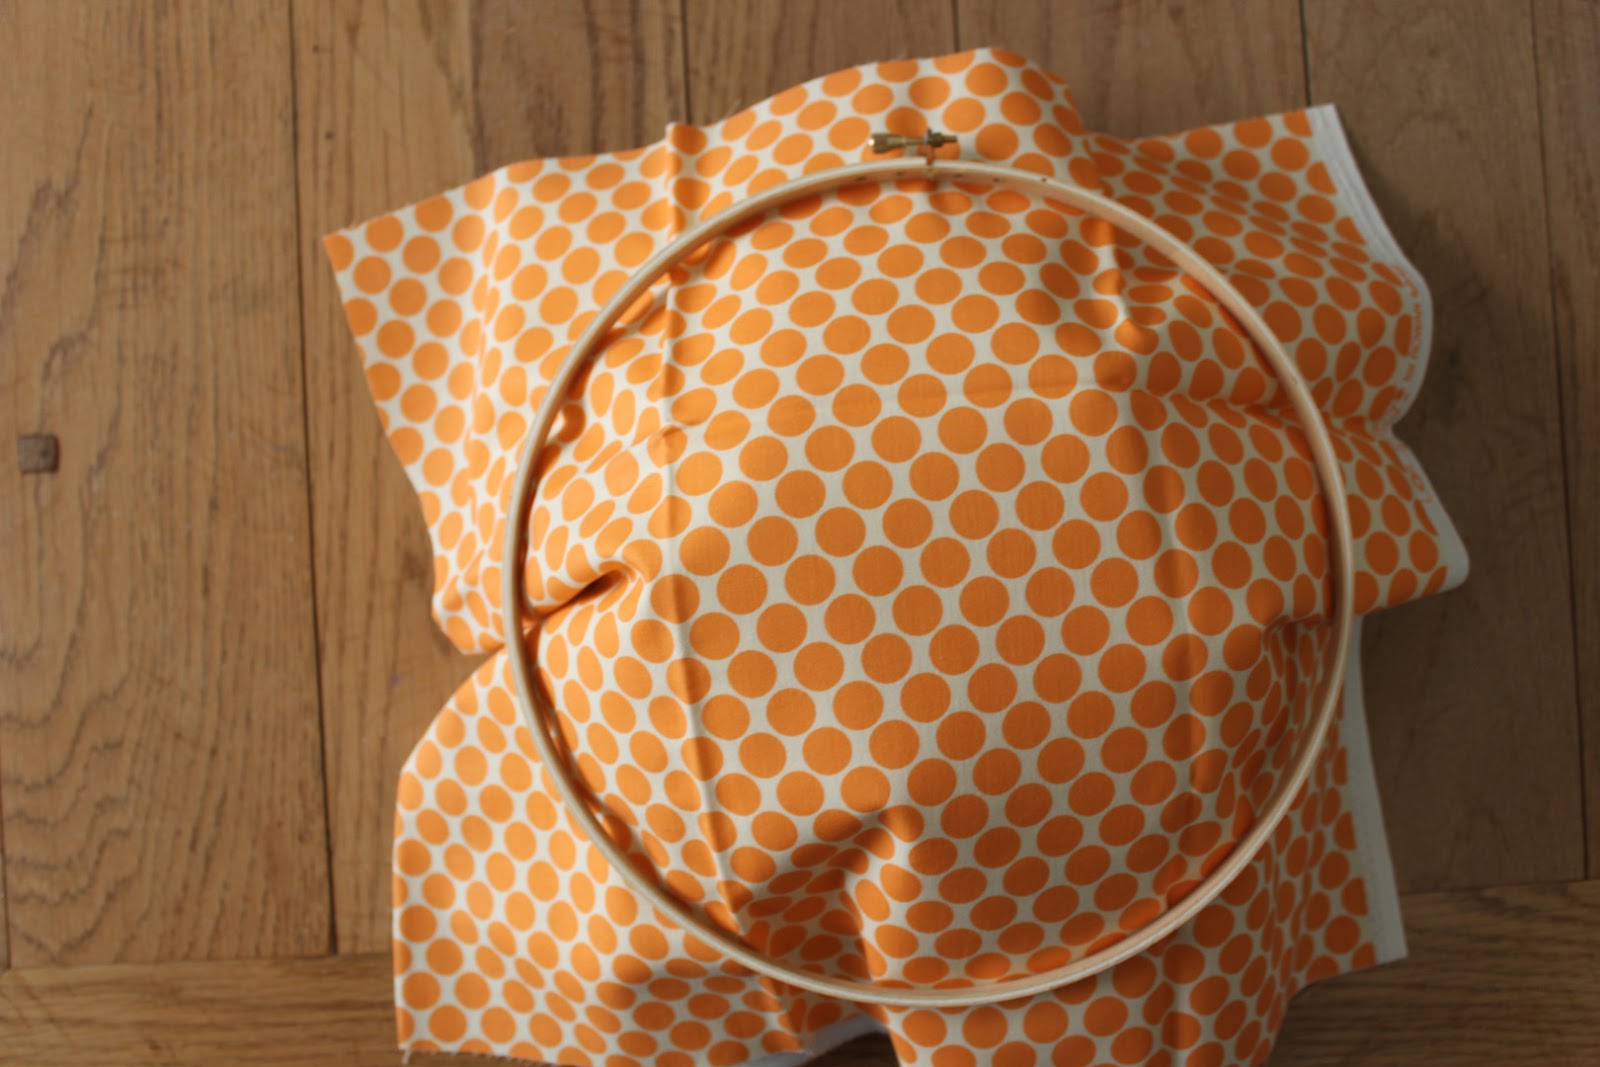
Step 1: Trace the interior piece of your hoop onto some cardboard. You’ll need this to help hold the stuffing in.
Step 2: Use masking tape of some kind to secure the cardboard into the hoop. You could glue this in if you wanted, but the tape holds it together well.
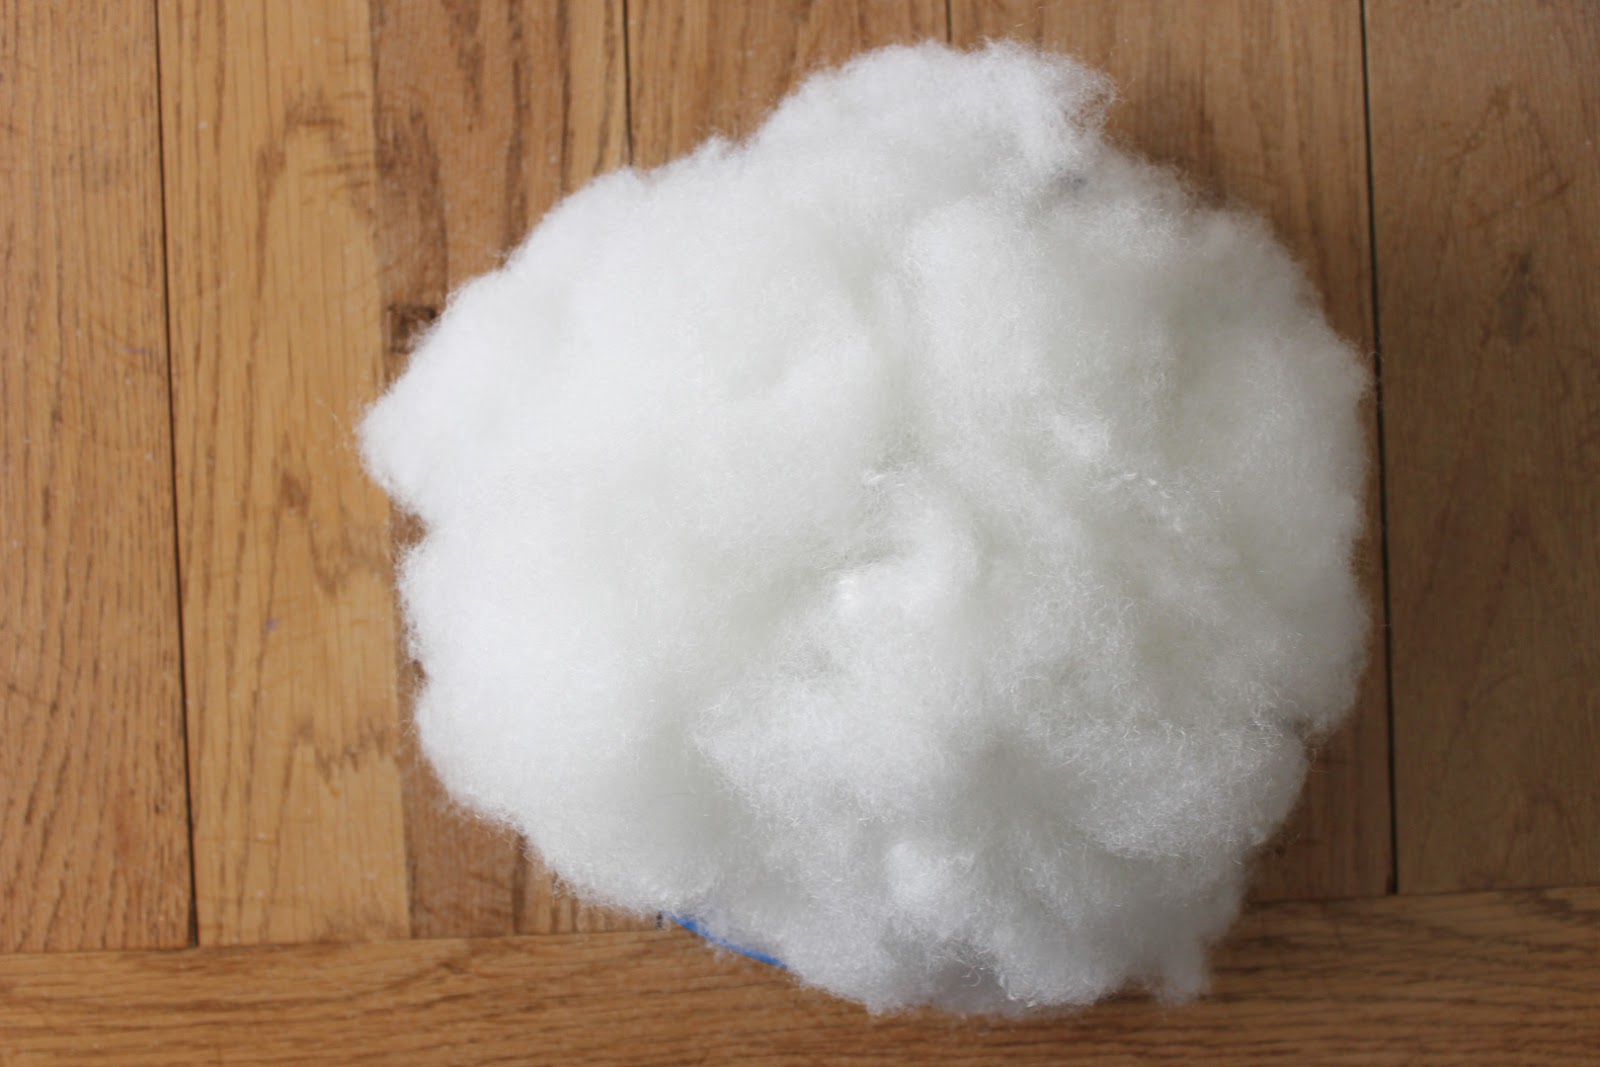
Step 3: Layer the stuffing, batting {it keeps the finished pumpkin from looking lumpy}, fabric and the outer hoop. You’ll need to trim the batting down so it’s just big enough to cover the stuffing so your outer hoop will fit. I found the batting and fabric was too thick.
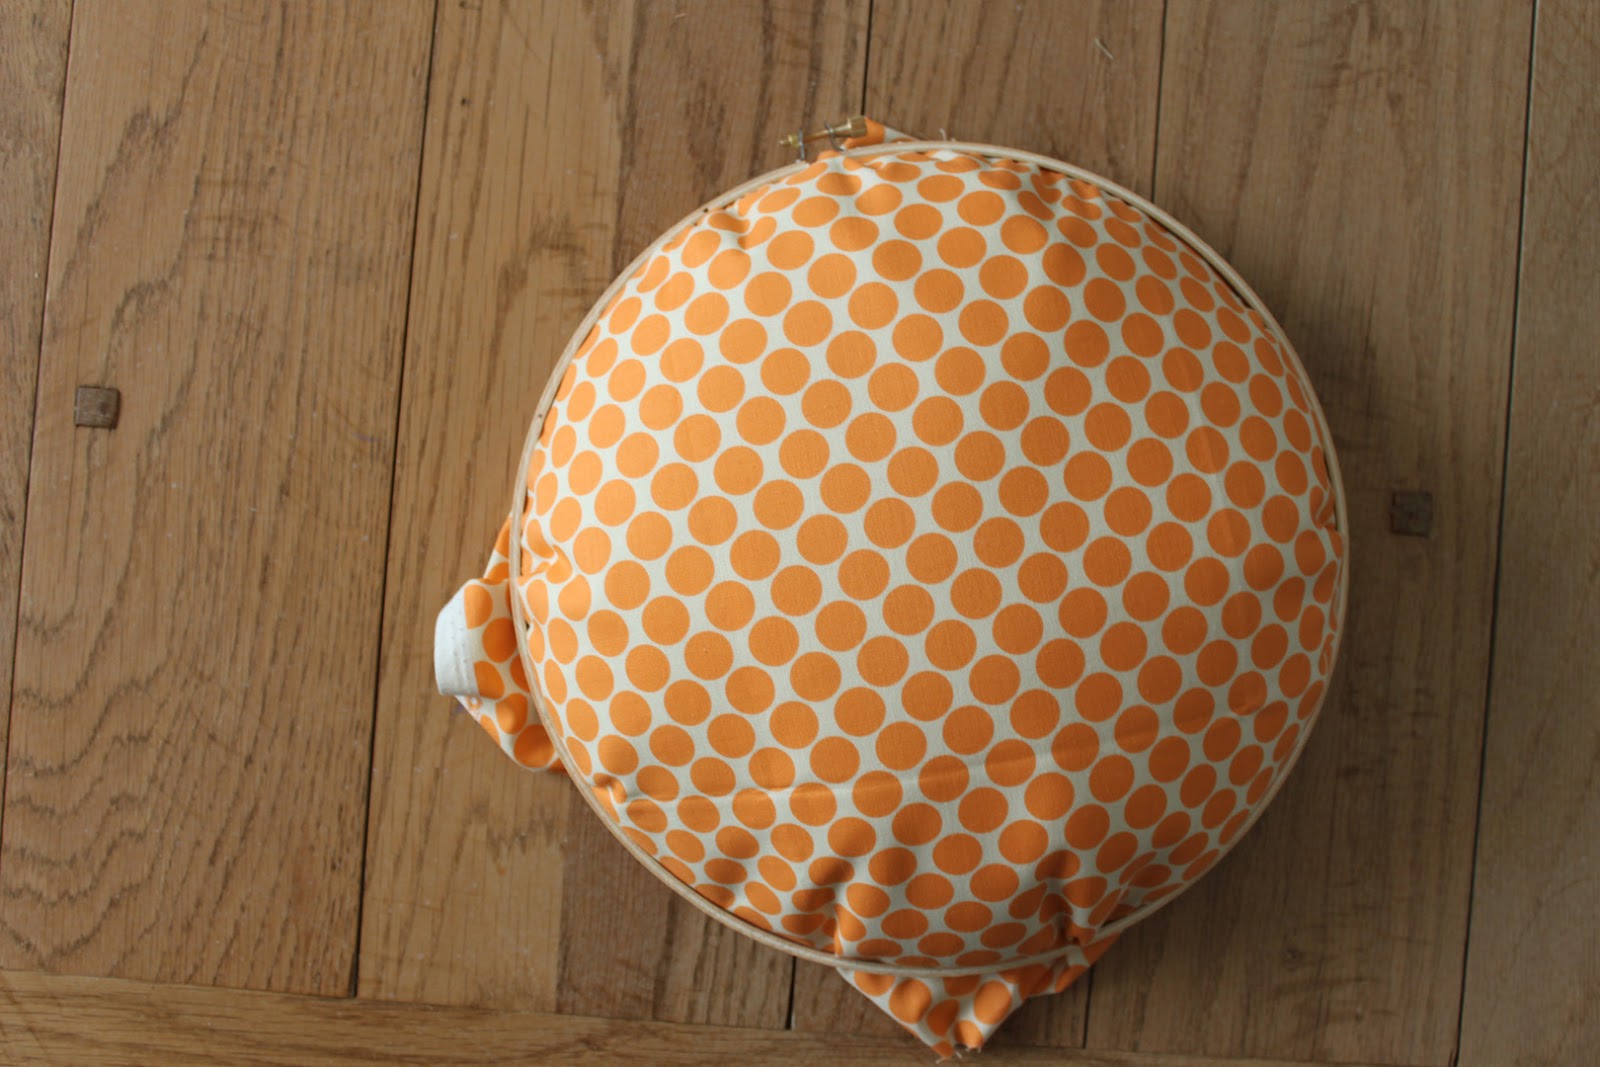
Step 4: Once you get everything arranged and looking how you want, tighten down the screw on the hoop and make sure your fabric is nice and taught. At this point I flipped it over and taped down the corners of my fabric.

Step 5: Cut 3 peices of twine, embroidery floss or thread and thread them through the top and bottom of the hoop. Arrange the twine so it creates pumpkin segments. Tighten the screw as much as you can and gently pull the twine from the back so it makes an indention and the stuffing puffs up in between.

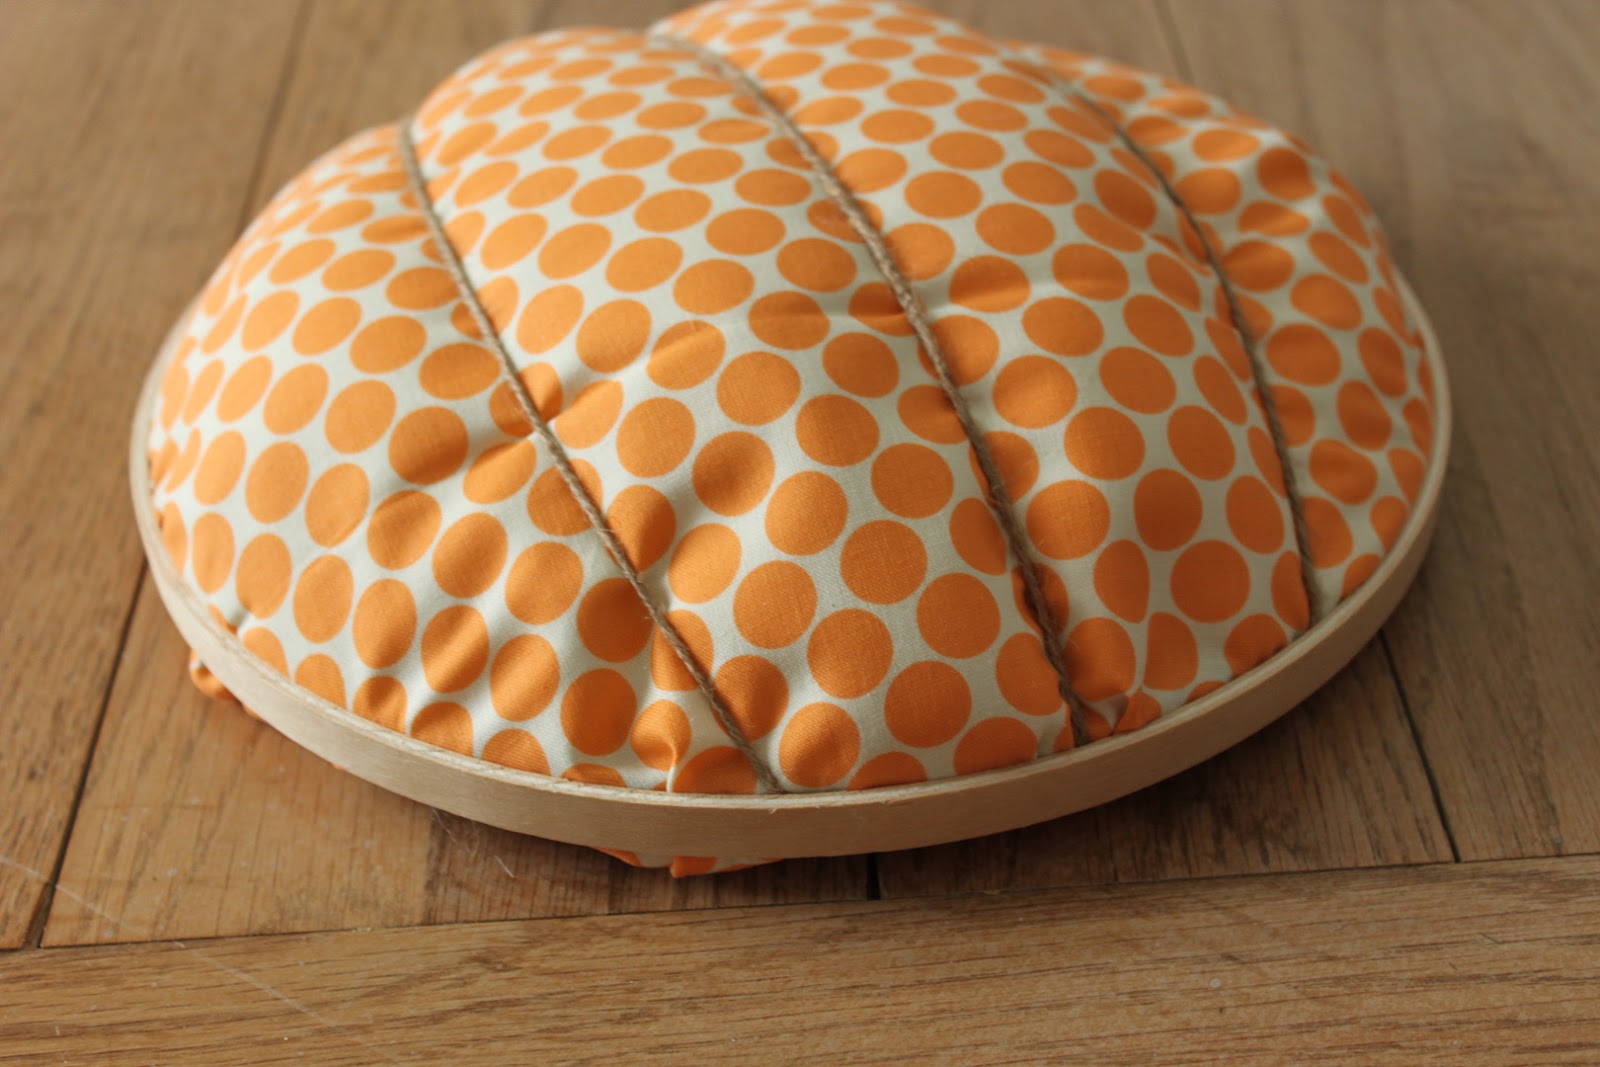
Step 6: To finish, just turn the pumpkin over and tape down the remaining fabric edges and string ends. You can also glue this down if you’ve already got your glue gun warmed up.
Step 7: This is optional, but you can cut a couple of shorter pieces of twine and tie them together. Then loop them over the screw at the top of the hoop and it looks like part of the pumpkin vine, and camouflages the screw a bit.
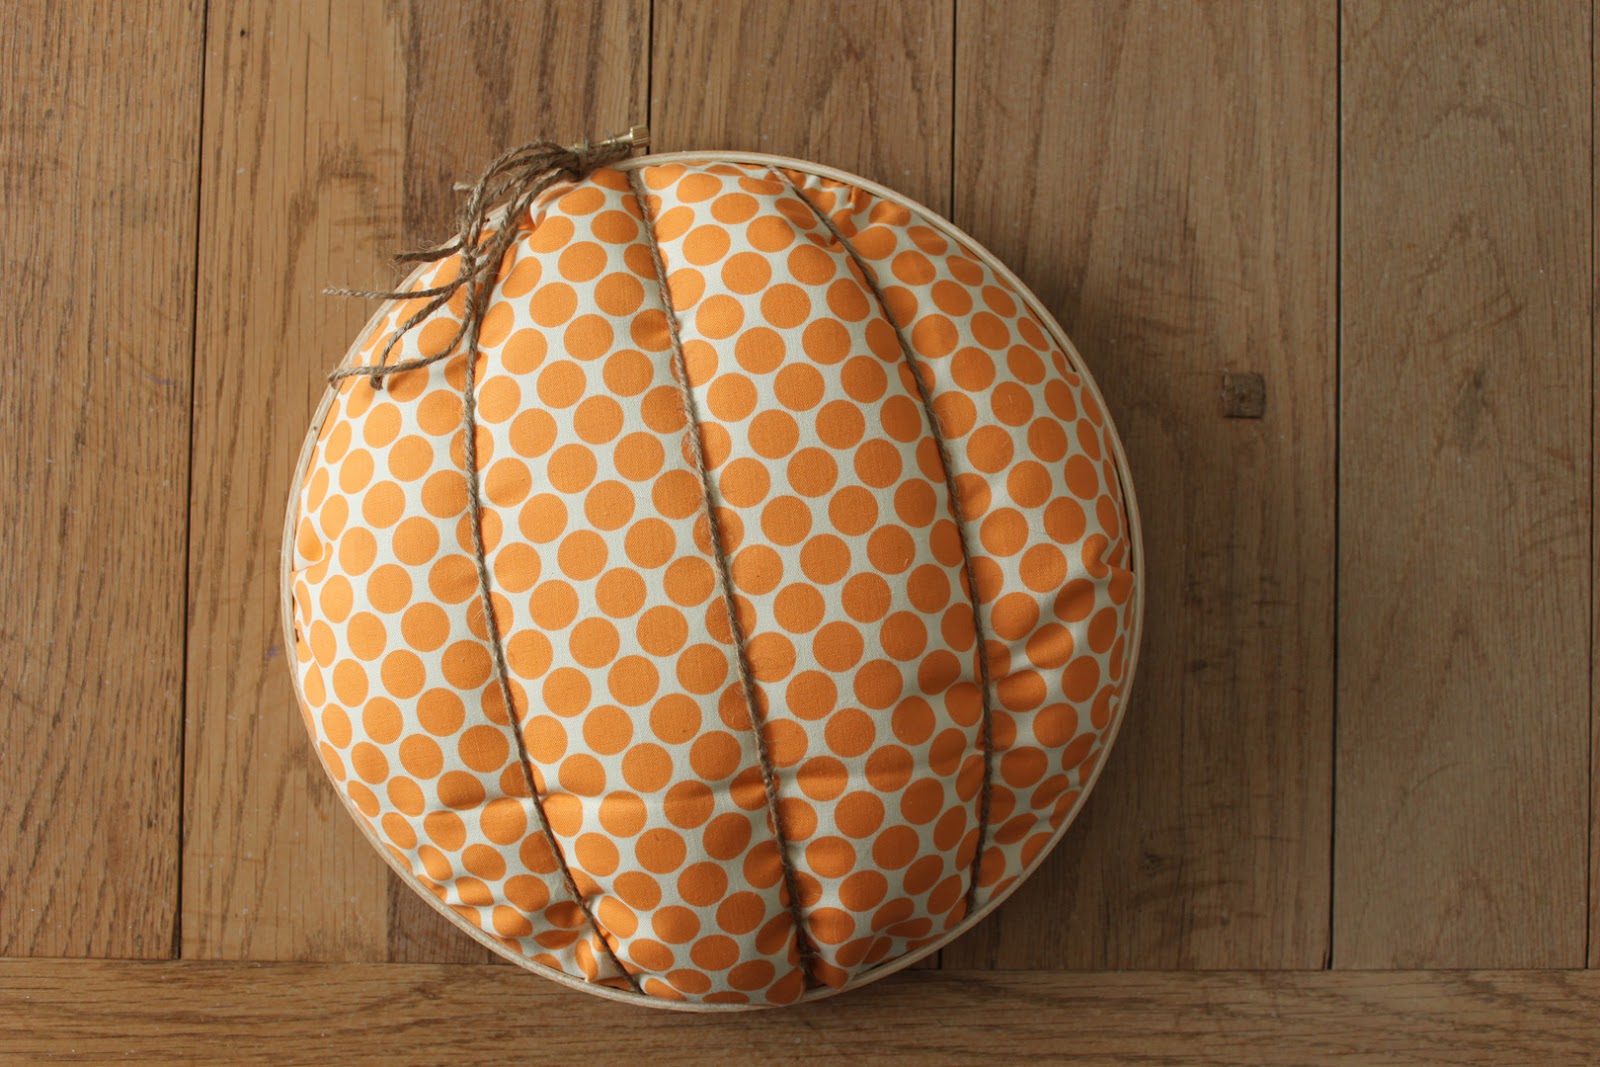
Step 8: Hang on your wall and admire!


Hello! I’m Christa, the blogger behind c. jane create. I spend my days working as a graphic designer, my nights in the kitchen or craft room. I love to post about my crafts, sewing projects, recipes and every day life. I live with my fiance and our three cats in Columbia, Missouri.


4 Responses
These are adorable! Thx for the tutorial.
Thanks, I just love them! Christa did a fabulous job!
Great job Christa–those are so cute, and I love the giant one!
Isn’t it adorable?! I’ll have to be on the lookout for an embroidery hoop that shape!