
Hello! My name is Bev and I blog over at Flamingo Toes – I’m super excited to be here as part of Vanessa’s 30 Crafty Days of Halloween!
I love sharing jewelry, home decor, sewing and embroidery projects – and hoop art projects are some of my favorite to do! Today I have a fun double hoop to share with you – this Halloween Spooky Spiderweb hoop art is easy to stitch up and the hoops are connected with a bit of web!

I love adding pom poms around the hoops – it adds such a fun bit of texture to them.

Here’s what you’ll need to make your own:
- Embroidery hoops – one 8″ and one 3″
- Fabric for each hoop – 2″ larger than the hoops
- Embroidery pearl cotton (or floss) – white for the large hoop and black for the spider hoop
- Tracing paper/pen
- Pom pom trim for each hoop
- Ribbons for hanging
- Hot Glue/Glue gun
- Spider and Web – Free Pattern
Begin by tracing each of the patterns.

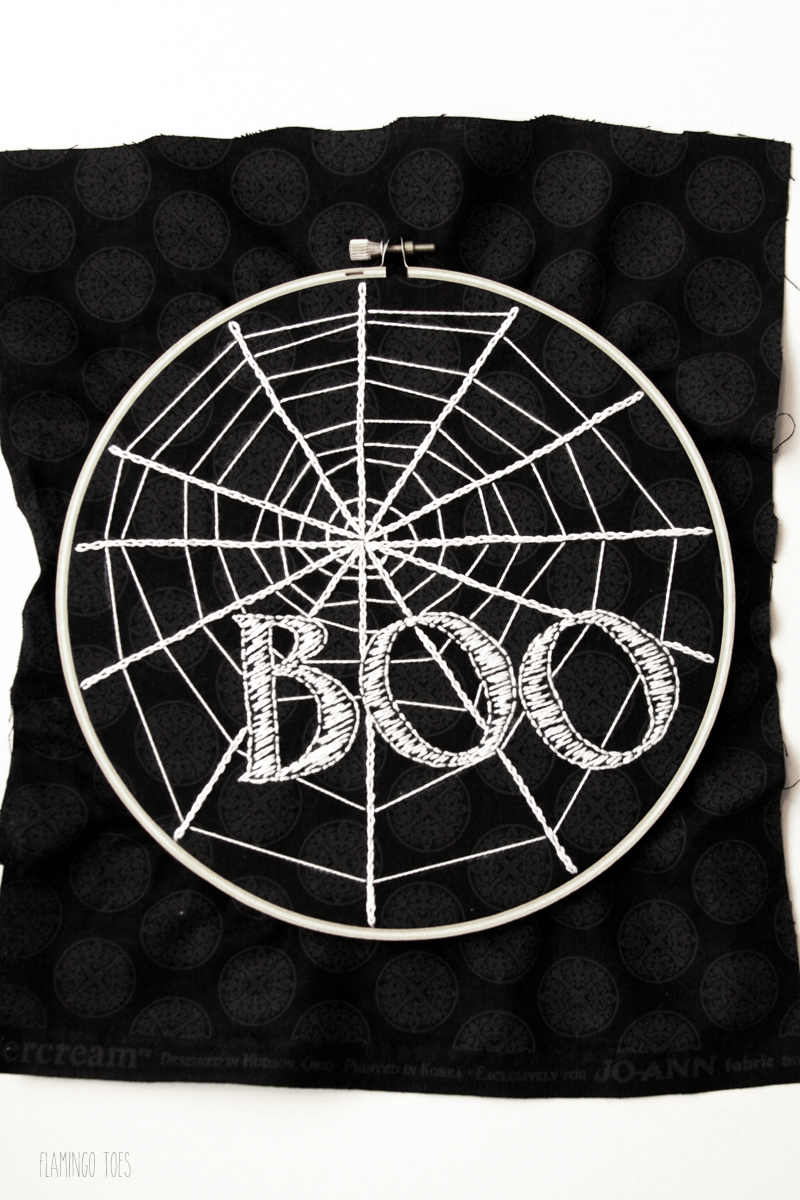
Place the black fabric in the larger hoop, centering the design in the hoop. Begin your stitching by outlining the letters first, using a back stitch.
If you need help with the stitching, check out my Embroidery Stitches page.

Stitch each of the spokes†of the web first. Start each one in the center, then work out to the edges with a chain stitch. Once you’ve stitched the spokes, stitch the lines of the web by bringing your needle up under the†stitching of the spoke, then under the next spook over, following the marked lines.

Fill in the letters with a diagonal stitch – keeping the stitching a little loose so it looks hand drawn.
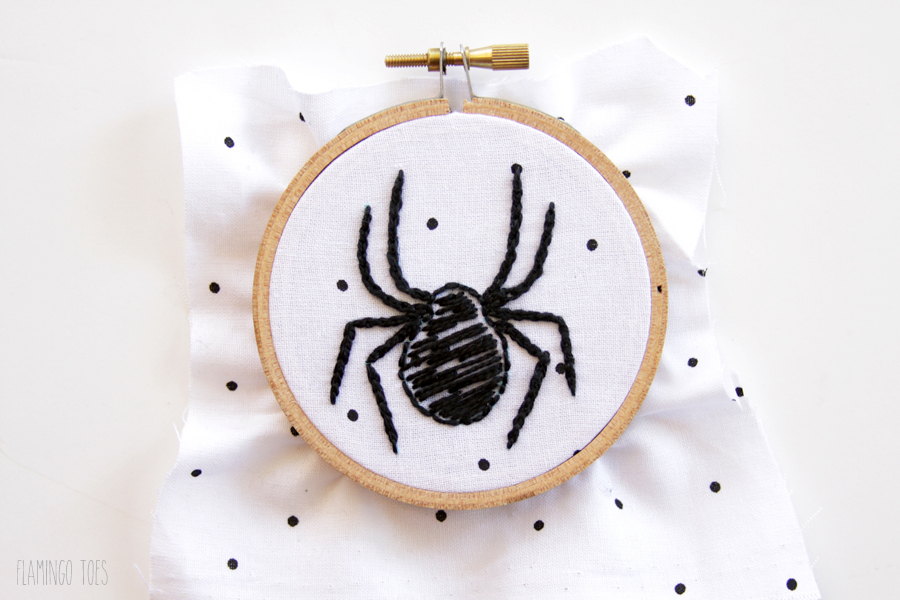
Stitch up the little spider hoop with chain stitches for the legs and fill in the body with the loose satin stitches.
Trim the fabrics around the hoops and glue the fabrics to the backside. Glue the pom pom trim along the edges of both hoops.

To make the connecting web – cut three lengths of white floss. Knot the first one, then bring it up at the point the web ends on the top of the hoop. Unthread the needle. Repeat with the other two strands of floss. Loosely braid the three strands together, the length of the web you’d like.
Thread each strand and add the thread to the smaller hoop by running it under the left side of the body of the spider. Once all three strands are through, make sure the thread hangs the way you’d like, then knot them on the back of the hoop.

Finish the backs of the hoop if you want with a piece of felt to cover your stitching.
Add lengths of ribbon to hang the hoops and bows to the ribbons and you’re all ready to hang them!

I’d love for you to check out my other projects, you can find my Halloween and Fall tutorials here!
Thanks so much for including me in the series Vanessa!