Hello! I am Triana from Rocky Mountain Mama. I am a stay at home mother of two and a former elementary school teacher. Halloween is one of my favorite holidays. I love decorating and I love doing fun crafts with the kids. When I was a teacher, this was one of my favorite crafts to do with my class. Christopher had a lot of fun making his own pumpkin to put in his play room.
Materials:
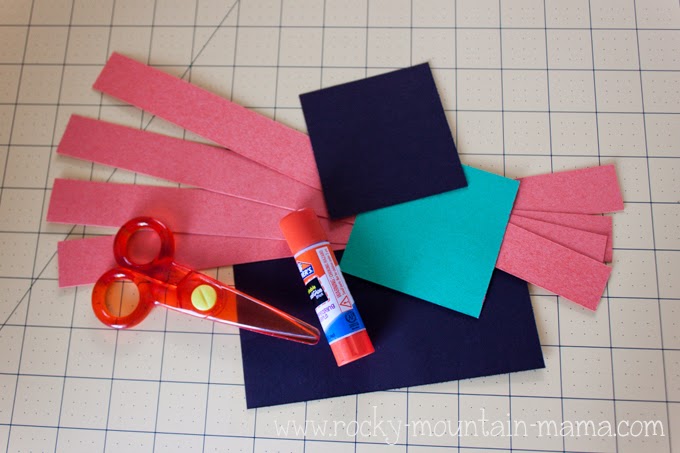
construction paper (orange, black, green)
scissors
glue stick
Directions:
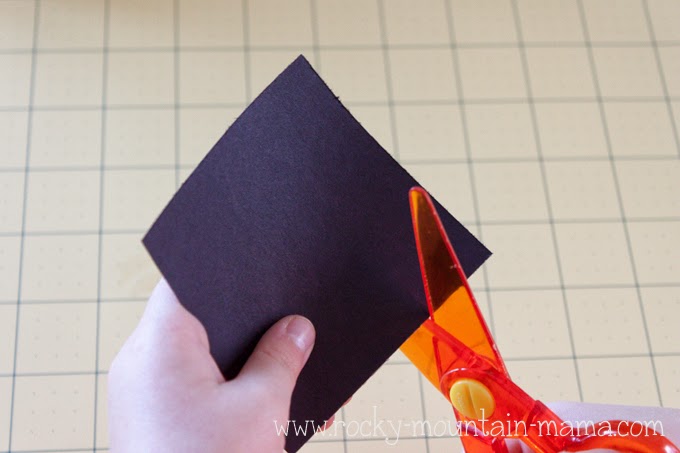
Step 1: Prepare the paper for your little one. You need 4 1″ strips of orange. I made a 3×3″ square of green, a 3×3″ square of black and another 3×6″ piece of black, but these don’t have to be exact. Scrap pieces will do for the green and black.
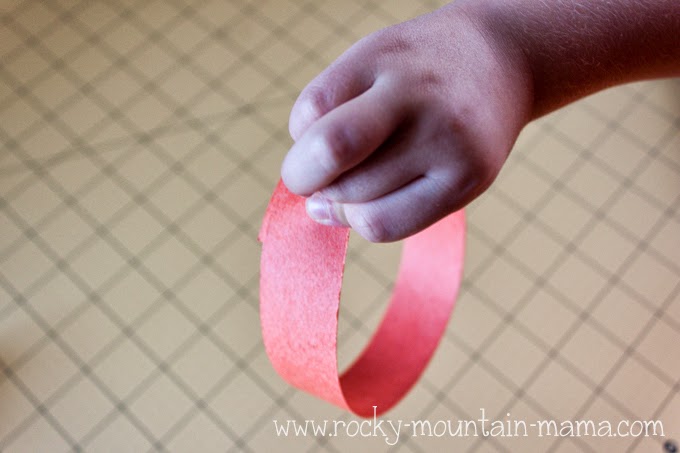
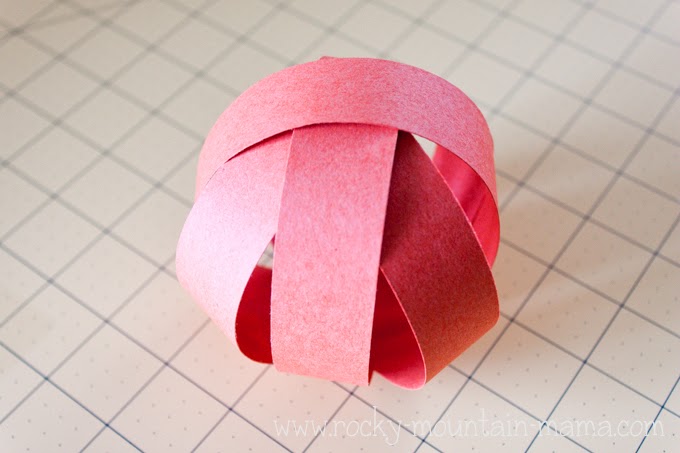
Step 2: Put a dot of glue on one end of your first piece of orange paper. Wrap it around to make a loop. Hold until dry.
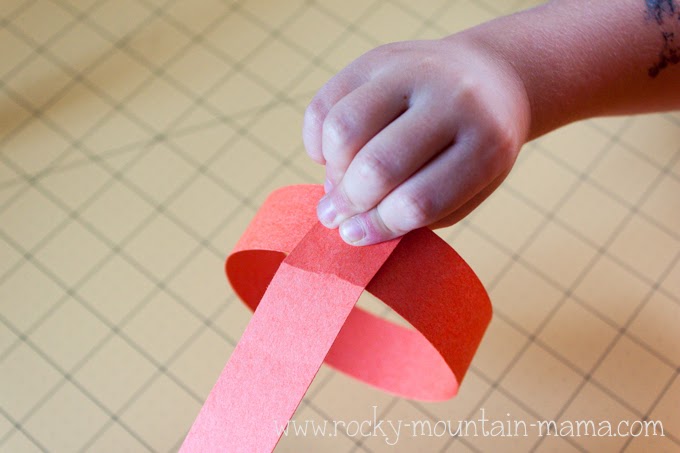
Step 3: Put a dot of glue on the top of the loop you just made. Add another strip of orange, perpendicular to your first loop. Make a second loop around your first one. Hold until dry.

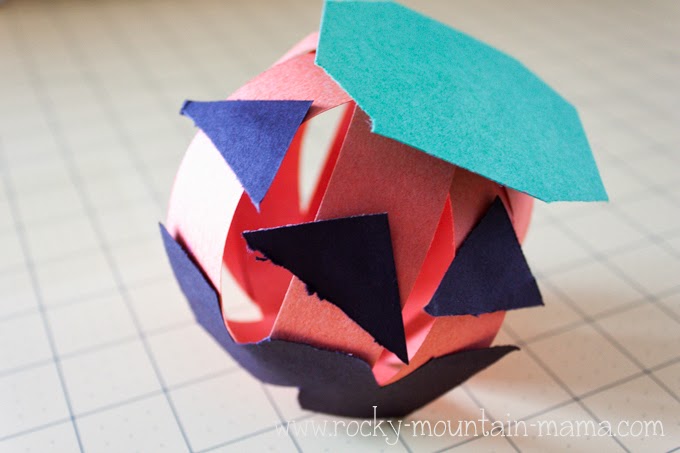
Step 4: Add the last two strips of orange using the same process as above until you have a sphere like shape. This will be your pumpkin!
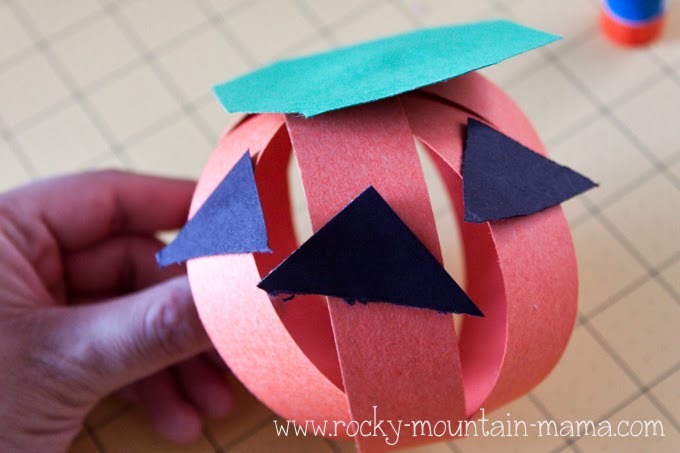
Step 5: Have your little one cut the corners off their green piece of paper to make a circular(ish) shape. This is great cutting practice for them! Glue this on the top of your pumpkin. This is the top of the pumpkin. We called it his “hat.”

Step 6: Have your little one cut 3 corners off of the black square. These will become the eyes and the nose. Glue them onto your pumpkin.
Step 7: Using the other piece of black paper, help your little one cut out a mouth. Glue onto your pumpkin.