
Even after months and months of planning, something is bound to go wrong on your wedding day. Hopefully it’s a small something, like a popped bridesmaid button or a fixable stain. Both of those things happened on my wedding day and I was grateful to have a bridal survival kit that my mom put together for me on my wedding day. It was nice not having to search for a needle and thread or worry about a stain showing up in photos. After that experience, my go to bridal shower gift is always a wedding day survival kit for the bride that includes a stain remover pen and sewing kit. With my cousin tying the knot soon, I crafted up a survival kit for her big day using Cricut’s iron on glitter vinyl. Hopefully it includes everything she needs needs for a stress free wedding day.
SUPPLIES
Cricut Cutting Machine
Cricut Essential Tools
Iron On Black Glitter Vinyl
Canvas or Cotton Pouch
Iron
Survival Kit Supplies (deodorant, mints, sewing kit, etc.)
INSTRUCTIONS
Step 1: Grab your supplies online at Cricut.com, click on “shop”. You’ll need iron on glitter vinyl for this project. I used black glitter, but you can customize the color to the wedding colors. You’ll also want the Cricut Essential Tools, it’ll make your life so much easier when working with vinyl.

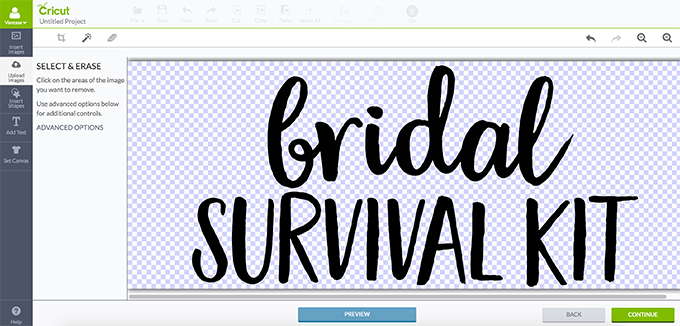
Step 2: Save the Bridal Survival Kit image and upload it to the Cricut Design Studio. I clicked on “complex image” and uploaded. You could also create your own image or work with the fonts provided in Cricut Design Studio. Save and upload the following images to make pouches for the entire bridal party: Bridesmaid Survival Kit, Maid of Honor Survival Kit, Mom of the Bride Survival Kit, Mom of the Groom Survival Kit.

Step 3: Click on the areas of the image you want to remove in the Cricut Design Studio, as shown below.
Step 4: Insert the image into the Cricut Design Studio and adjust the height/width depending on how large your pouch is.

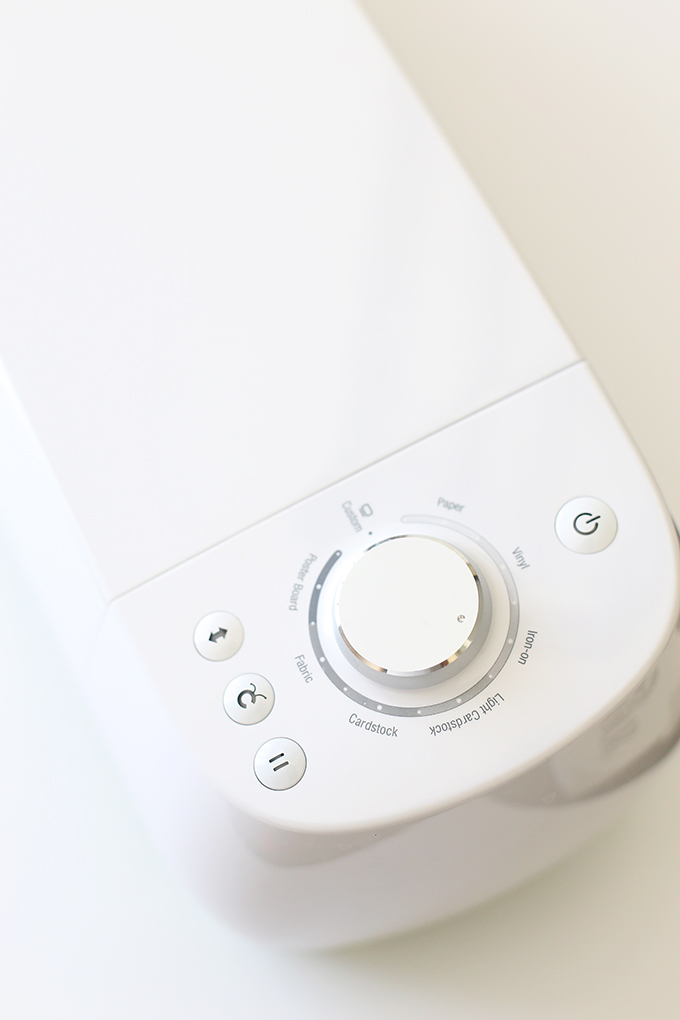
Step 5: Set the Cricut machine’s dial to “iron on” and make sure to reverse the image for iron on before cutting.
Step 6: Weed your image, removing any vinyl that you don’t want on the pouch.

Step 7: Iron the vinyl onto the pouch, following the instructions on the vinyl package.

Step 8: Fill the pouch with wedding day necessities. Shop the travel section for travel sized bottles of deodorant, stain remover, cotton swabs, pain medication, makeup remover, eye drops, mints, mouth wash and floss. I also like to include a miniature first aid kit and sewing kit. Your pouch is ready to gift to the bride on her wedding day. You might also want to craft up a tissue pouch “for your happy tears” for the wedding day, I know I’m going to need one!


Visit Cricut.com for more wedding day inspiration! What would you include in your survival kit?
This is a sponsored conversation written by me on behalf of Cricut. The opinions and text are all mine.


