

Hi all! My name is Liz and I’m the blogger behind Lizzie Jane Baby. A creative lifestyle blog where I share fun, simple crafts, yummy recipes, printables and more! I’m so excited to be Vanessa’s guest here at See Vanessa Craft and be part of the 20 Crafty Days of Christmas series. There have been super cute projects and recipes so far, and I can’t wait to see the rest! Today I wanted to share with you one of my favorite sayings of Christmas. I love it so much that I created this Some Cause Happiness Santa Sign.
Last year I created a small printable with the same phrase and explain where I got the original idea. You can read all about that here. But this year I wanted to make a bolder statement and decided to make a big sign instead.
The first thing I did was get my board ready. I had these two scraps of wood from a different project that were the same size in length (15 inches), so my husband found some slats to screw them together on the back side. The boards were 7 inches wide each making my finished board 14 inches by 15 inches. I wanted to distress my board when it was finished so I first painted it with a light coat of green, watered down paint. As you can see, it wasn’t perfect and that was the point. I wanted it to be see through and streaky. Once the green was dry, I painted 2 coats of a light ivory paint on the sides and top of the board.

I had my friend design me a stencil and cut it out with her vinyl cutter. We removed the areas that we wanted painted and I put the stencil on the board.

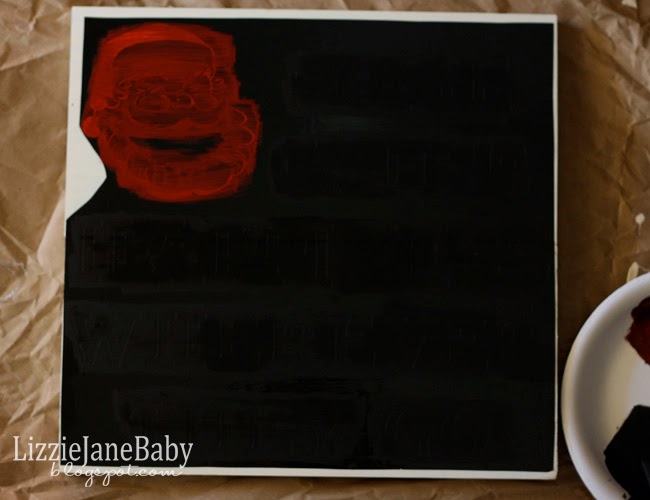
Then I painted Santa red and the words black (because the vinyl is black, it all looks the same). Once the paint was dry, I removed the vinyl stencil, which was a little tricky with the black paint and black stencil.
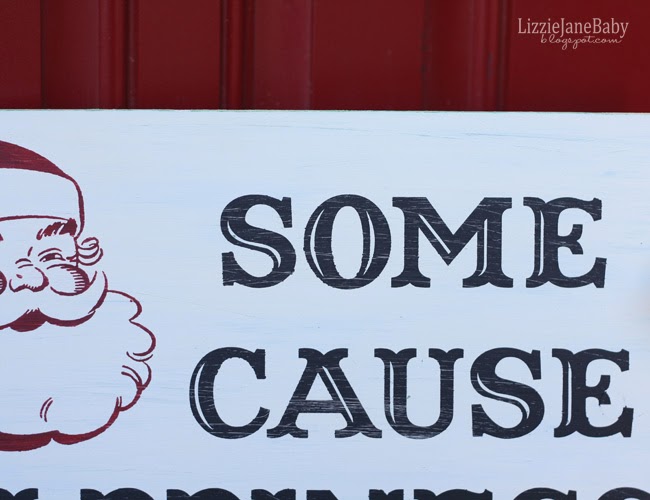
I took a piece of sand paper and roughed up the edges a little. You can see that I lightly sanded the top and can see some of the green peeking through. This is where you can do as much or as little distressing as you like. It is totally a personal preference thing.
Now where to put it? I think it looks really good by the front door. Especially in the ivy that grows around our front porch. Maybe I should put it on a stick and it can stick into the ground and be a little higher?

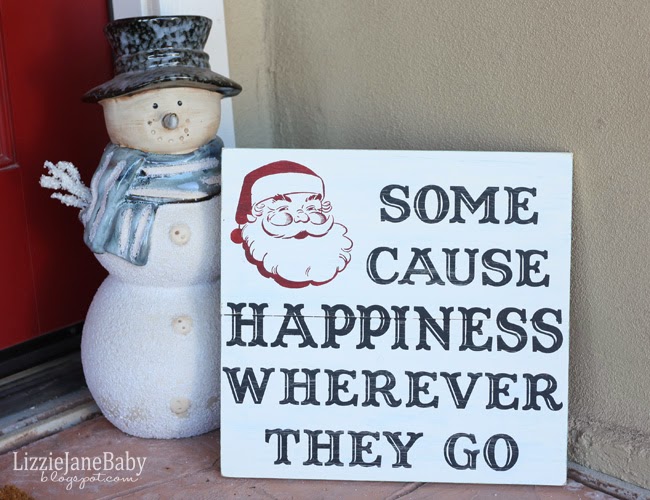
But it also looks good on the other side, next to the snow man. Oh decisions, decisions. But no matter where it goes, it brings a smile to my face every time I see it! If I do decide to put it outside, I will probably use a spray paint clear coating to finish it off.
Thanks Vanessa for letting me visit today and being part of your 20 Crafty Days of Christmas. Here are some other quick Christmas ideas you may like.


If you’d like to keep up with

You can find me:


One Response
Thanks again for having me be apart of the series Vanessa!