
Pottery Barn’s version on the left, my knockoff on the right.
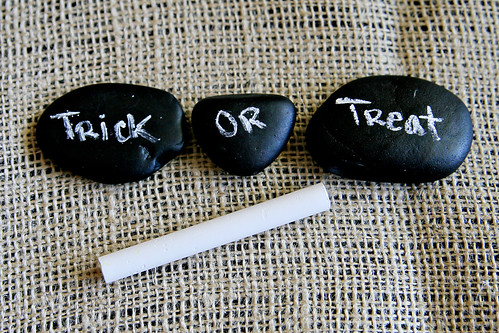
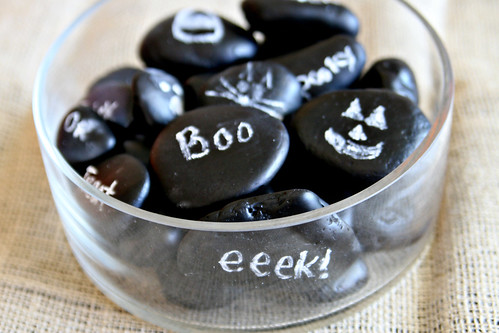
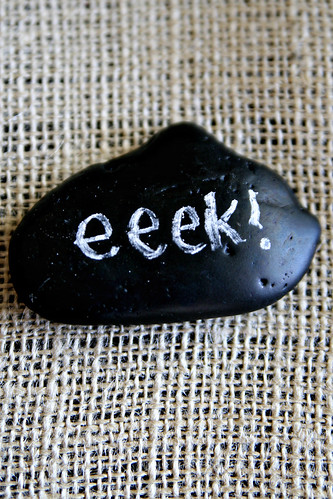
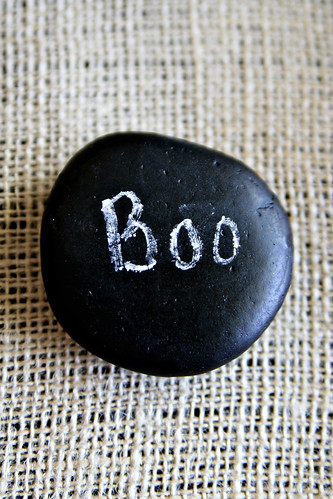
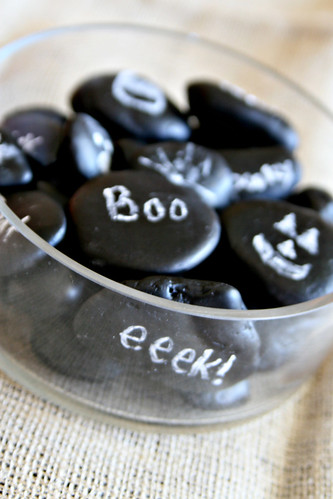
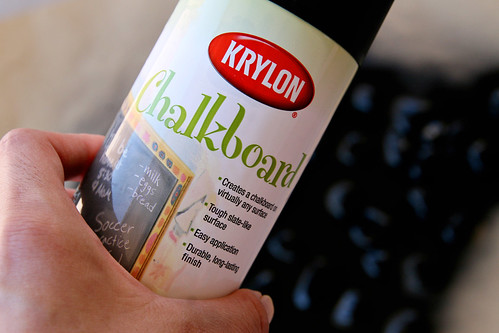
Day 4 and I couldn’t resist breaking out the chalkboard paint. If Pinterest was around last year, I totally would have pinned Pottery Barn’s chalkboard rock vase filler. They were available in a set of 4 rocks and I’m sure they had a ridiculous price tag. While they were cute, I couldn’t justify spending that much, well any amount of money on rocks. So, I decided to make my own this year. Rocks are FREE and a can of chalkboard paint (plus a 40% off coupon) isn’t that expensive. Cheap and easy, my kind of craft. The beauty of chalkboard paint is that you can erase and write a new message. I see these rocks being a fun learning tool for Logan in the future. Or I might even use them in lieu of place card holders for Thanksgiving. Oh and just a little warning, you might be inclined to turn EVERYTHING into a chalkboard when you get your hands on a can of this paint (here kitty, kitty…totally kidding, don’t call ASPCA on me). Link up your Halloween crafts HERE.
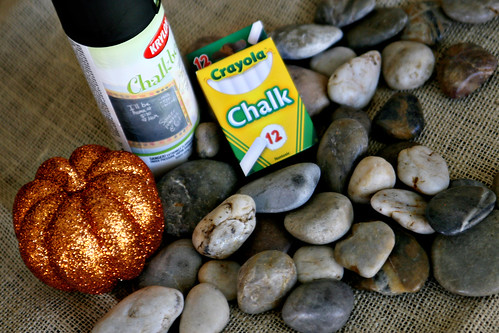
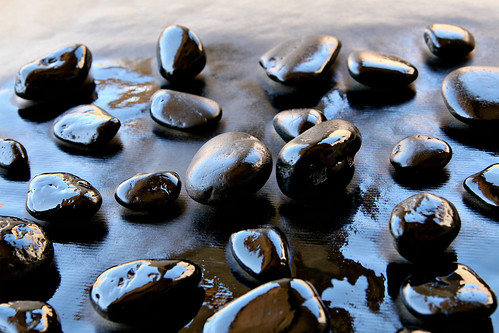
Materials
Rocks
Chalkboard Spray Paint
Chalk
Directions
Step 1: Lay out the rocks on newspaper or butcher paper, something to prevent your paint from getting on the ground. You’ll probably want to spray the rocks outside, it can get a little fumey.

Step 2: Open up the can of chalkboard paint and spray your little heart out. You’ll want to spray a thin coat of paint, allow to dry and flip over. Spray the opposite side, allow to dry and repeat a couple times.
Step 3: Write Halloweenish messages on the rocks using chalk.