

Hello! I am the author of Rocky Mountain Mama. I am married to my best friend and I am a part-time working mother to 2.5-year-old Christopher. I blog about balancing life as a working mother and dealing with all the stresses that come with it. When I do find “me” time, I am either organizing or working on one of many craft projects.
First of all, thank you so much to Vanessa for giving me the opportunity to do a guest post on her amazing blog. I was over the moon when she asked me to share some of my crafty skills with her readers. Last Halloween, I decided to purge some of our old childhood decorations and try to come up with some more modern and not so cheesy ideas. But I didn’t want to spend an arm and a leg buying new decorations at a retail store. So, I ended up making my own window silhouettes, a spooky wreath to hang on the door and some cheesecloth ghosts to hang from our tree. This year, I wanted to continue with the “Halloween on a budget” theme. When Vanessa asked me to do a guest post for her, one of the first projects that popped into my mind was Martha Stewart’s specimen jars. Off I went to one of my favorite hobby stores and I was totally bummed when I the one thing that looked similar to the Encapso K was $25/bottle. And they weren’t very large bottles. Then, I checked the recommended website and found that was the going rate. In keeping with my “Halloween on a budget” theme, I decided to go with plan B – making specimen jar candles. A much cheaper option, with (I think) and even cooler effect. And the great thing about this project is that kids can help too!
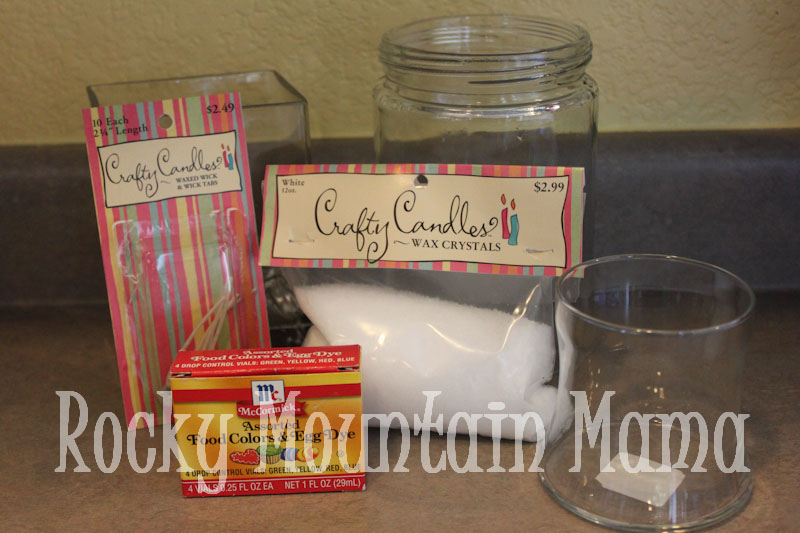
Materials
glass vases or jars
suction cups (optional)
water
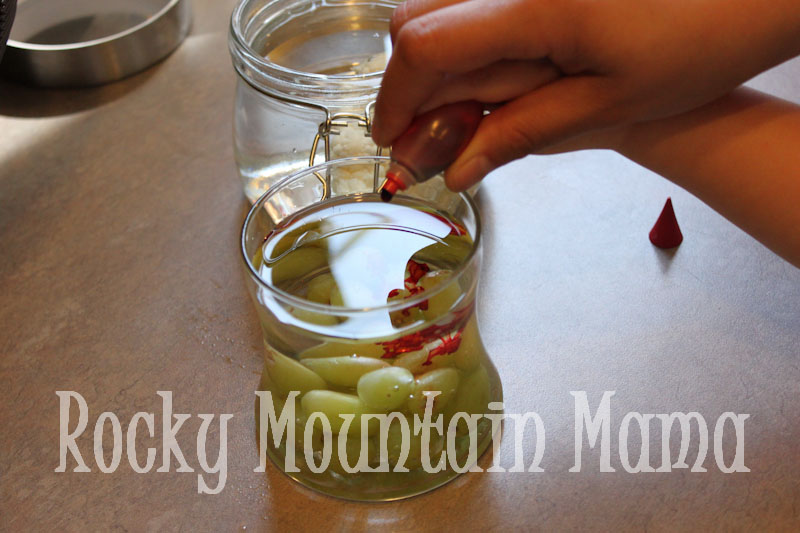
food coloring
wax crystals
wicks
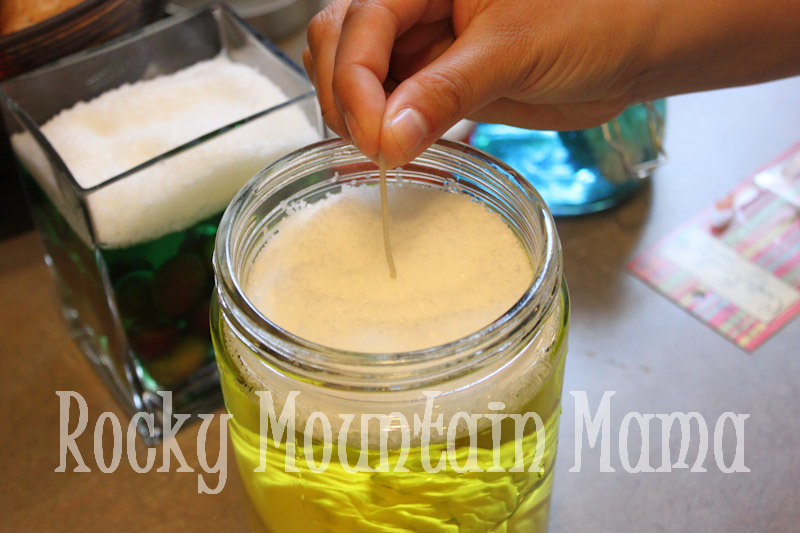
Directions
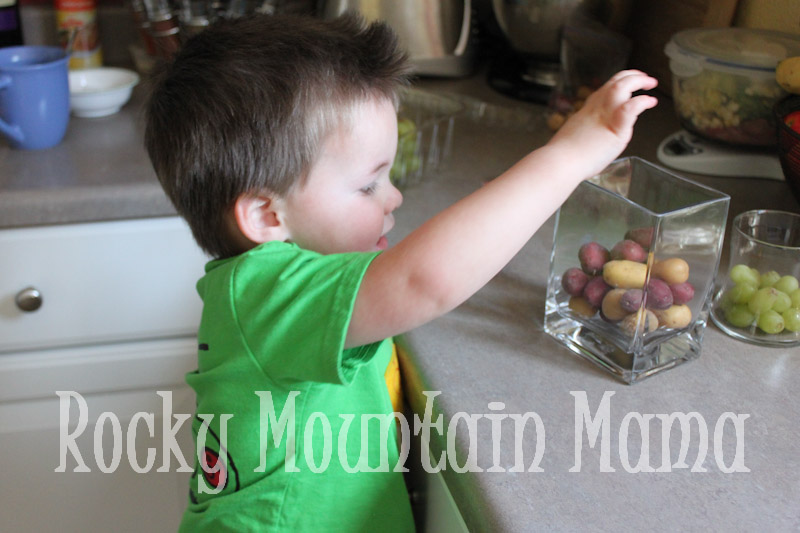
Step 1: Like I said earlier, I wanted to do this project on a budget. So I went to one of my favorite craft stores and bought a few vases and jars. Keep an eye out for 50% off glassware sales. I scored 4 vases for $9.50! I also decided to use whatever I had in my fridge. There is really no need to go buy fresh veggies for this project. I found cauliflower, cabbage, grapes and mini potatoes in my fridge. I Christopher started putting the food in separate jars. Potatoes in one, grapes in another, etc.
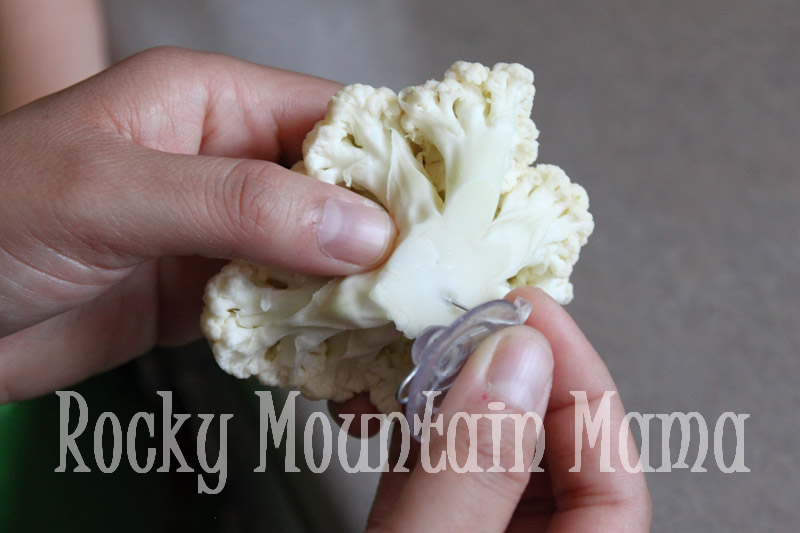
Step 2: The potatoes and grapes obviously sank to the bottom, so I didn’t quite get why I would need a suction cup. Then I tried the cauliflower and it floated. Ding! I didn’t have any suction cups with the little metal clips attached, so I improvised and since this is supposed to be a budget project I had to be creative. I found a couple small suction cups and attached a paper clip to them. Then, I stabbed the bottom of the cauliflower with the paperclip and stuck it to the bottom of the jar.


Martha suggested cauliflower, grapes and celery root, but here is a list of other things you could try:
- ginger root
- cabbage
- potatoes
- pomegranate
- garlic
- prunes
- apricot/peach pits
- fennel