On the 11th day of Christmas…
I’m happy to welcome back Jenilyn of Grits & Giggles to my blog. Jenilyn and I actually met on parenting forum and bonded over our love for glue guns and glitter. She’s showing us how to make ornaments, out of jute and sticks. This project is right up my love-for-woodland-things alley. Plus, you get to use a saw. Check out Jenilyn’s blog for some serious craft-spiration, like how to make a ruffled lamp shade.
I’m happy to welcome back Jenilyn of Grits & Giggles to my blog. Jenilyn and I actually met on parenting forum and bonded over our love for glue guns and glitter. She’s showing us how to make ornaments, out of jute and sticks. This project is right up my love-for-woodland-things alley. Plus, you get to use a saw. Check out Jenilyn’s blog for some serious craft-spiration, like how to make a ruffled lamp shade.
Hey Ya’ll! I’m Jenilyn and write all about my adventures in Mommyhood and crafting over at Grits & Giggles. I’m a southern girl who loves to cook, craft, and love on my Husband and 16 month old baby girl.
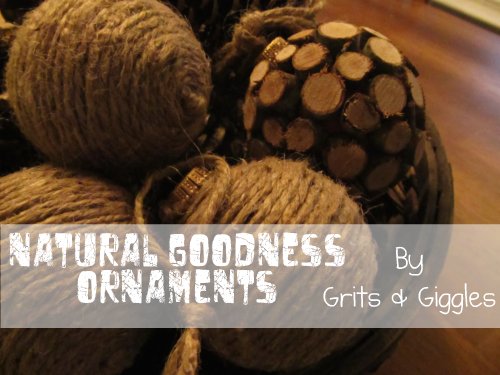
I love to collect ornaments. I have TONS of ornaments at home from special occassions, vacations, or unique finds at shops. We have a very eclectic Christmas. Each ornaments has a story or an inspiration. On a recent trip to Tennessee, I saw some adorable “natural” Christmas ornaments in a mountain shop, and I knew I had to have them on my tree this year. I want to share with you how to make your own “Natural Goodness” ornaments for your tree, or for your home! Throw them in a basket for a fun earthy decoration year-round.
Materials
Plain Christmas Ornaments
Jute
3-4 sticks (1/2″-1″ in diameter)
Saw or Drimmel Tool
Hot glue
Jute
3-4 sticks (1/2″-1″ in diameter)
Saw or Drimmel Tool
Hot glue

Directions
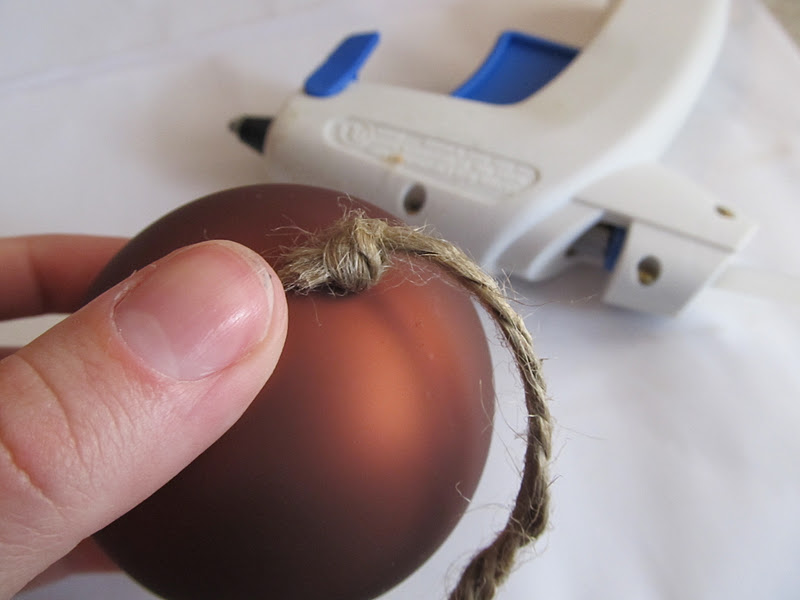
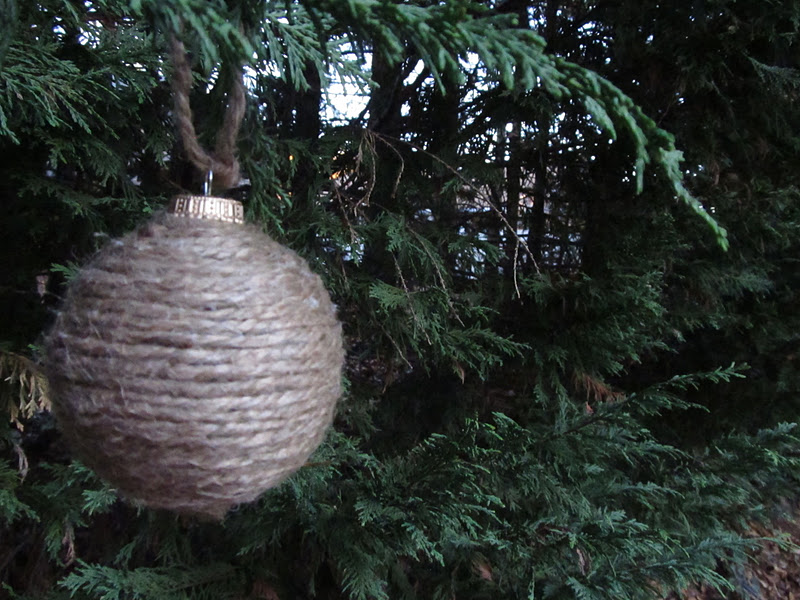
Step 1:Begin with the Jute ornament. Take the end of your jute and tie a knot (leave it on the spool, don’t cut it!)

Step 2: Place some hot glue on the bottom center of your ornament and glue the knot down.
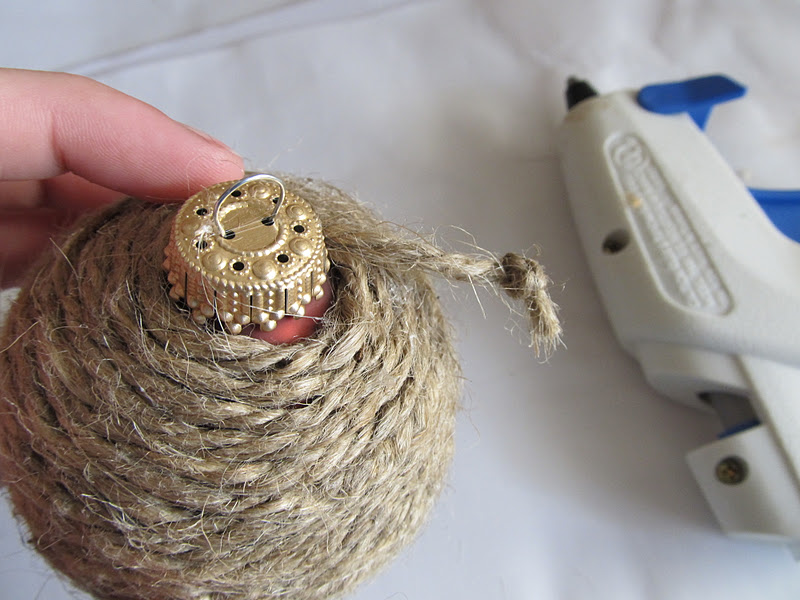
Step 3: Begin wrapping your jute around the ornament, gluing a little as you go.

Step 4: Continue wrapping, pressing each round of jute into the previous one to get good coverage on the ornament.

Step 5: When you get to the top of the ornament, cut off the and of your jute, tie a knot and glue it down.
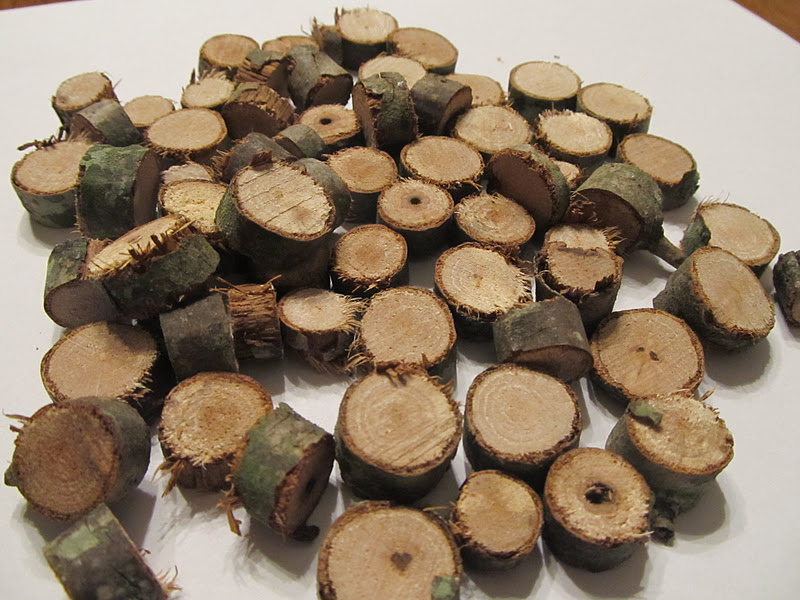
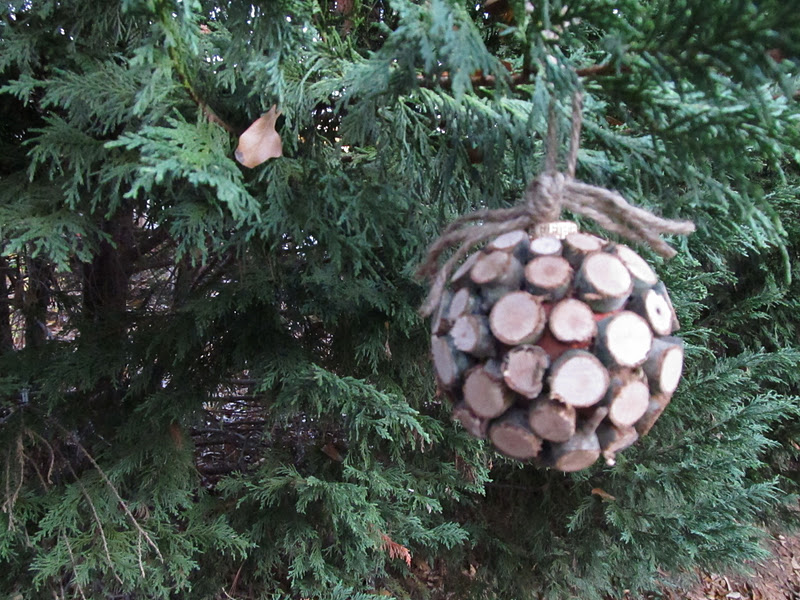
Step 6: To make the “Woodsy” ornament, begin by carefully cutting your sticks. Cut discs 1/4″ to 1/2″ thick using a saw or drimmel tool.

Step 7: You will need around 50 disks to cover your ornament. Don’t worry if they’re a little misshapen, or have rough edges, that’s what makes them beautiful!
Step 8: Begin gluing your disks around your ornament. Try to fill in gaps and holes with smaller or broken pieces.

Step 9: Continue gluing until your ornament is covered with woodsy goodness.

Step 10: Tie a ribbon or jute tie on the top of each ornament, hang and enjoy!
Or place them in a basket and enjoy year round. Just remove the “ornament hanger” and cover with wood or jute.


Brought to you by: