I’m teaming up with Jill from Sandy Toes & Popsicles for this tutorial. If you have a thing for chevrons like I do, you’ll love her countdown printables! I totally slacked on getting this countdown block tutorial up and it’s practically Christmas already. Sorry guys! BUT, this is a quick and easy project that you can easily craft up this weekend and you can reuse it for years to come. I’ve seen craft blocks in the sizes that I used for this project at craft stores, but the price is outrageous. I suggest going to your local home improvement store and buy a long 3.5 inch piece of wood. Have them cut it down to the sizes you need or do it yourself. Home Depot was super helpful to do this for me and I have a bunch of extra block sets to decorate for friends.
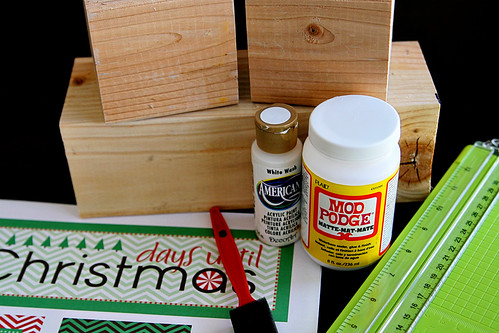
Materials
Directions
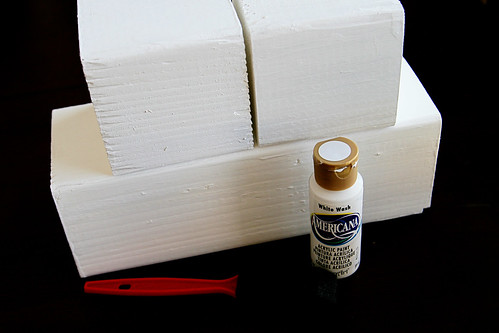
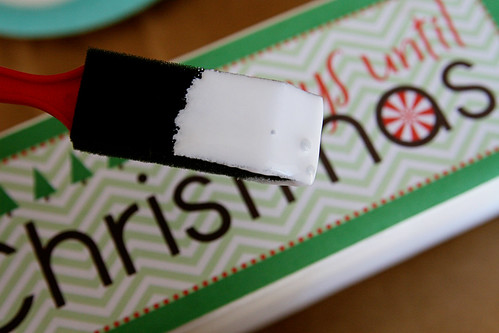
Step 1:Paint all of the blocks white. Allow to dry overnight.
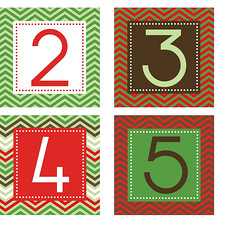
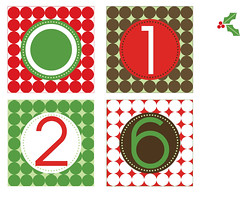
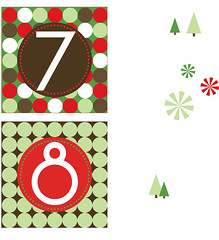
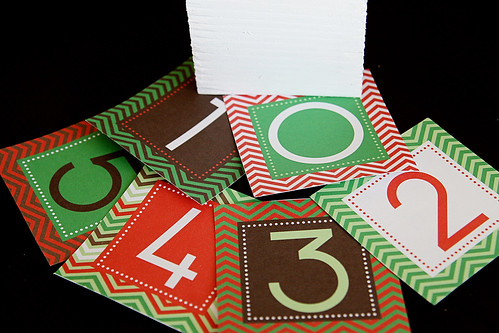
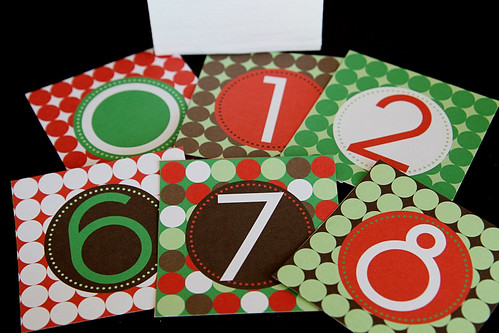
Step 2: Download and print out the countdown block printables on white cardstock. Cut them out using a straight edge trimmer or scissors.

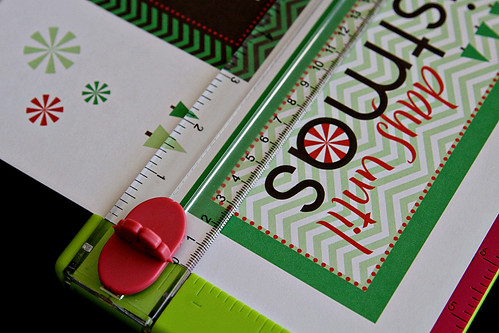
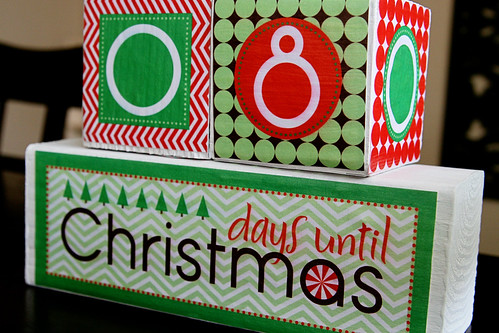
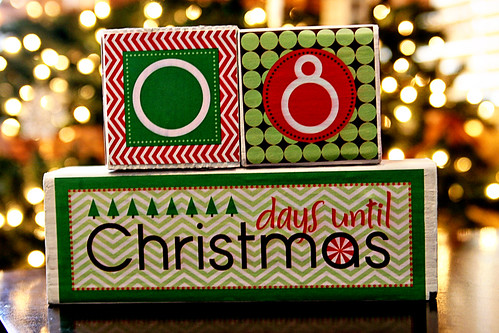
Step 3: Add a coat of mod podge to the back of the “Days Until Christmas” printable and glue it to the larger 10 x 3.5 inch wooden block.
Step 4: Adhere numbers 0,1,2,3,4,5 (the numbers with the chevron design) to the first block using mod podge.
Step 5: Adhere numbers 0,1,2,6,7,8 (the numbers with the mod dots design) to the second block using mod podge.The 6 can also be used as a 9 when flipped upside down.
Step 6: You can add a coat of mod podge to the front of the printables to seal it. The colors might run a bit so I suggest using only a small amount of mod podge and only brushing over the area once or not coating the front at all.