
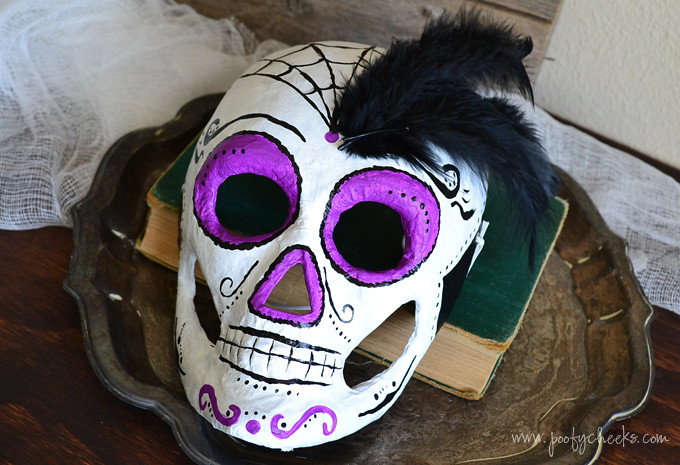
Day 3 of 20 Crafty Days of Halloween and my friend Kelsey of Poofy Cheeks is showing us how to make a super cool skull mask. Don’t forget to link up your Halloween crafts, recipes and decor HERE.
This year our family of four has decided to dress up as skeletons for Halloween. I like the thought of a handmade costume, but sometimes they can take a lot of work and money, so when I came across these paper mache skeleton faces at Michael’s I knew they would make the perfect Halloween skeleton mask! Not only would it be a quick and easy project, but they would be a large part of the costume for a small price.
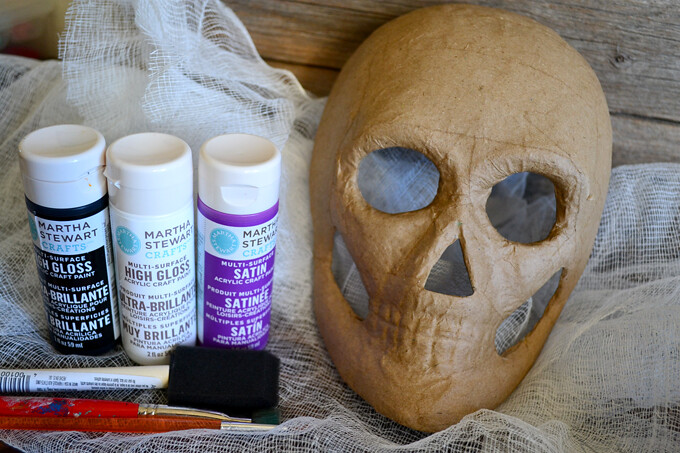
Materials
Paper Mache Skeleton Face (found mine at Michael’s Craft Store)
White, Black, and Purple Acrylic Paints
Paintbrushes
Skinny Elastic (found in any notions section)
Hole Punch
Pencil
Black Feathers (optional)
Hot Glue Gun
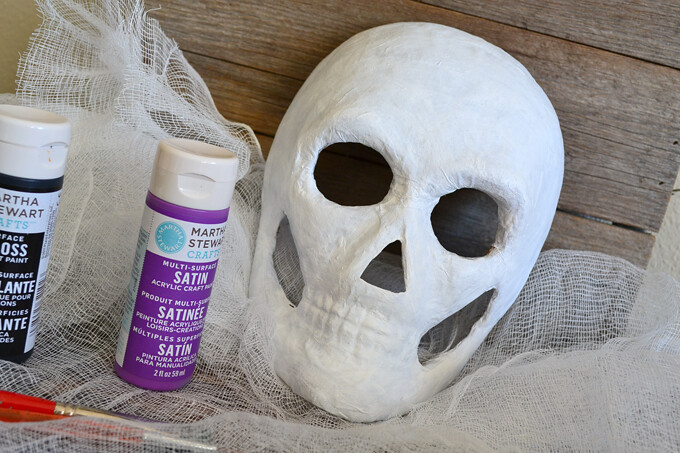
First I applied two coats of white paint to the entire mask. I let the paint dry for about 15 minutes in between coats.
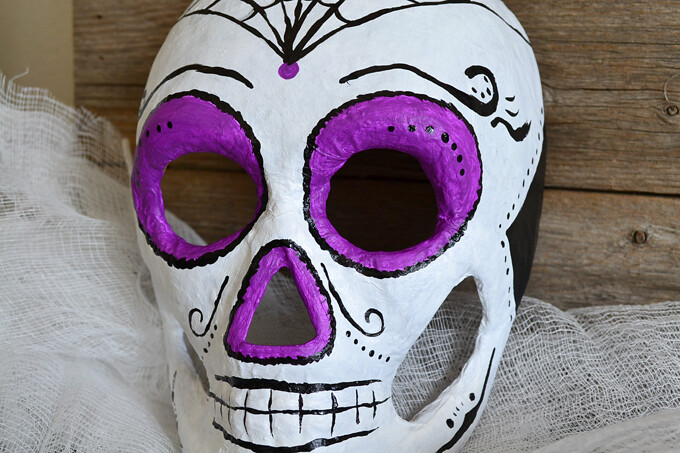
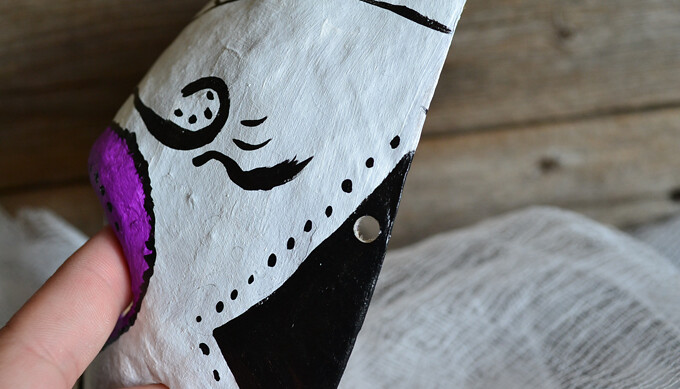
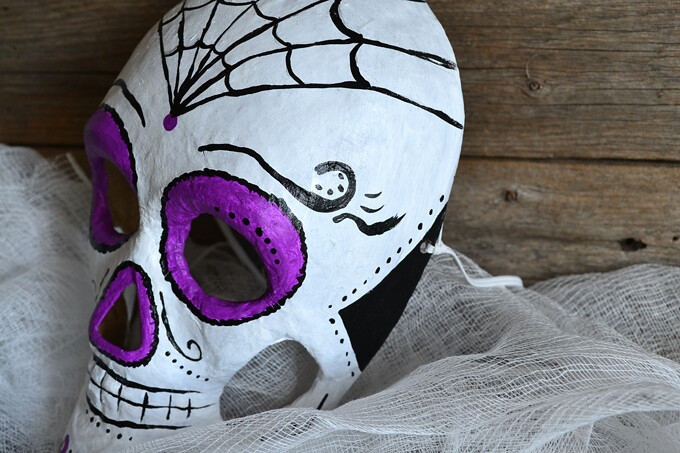
Then I used my purple accent paint to paint around the eyes and nose openings. I also used it to add some swirls and circles to the design. Using a pencil I lightly sketched areas I wanted to paint using the black paint.

Using a thin paint brush I went over the pencil lines in black paint and also used it outline the purple areas around the nose and eyes.
For the next part you are going to use a hole punch to put a hole on either side of the mask and then tie your elastic through the holes. I held the mask up to my face to determine where the holes should go. I placed mine so that the elastic would run across my head right above my ears. For my boys they needed the holes to be a little lower on the mask. I also held the mask up to measure how long to cut the skinny piece of elastic.
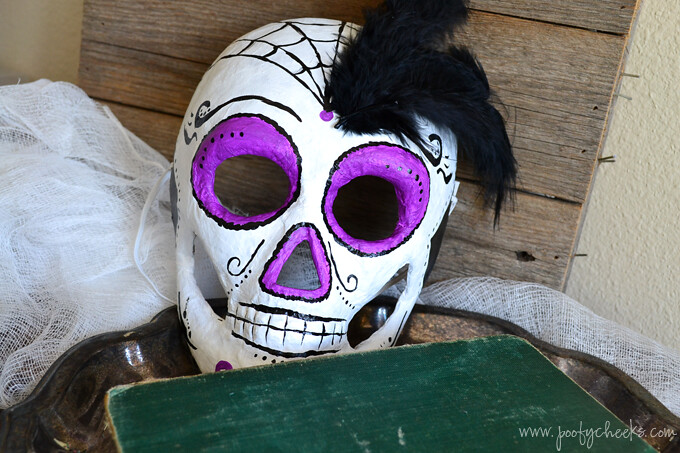
Since this mask is for me and I wanted to add a little bit of a feminine touch I used my hot glue gun to apply three black feathers to the top. If you wanted to get really fancy you could also add rhinestones! I’m going to get a skeleton shirt and then I will be all set to take the boys trick-or-treating!

Hi there! I am Kelsey from Poofy Cheeks, a blog where I share my creative ideas and recipes. You will find sections dedicated to crafts, printable freebies, and recipes. I grew up in a small town in Illinois and now live in Central Florida with my husband and two boys. Halloween is one of my favorite times of year, so I was thrilled to share this tutorial with you all here at See Vanessa Craft!


6 Responses
That is such a neat masked! Thanks for the tutorial!
Thanks for stopping by! Isn’t it cool?! Kelsey did a great job on it!
Thanks for having me Vanessa! 🙂
Thanks again for guest posting Kelsey! LOVE your mask and I can’t wait to see your entire costume!
I LOVE this!! So cute! I always find those masks and keep thinking I want to do something with them, but never had any brainwaves. This is genius!
Thanks for stopping by Sara! Kelsey did a fabulous job on her mask!!