
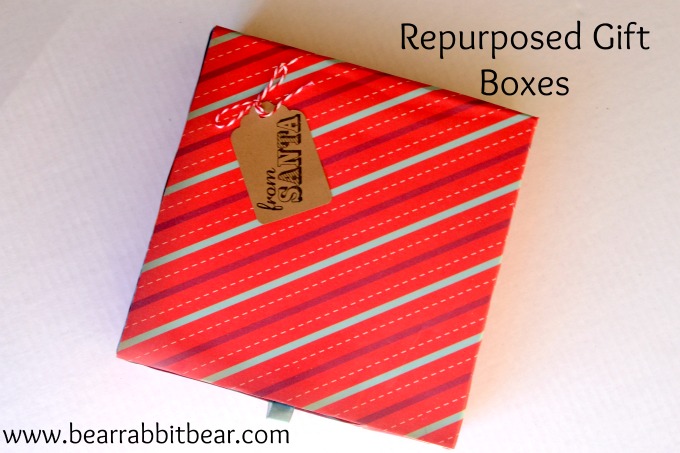
I’d like to welcome Melanie of Bear Rabbit Bear Crafts to my blog for 20 Crafty Days of Christmas! She’s the repurposing queen and will be showing us how to make repurposed gift boxes just in time for the holidays!
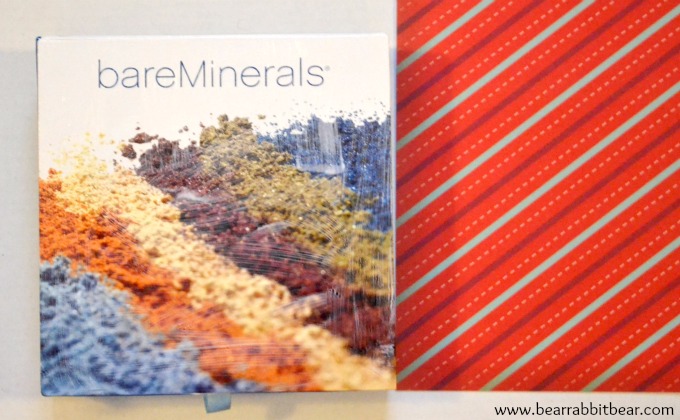
For those of you who are frequent Bear Rabbit Bear Craft readers, you know that I would re-purpose a piece of toilet paper if I could. So it should be no surprise that I’m bringing you a re-purposing holiday project today! I have several nice product boxes lying around -Bare Escentuals boxes, perfume boxes, etc.- that have nothing in them but I can’t bear to through them away. This year they will become holiday gift boxes. Here’s an easy and cheap tutorial for repurposing product gift boxes into Christmas boxes (and you probably already have the materials in your house!).
Materials
Box to repurpose
Mod Podge
Sponge
Scrapbook paper (or you could use wrapping paper)
Scissors
Craft knife
Directions
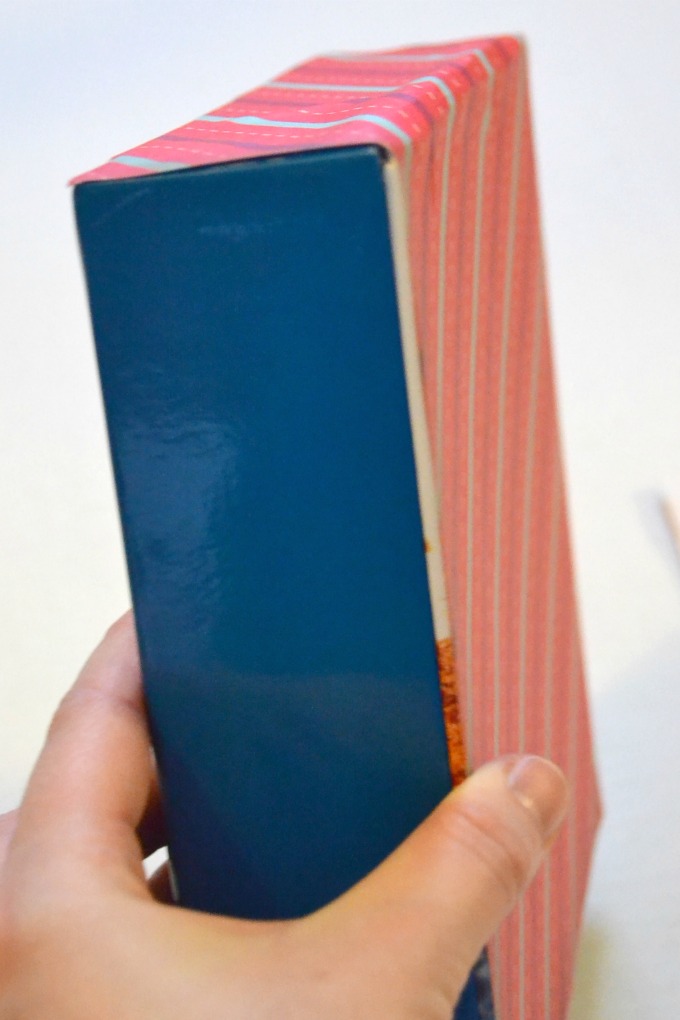
First, decide how much of the box that you need to cover. For instance, most of my box looked good. Only the top and sides needed to be covered. This may differ from box to box. Evaluate it before starting.

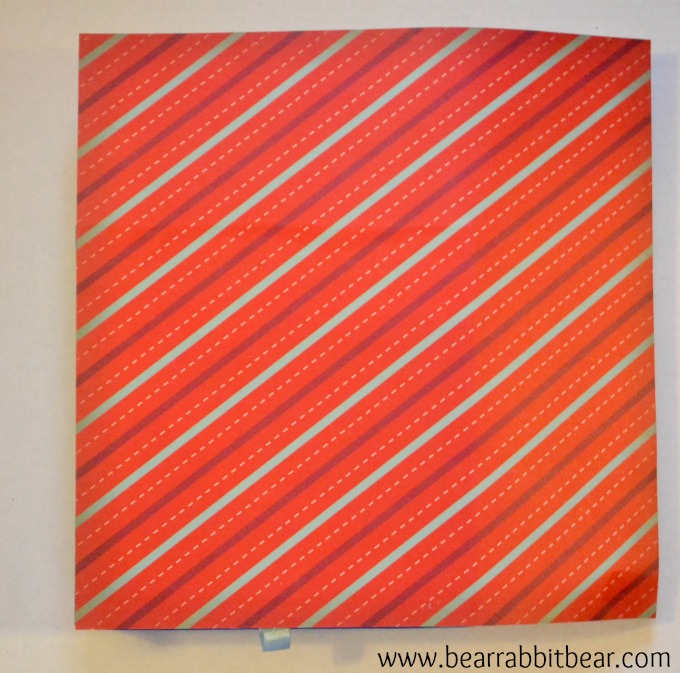
Step One: Using the sponge, apply a thick layer of Mod Podge to the top of the box.
Step Two: Apply scrapbook paper to top of box, printed side up.
Step Three: Using craft knife or scissors, trim down the paper down on the side of the box.
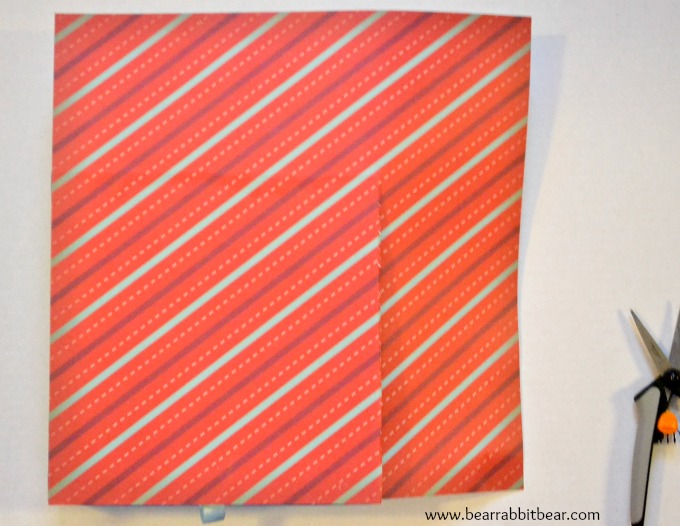
Step Four: Using the sponge, apply a thick layer of Mod Podge to the portion of the box directly behind the top. Continue the scrapbook paper on the portion just Mod Podged.
Step Five: Cut strips for the sides of the box and secure them in the same manner with the Mid Podge as above. Also do the bottom if desired.
Step Six: After all the paper is dried, apply a coat of Mod Podge over the whole box to secure the edges. Let dry completely.
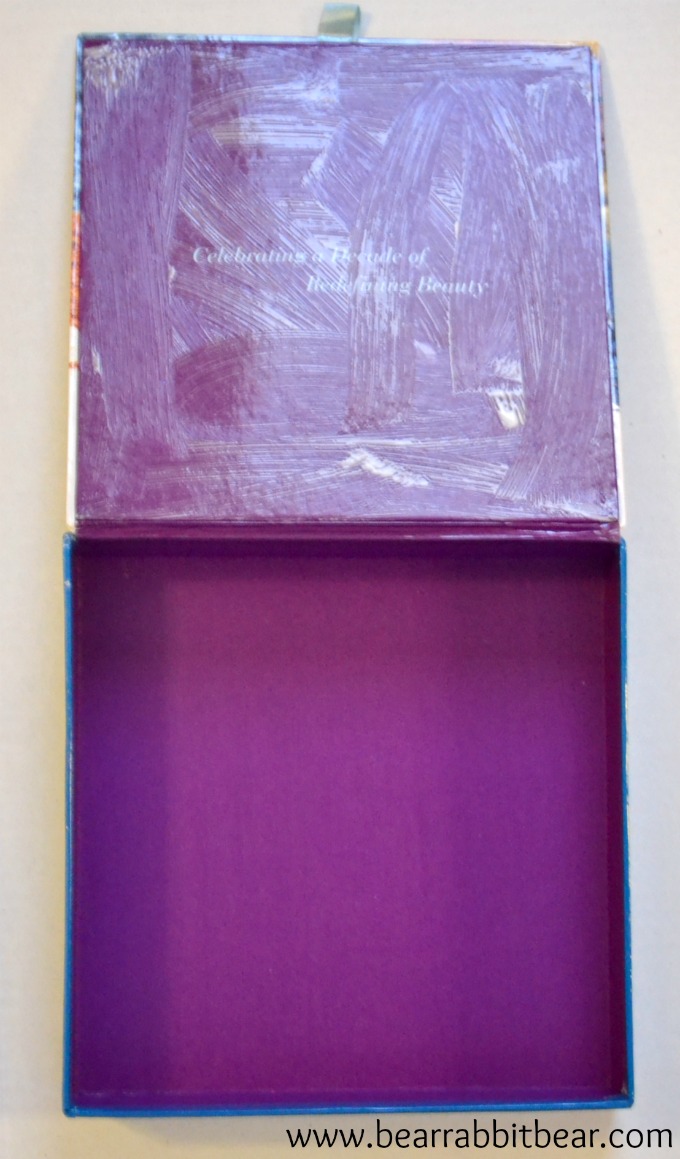
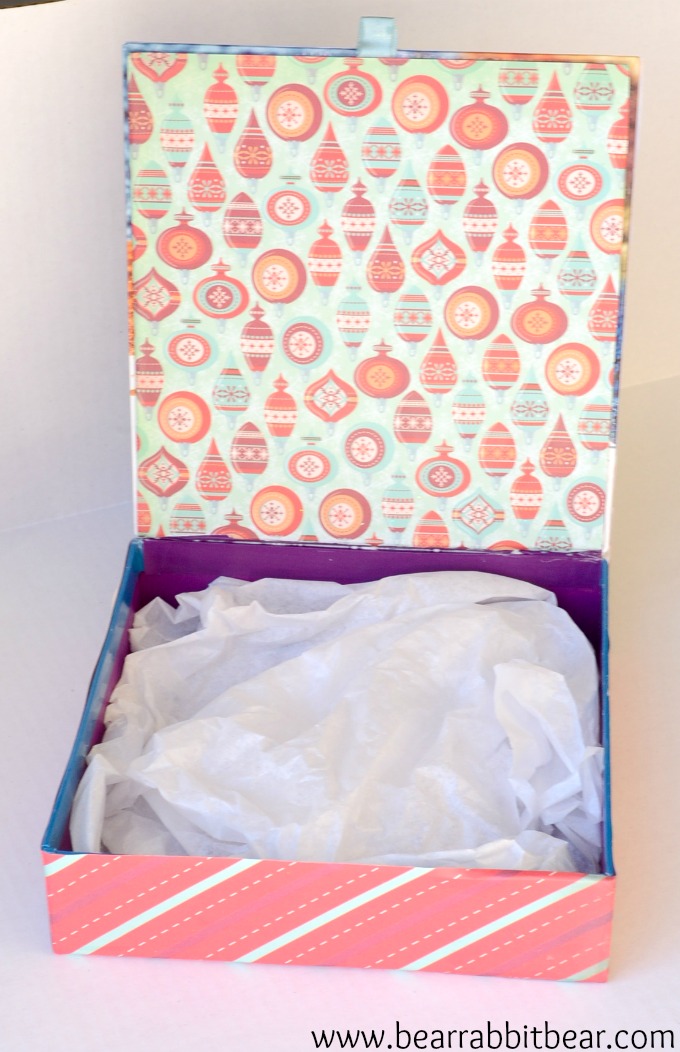
Step Seven: Open up to the inside of the box. Determine what parts need to be covered, if any. For my box, the only portion that had writing on it was the lid. So I chose a coordinating paper and only covered the lid. Simply use the same techniques as for the outside of the box for the inside (apply Mod Podge, then paper, trim paper, and apply a finishing Mod Podge coat).

Step Eight: Finish the box with cute embellishments…oh, yeah- and the gift!!
 Thanks to Vanessa for having me today. I blog over at Bear Rabbit Bear Crafts, where I share a variety of repurposed crafts, kids’ crafts, and sewing projects. I’d like to personally invite you to stop by and check out a few of my projects, like Painted Filigree Earrings, DIY Photo Block Christmas Ornaments, and DIY Photo Desk Organizer Gifts.


One Response
Thanks for letting me guest post today!