

Good morning! I’m Lisa Mabey from Mabey She Made It, a DIY, craft, and sewing blog. I’m so excited to be here today sharing a fun Halloween project with you. I don’t now what it is about Halloween, but I have a VERY narrow aesthetic for decor. I don’t like scary; I don’t like macabre. I don’t like cartoony; I don’t like cutesy. I like what I’ll call Romantic. This made-up-style a bit classy, mostly black and white, and a bit untraditional (i.e. it could easily pass as not-Halloween decor). With candy corn thrown in because I love it.
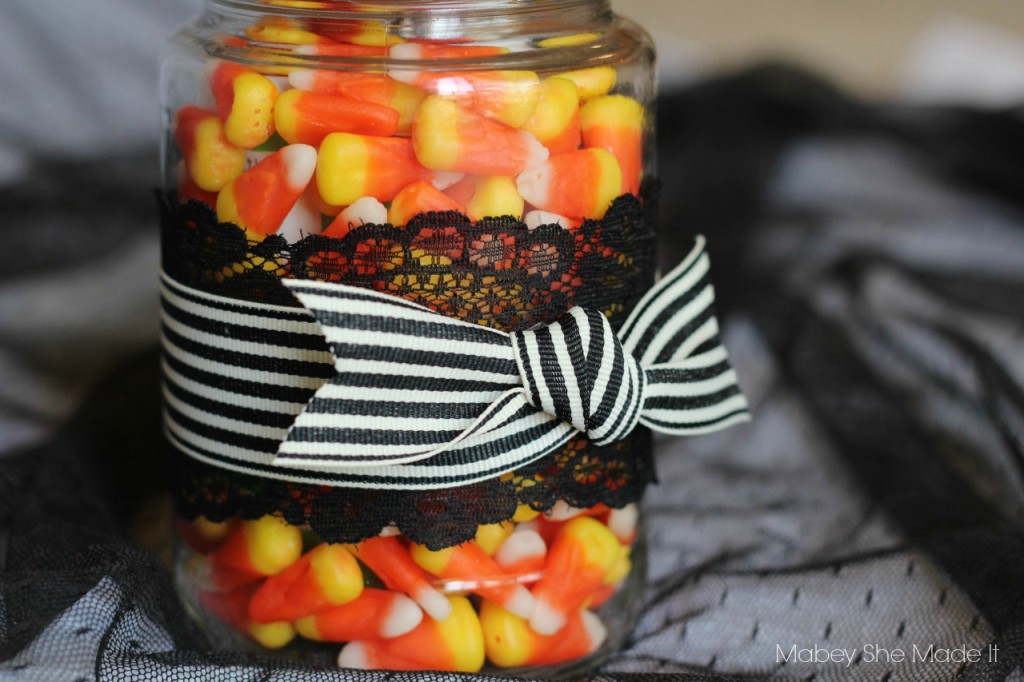
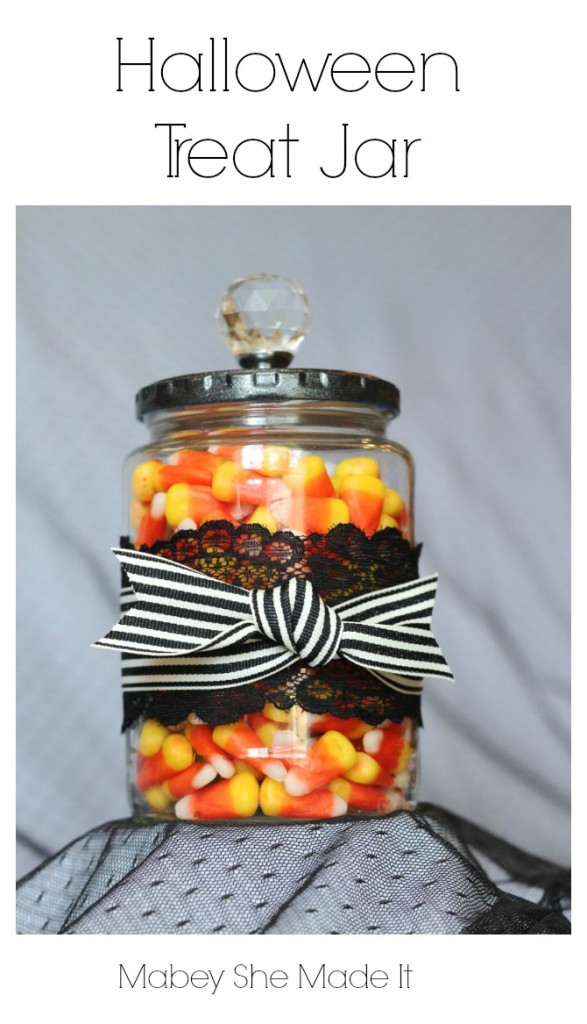
And with that disclaimer, I introduce my Halloween Treat Jar.
It’s really easy and simple, and yet the result looks quite refined–it doesn’t even need to qualify as Halloween decor!
You’ll Need:
- An empty jar (cleaned and with the label taken off)
- Black spray paint
- Black lace
- Ribbon
- Crystal knob
- Double-sided sticky tape (the strong stuff)
- A drill or nail and hammer
Let’s Get Started:
- Clean and take the label off your jar. If your jar has some glue residue on it, try a little peanut butter on it and rub it in until the oil breaks down the adhesive–then wash it off!
- Spray your jar lid using your spray paint, and set it aside to dry.
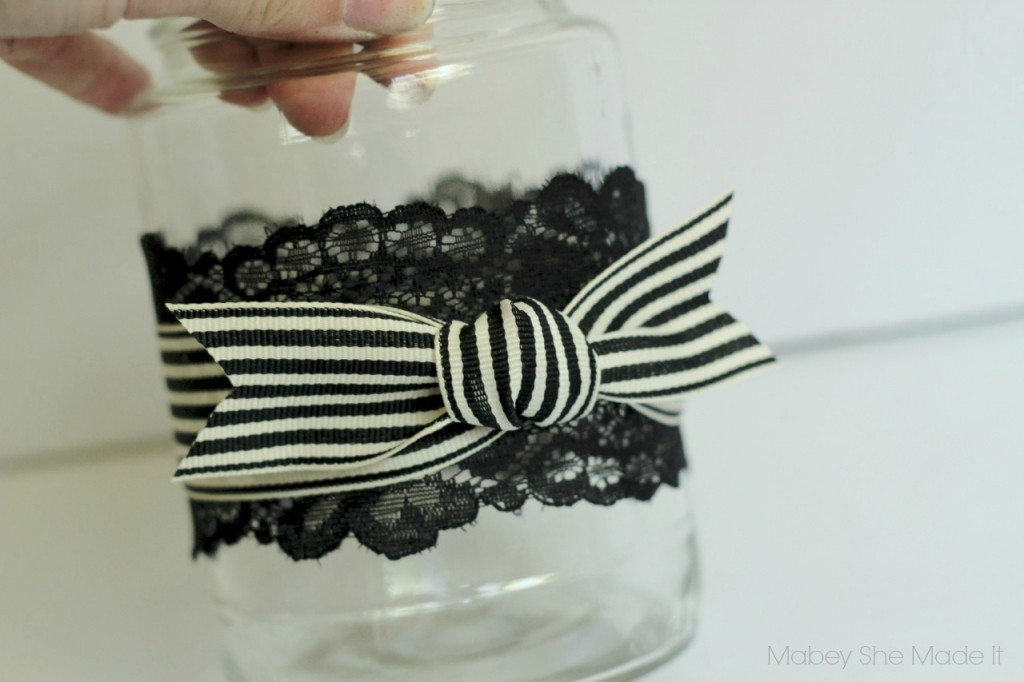
- Adhere the lace to the jar using the double-sided adhesive.
- Tie the ribbon around the jar, and place a little adhesive behind the knot to keep everything in place. Trim your ribbon as desired.
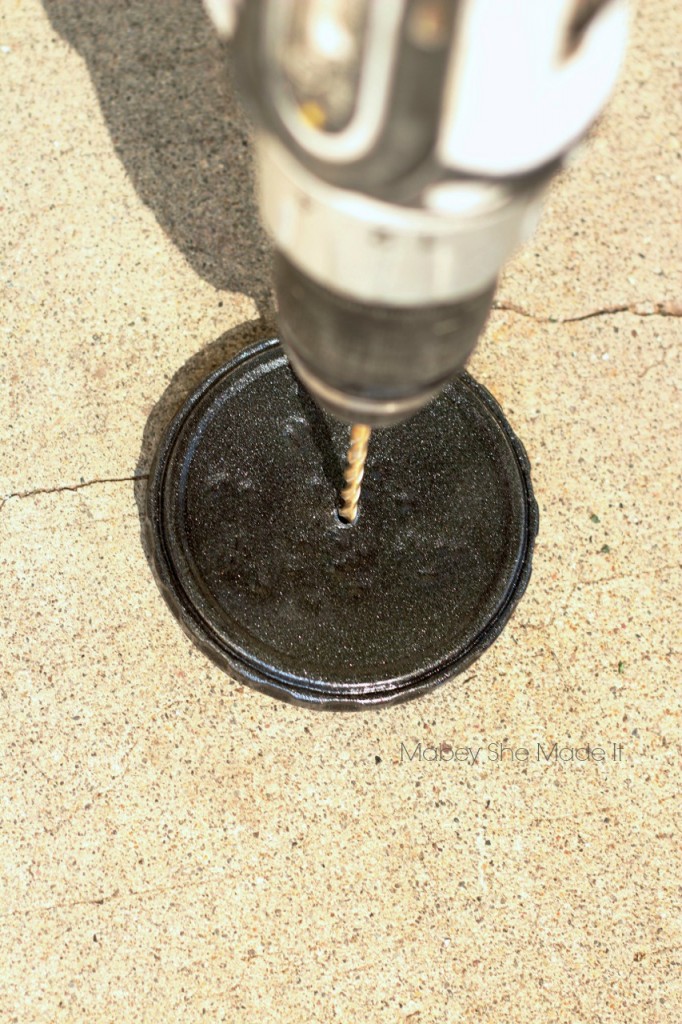
- Drill a hole in (or pound a nail through) the middle of the lid then screw the crystal knob into place.
- Fill it with treats!
It’s something that I can call Halloween decor, but really I’ll use it year round just because I like it. You could even put it on a little pedestal and it would look so elegant with white butter mints in it…Okay now I need white butter mints…
I hope you had fun making a Halloween Treat Jar with me. And I also hope you’ll come visit me at Mabey She Made It or follow me on Facebook, Twitter, Pinterest, Google + and Instagram!


