See Vanessa Craft

A Life Well Lived: Crafts, Recipes, Parties, Home, Travel

  • Email
  • Facebook
  • Google+
  • Instagram
  • Pinterest
  • Twitter
  • YouTube
  • Home
  • About Me
    • Contact
  • Recipes
    • breakfast
    • dessert
    • main dish
    • healthy recipes
  • Crafts & DIY
    • crafts
    • edible crafts
    • gift ideas
    • printables
    • diy
    • home decor
  • Parties
    • children’s parties
    • birthday parties
    • baby showers
  • Holidays
    • new year’s eve
    • valentine’s day
    • superbowl
    • st. patrick’s day
    • easter
    • cinco de mayo
    • mother’s day
    • teacher appreciation
    • 4th of july
    • halloween
    • thanksgiving
    • christmas
  • Travel
  • Disney
  • My Book
You are here: Home / tutorials / diy / DIY Vintage Door Headboard

DIY Vintage Door Headboard

August 11, 2015 By Shelly 1 Comment

Add a bit of farmhouse flair to your bedroom with a diy vintage door headboard

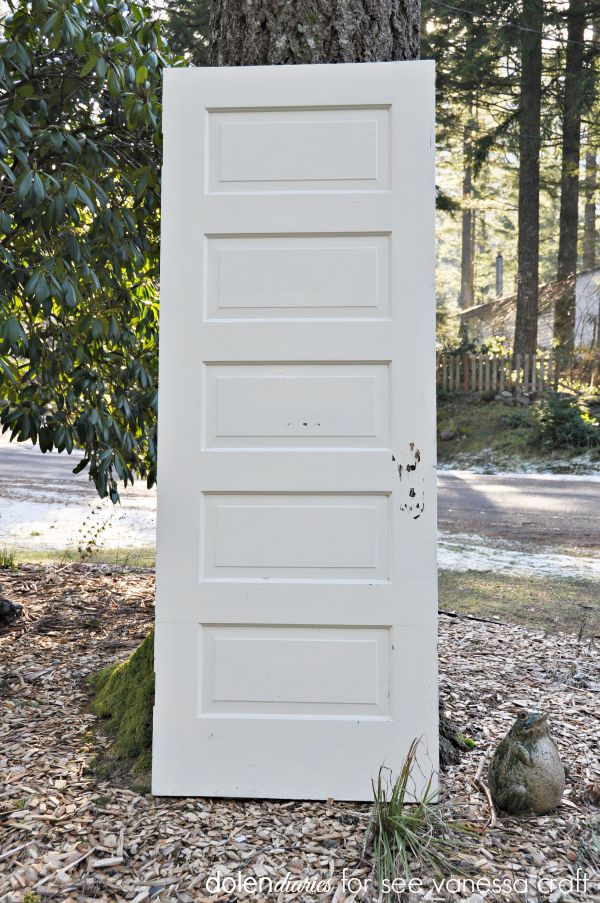
Looking to add a little farmhouse charm to your bedroom!?! This DIY Vintage Door Headboard is the perfect DIY project even for beginners! 

vintage door for headboard

Supplies:

  • vintage door 
  • 1″ x 6″ trim piece {1 – 7′ long piece} *all of the cut measurements are for a queen sized bed.
  • 3″ crown molding {1 – 6′ long piece
  • 1″ x 4″ trim piece { 8 – 5′ long pieces}
  • air nail gun & nails
  • wood glue
  • circular saw
  • 2 wood clamps
  • matte white spray paint
  • drill & screws to attach to wall for room installation

creating a headboard out of an old door

Cut the old door 3″ wider than your mattress. 

attaching legs to diy vintage door headboard

Take 2 of the 1″ x 4″ pieces glue & nail them together in an L shape. Nail the L to one end of the door. 

nailing legs on diy headboard

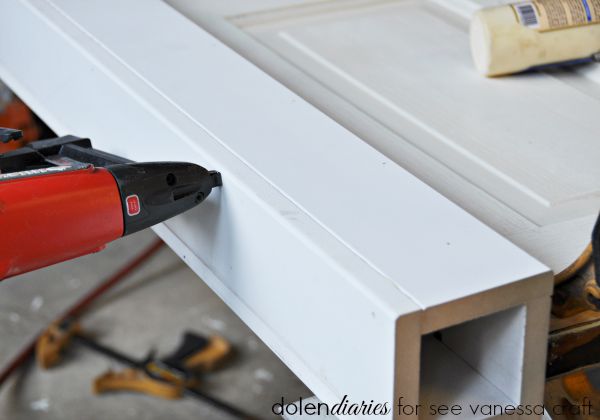
Take 2 more 1″ x 4″ pieces glue & nail them together to make another L shape and nail and glue them to the other L to finish off the first leg of your DIY Vintage Door Headboard.

diy headboard legs

Here’s a better look at what the the legs will look like this when assembled on their own. 

diy headboard

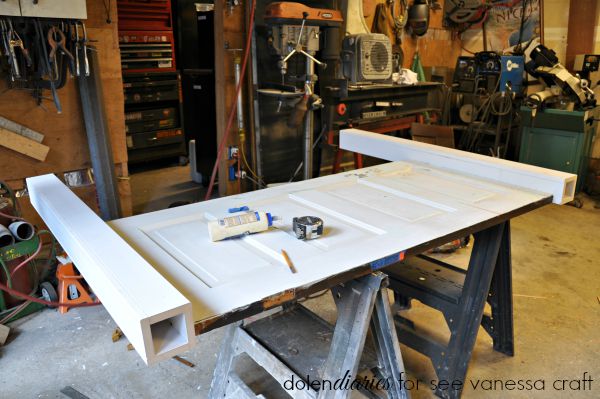
Repeat the same leg assembly on the other side.

attaching crown on top of diy headboard

Attach the piece of crown molding to the top of the headboard with nails. 

building your own headboard

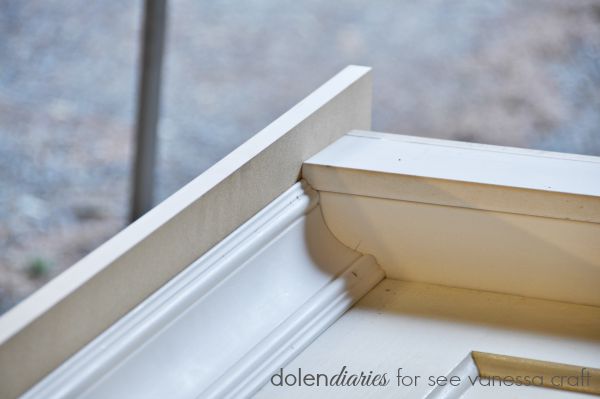
To finish off the top attach the 1″ x 6″ to the top of the headboard. 

vintage door headboard

Your DIY Vintage Headboard is now ready to be painted!

vintage door headboard is the perfect farmhouse style touch to a bedroom

I sprayed ours a white matte for a classic farmhouse look.

attach the headboard to the wall with screws

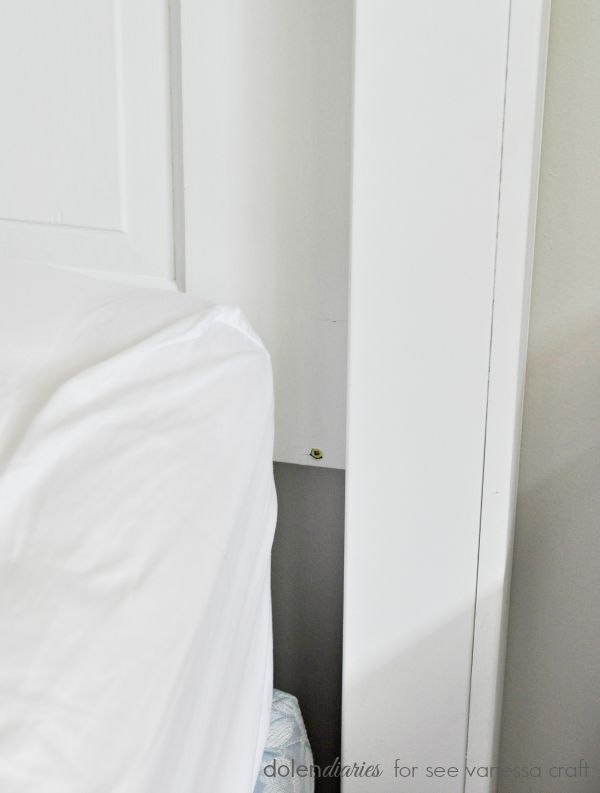
To install the headboard securely we screwed it straight into the wall. 

modern farmhouse style headboard

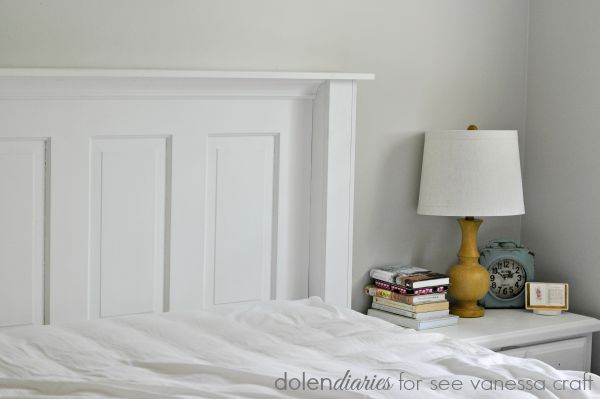
I love how it looks in our bedroom!!! Looking for more DIY inspiration!?! Pop on over to Dolen Diaries and say hello! 

You Might Also Like

  • DIY: Pink and Purple Floral Big Girl Room MakeoverDIY: Pink and Purple Floral Big Girl Room Makeover
  • DIY: Modern Farmhouse Playroom MakeoverDIY: Modern Farmhouse Playroom Makeover
  • DIY: Coral and Aqua Bathroom Makeover Mood BoardDIY: Coral and Aqua Bathroom Makeover Mood Board
  • DIY: Reclaimed Wood Utensil CaddyDIY: Reclaimed Wood Utensil Caddy
The following two tabs change content below.
  • Bio
  • Latest Posts
My Twitter profileMy Facebook profileMy Google+ profileMy Instagram profileMy Pinterest profile

Shelly

Hi, I’m Shelly and I blog over at Dolen Diaries where I share a little this and that….DIY & craft projects, kids crafts & activities, and life as a mama to three fabulous boys. I love all things creative and am blessed to have a husband who loves to be creative with me! In fact, most of our date nights are spent in our garage working on our latest projects. I can’t wait to share all of my creative adventures with you!
My Twitter profileMy Facebook profileMy Google+ profileMy Instagram profileMy Pinterest profile

Latest posts by Shelly (see all)

  • DIY: Rustic Bulletin Board Frame Makeover - November 4, 2015
  • DIY Vintage Door Headboard - August 11, 2015
  • DIY: Water Spigot Towel Hook - July 14, 2015
  • DIY: Reclaimed Wood Utensil Caddy - June 3, 2015

Filed Under: diy, home decor, tutorials Tagged With: bedroom, DIY, farmhouse style, headboard

Never Miss A Post!

« Printable: Motherhood Survival Kit
Recipe: Easy Apple Crisp Dessert »

Comments

  1. Criatopher says

    February 14, 2016 at 3:18 am

    Great video! This is exactly the bed I’ve enivisoned in my mind but had not found exactly what I wanted. I never thought of building one from recycled doors! Thanks for the great video and new ideas for constructing furniture pieces from recycled products!

    Reply

Leave a Reply Cancel reply

Your email address will not be published. Required fields are marked *

CommentLuv badgeShow more posts

This site uses Akismet to reduce spam. Learn how your comment data is processed.

Never Miss A Post!

(tot school tuesday) 10 kid-friendly st. patrick’s day activities

(tot school tuesday) 10 kid-friendly st. patrick’s day activities

Printable: Lucky Penny St. Patrick’s Day Cards

Printable: Lucky Penny St. Patrick’s Day Cards

Valentine’s Day: “I Hygge You” Printable Socks Gift

Valentine’s Day: “I Hygge You” Printable Socks Gift

(recipe) heart shaped strawberry shortcake

(recipe) heart shaped strawberry shortcake

Instagram

Load More...
Follow on Instagram

Find It Here

Archives

Categories

Contact Me

Have a question or just want to say hello? I'd love to hear from you! Send me an email at seevanessacraft@gmail.com
Privacy

Copyright © 2021 · Tasteful theme by Restored 316

Copyright © 2021 See Vanessa Craft · Log in

»
«