See Vanessa Craft

A Life Well Lived: Crafts, Recipes, Parties, Home, Travel

  • Email
  • Facebook
  • Google+
  • Instagram
  • Pinterest
  • Twitter
  • YouTube
  • Home
  • About Me
    • Contact
  • Recipes
    • breakfast
    • dessert
    • main dish
    • healthy recipes
  • Crafts & DIY
    • crafts
    • edible crafts
    • gift ideas
    • printables
    • diy
    • home decor
  • Parties
    • children’s parties
    • birthday parties
    • baby showers
  • Holidays
    • new year’s eve
    • valentine’s day
    • superbowl
    • st. patrick’s day
    • easter
    • cinco de mayo
    • mother’s day
    • teacher appreciation
    • 4th of july
    • halloween
    • thanksgiving
    • christmas
  • Travel
  • Disney
  • My Book
You are here: Home / holidays / christmas / Christmas: Glitter Wood Tag Ornament

Christmas: Glitter Wood Tag Ornament

December 1, 2015 By Vanessa 1 Comment

wood-grain-big-s

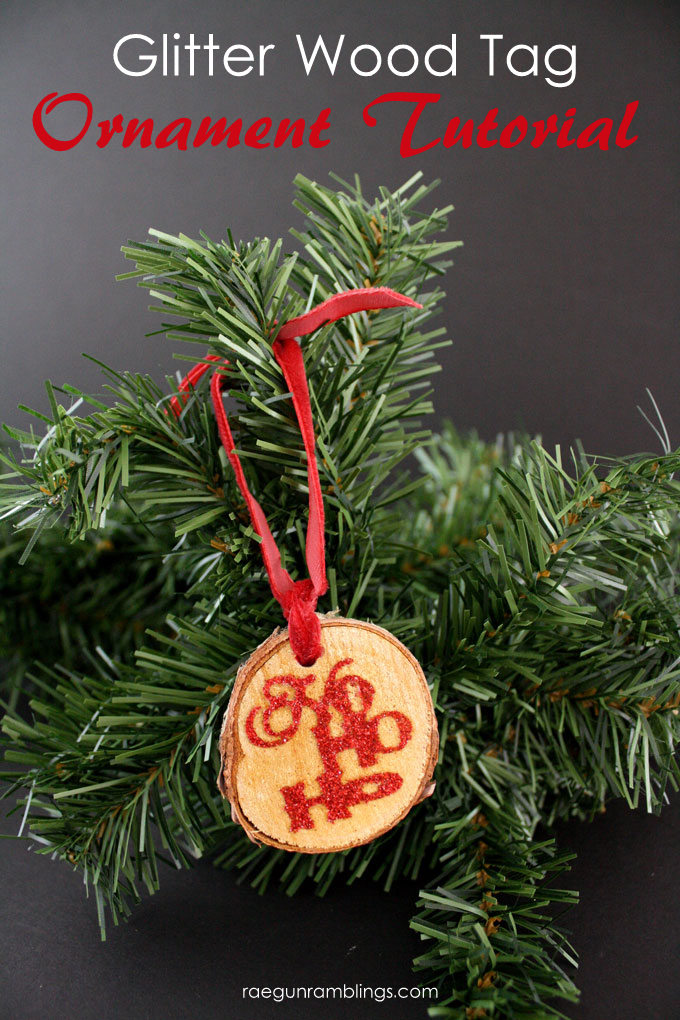
Marissa from Rae Gun Ramblings where I blog about all things crafty, tasty, and bookish. I LOVE handmade Christmas ornaments. And I’m excited to share one of my favorites that I’ve made. These Glitter Stenciled Wood Tag Ornaments are super easy but really pretty.
wood-grain-big-004

MATERIALS

Loose Glitter

Mod Podge

Contact Paper (or Scrapbooking Vinyl)

Ribbon

Drill (or glue)

Wood Tags

INSTRUCTIONS

  1. Some wood tags come with predrilled holes if yours don’t just drill your own holes. Or if you prefer you can always glue your ribbon on instead of using a hole.
  2. Make a stencil using contact paper or vinyl. I started by measuring the surface of my wood tag then I cut my shapes/words out on my Cricut cutting machine. You could just as easily trace a design and cut it with an exacto-knife if you have a steady hand.
  3. Place your stencil onto your wood piece being careful to add any filler spaces and press all the edges down. Paint a generous layer of Mod Podge onto the stencil and top with think layer of glitter.
  4. Leave to dry for about 1 hour and then gently tap the wood piece to clear any loose glitter. Gently pull off the stencil.
  5. Finally tape the end of your ribbon to help thread it through the hole in the wood and then tie a double knot at the base and then another to form a space to hang the ornament from.

wood-grain-big-005s

I just love how these turned out. It’s extra fun that you can make pretty much any design since you make your own stencil. A word of advice for picking a design, make sure it’s something that can clearly be identified in one color. Words are great. If the details are in the edges that might be harder since your glitter makes the edges less sharp.

wood-grain-big-002s

I hope you liked my simple DIY glitter wood tag ornaments for I have loads of easy Christmas tutorials on my blog Rae Gun Ramblings but here are a few of my favorites. I hope you’ll stop by and say hi!

see-vanessa-collage-xmas

10 Minute Infinity Scarf | Christmas Thumbprint Cookies | DIY Christmas Deer Pillowcases

Let’s connect! You can also find me hanging out here.
PhotobucketPhotobucketPhotobucketPhotobucketPhotobucketPhotobucketPhotobucket

Crafty Days of Christmas copy 2

You Might Also Like

  • Christmas: Tinsel Snowflake WreathChristmas: Tinsel Snowflake Wreath
  • Christmas: Easy Snowman Dice GameChristmas: Easy Snowman Dice Game
  • (20 crafty days of christmas) glittered vintage bulbs (20 crafty days of christmas) glittered vintage bulbs
  • (20 crafty days of christmas) handmade photo ornament(20 crafty days of christmas) handmade photo ornament
The following two tabs change content below.
  • Bio
  • Latest Posts
My Twitter profileMy Facebook profileMy Google+ profileMy Instagram profileMy Pinterest profileMy YouTube channel

Vanessa

I'm Vanessa and it's my mission in life to spread my love of hot glue guns and glitter to others. I suffer from craft ADHD, regularly working on at least 10 projects at the same time and my craft room looks like a tornado hit it. My first craft book, Party in a Jar, was published in 2014. I look forward to crafting with you!
My Twitter profileMy Facebook profileMy Google+ profileMy Instagram profileMy Pinterest profileMy YouTube channel

Latest posts by Vanessa (see all)

  • 5 Reasons to Visit HGTV’s Santa HQ - December 6, 2019
  • Garlic Parmesan Dinner Rolls Recipe - December 2, 2019
  • Play Review of Chato’s Kitchen with Childsplay - November 21, 2019
  • Holiday Gift of Dishes with Printable Tags - November 20, 2019

Filed Under: christmas, crafts, holidays, tutorials Tagged With: 20 Crafty Days of Christmas, Christmas, Holidays

Never Miss A Post!

« Christmas: Very Hungry Caterpillar Ornament
Christmas: Family Wish Wreath »

Comments

  1. Ravikant says

    February 14, 2016 at 3:37 am

    29.02.2012 1:24 am DONE!!! It’s gonna be hard to narrow it down to just one fav . they call me the Spray Paint Queen! Really they do!!! I guess my leastt greatest would be the $12 chandelier I jumped out of my car and snatched up!!! Took it apart, cleaned it up, sprayed it silver, then a top coat of the Premium Sterling Silver, added all acrylic Christmas ornaments for all the bling!!! I’ve already had several people try to buy it from me . not gonna happen!!! : ) Keeping fingers toes crossed ..

    Reply

Leave a Reply Cancel reply

Your email address will not be published. Required fields are marked *

CommentLuv badgeShow more posts

This site uses Akismet to reduce spam. Learn how your comment data is processed.

Never Miss A Post!

(20 crafty days of christmas) 10 minute gift card holders

(20 crafty days of christmas) 10 minute gift card holders

(recipe) classic chocolate chip cookies

(recipe) classic chocolate chip cookies

Party: DIY Valentine’s Day Photo Booth

Party: DIY Valentine’s Day Photo Booth

Valentine’s Day: Printable Ice Cream Lip Balm Cards

Valentine’s Day: Printable Ice Cream Lip Balm Cards

Instagram

Load More...
Follow on Instagram

Find It Here

Archives

Categories

Contact Me

Have a question or just want to say hello? I'd love to hear from you! Send me an email at seevanessacraft@gmail.com

Copyright © 2019 · Tasteful theme by Restored 316

Copyright © 2019 See Vanessa Craft · Log in

»
«