
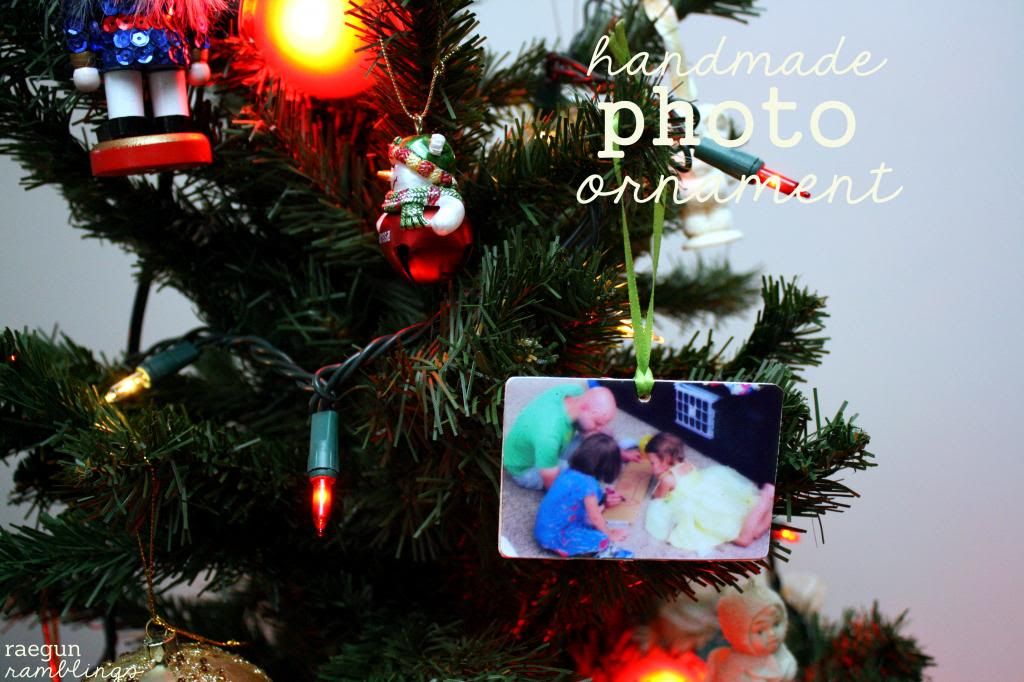
Marissa from Rae Gun Ramblings is guest posting today for 20 Crafty Days of Christmas. She’s showing us how to make a handmade photo ornament. Super cute and super easy!
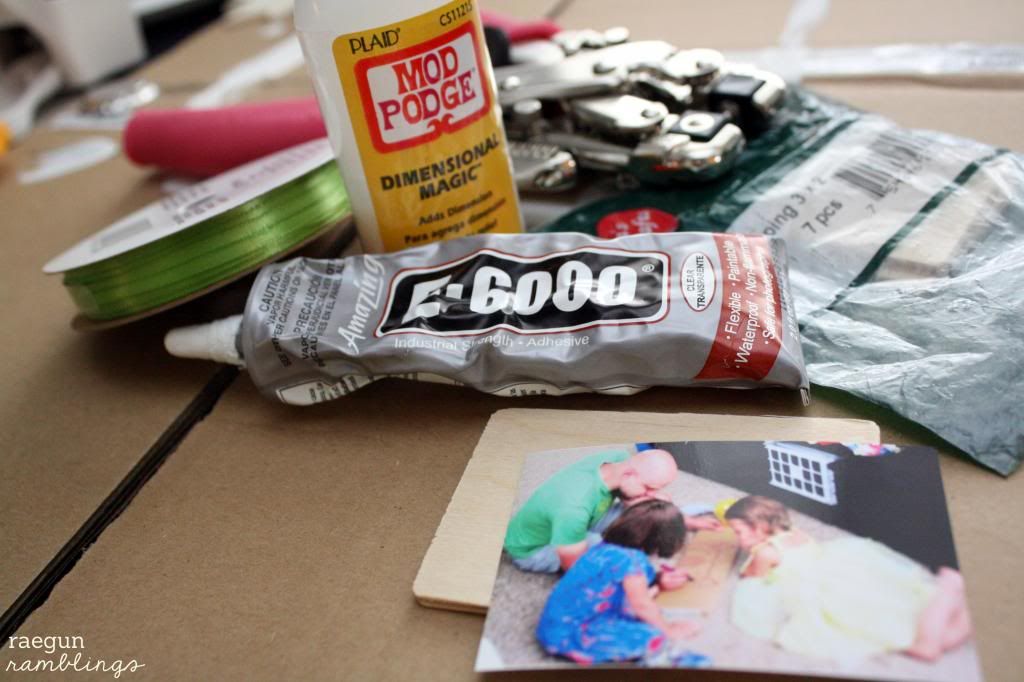
Materials
- wood pieces (I used 2×3 inch pieces I found at Michael’s)
- photos sized to fit your wood pieces
- crop-a-dile or something to punch a hole
- Mod Podge Dimensional Magic
- Glue (or regular mod podge)
- ribbon

Directions
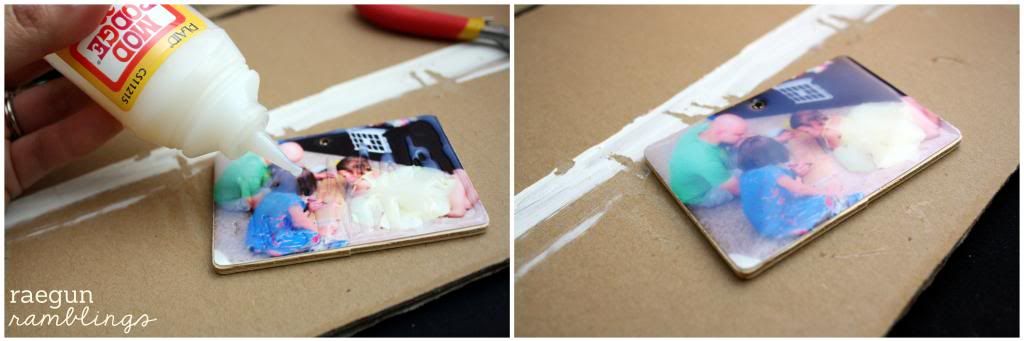
First size and print you photos I did it in Picasa which is a free program and super easy to use. If your wood piece has rounded corners trim your photo. Glue your photo to the wood piece (I used both E6000 and mod podge on different occassions and they both work fine). Punch a hole or if you don’t have anything to punch a hole you can just glue a ribbon loop to the back for hanging.
Next place your ornament on a flat surface and top with dimensional magic. Pop and/or move any air bubbles you see off the edge. Let dry (a few hours). It will appear cloudy at first but then it will dry clear.
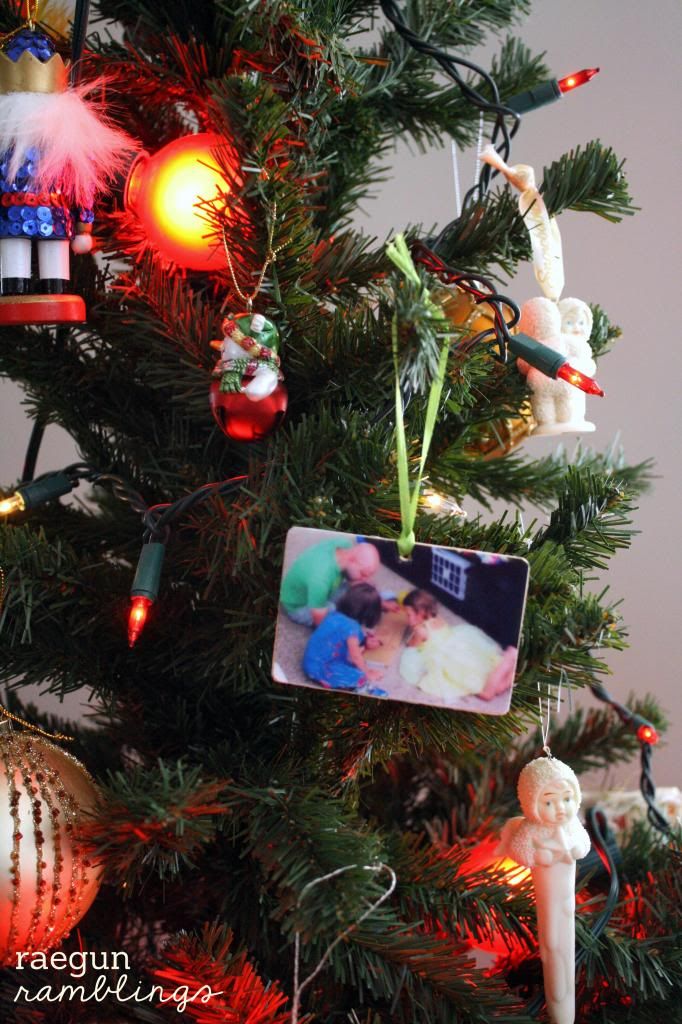
Sting ribbon and hang on your tree. Easy right?
 I’m Marissa from Rae Gun Ramblings. I post about all thing crafty, delicious, and bookish. I also run an Etsy shop where I sell handmade baby clothes and fan stuff for YA reader and I love helping people learn the ropes of Etsy. I am so trilled to be back here guest posting.I would love if you’d let me know if you try it out. I’d love you to stop by and visit me at Rae Gun Ramblings or connect with me on facebook, twitter, and pinterest! Thanks for having me Vanessa.


