I recently got to try out Plaid’s new Mod Podge Photo Transfer Medium and was totally pumped after learning about all of the awesome things you can make with this product. You can transfer photos onto fabric, wood and more using this stuff! I decided to transfer one of Logan’s photos onto canvas fabric and sewed up a mini me doll for him. He was pretty excited to see his face on a doll! I loved how it turned out so much that I want to make a whole mini me family for him. There’s a bit of a learning curve to working with this product, but it’s fairly easy to work with and Plaid has an awesome video tutorial with some helpful tips. You can find Mod Podge’s Photo Transfer Medium at Michael’s.
Materials
Mod Podge Photo Transfer Medium
Canvas Material
Favorite Photo (printed on white printer paper using an ink jet printer)
Scissors (fabric & paper)
Sponge Brush
Sponge & Water
Sewing Machine
Batting
Instructions
Step 1: Print your favorite photo of your little one on white printer paper using an ink jet printer. Photo paper and non-ink jet printers will not work for this project. I printed out a copy of my favorite photo at Kinkos Fed Ex with success. Cut around the photo.
Step 2: Brush a thick layer of Mod Podge Photo Transfer Medium onto the front of the photo. Use enough product so you can no longer see the photo. Place, face down, onto the canvas fabric. Tap and smooth out, removing excess Mod Podge from the sides. Allow to sit for 24 hours.
Step 3: After 24 hours, gently sponge water on the backside of the print until it is completely damp. Let sit for 2 minutes.
Step 4: After 2 minutes, use a damp sponge to rub away the white paper in a circular motion. You may have to sponge over your photo several times until the paper is completely gone, leaving a nice clean image on the canvas fabric.
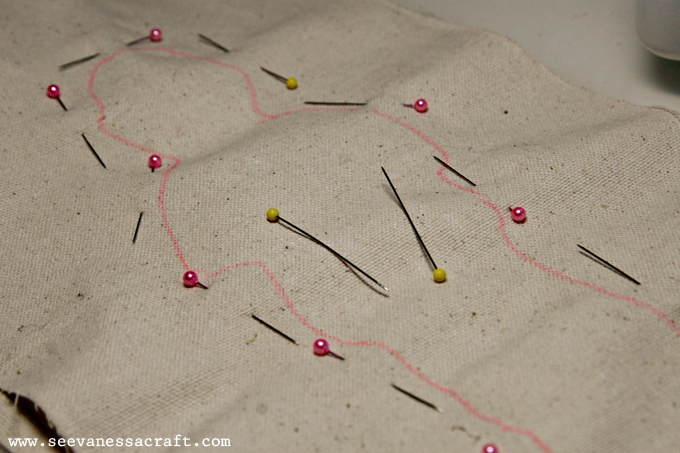
Step 5: If you are using a heavier fabric like canvas, hold the image up to a window and trace around it on the backside. Sandwich the image with another piece of canvas and pin together around the outline.
Step 6: Sew around the image, approximately 1/2 inch away from the outline.
Step 7: Cut around the image, as close to the seam as possible and flip right-side out.
Step 8: Stuff the mini me doll with batting and sew shut.
Step 9: Give your little one their mini me doll!
Follow Plaid Crafts on Pinterest
Follow Plaid Crafts on Twitter
Check out other Mod Podge Photo Transfer Medium projects here:
Disclaimer: This post was written as part of a campaign with The Blueprint Social. All opinions are my own.


3 Responses
How fun. This has “Flat Stanley” traveling adventures potential, too.
Thanks Beth! Total “Flat Stanley” potential 🙂
Hi,
I checked the description of Mod Podge Photo and is says to use with dry toner copiers/printers, so not ink jet printers but laser printers (which is what they would normally have at Kinko’s). I think in your article you mention it the other way around. Thanks for the tutorial!
Best wishes,
Mar