Hi everyone! I am Allison from A Glimpse Inside. I am an Army wife and momma with a creative side.
I am thrilled to be here today to share my idea for this year’s 20 Crafty Days of Halloween.
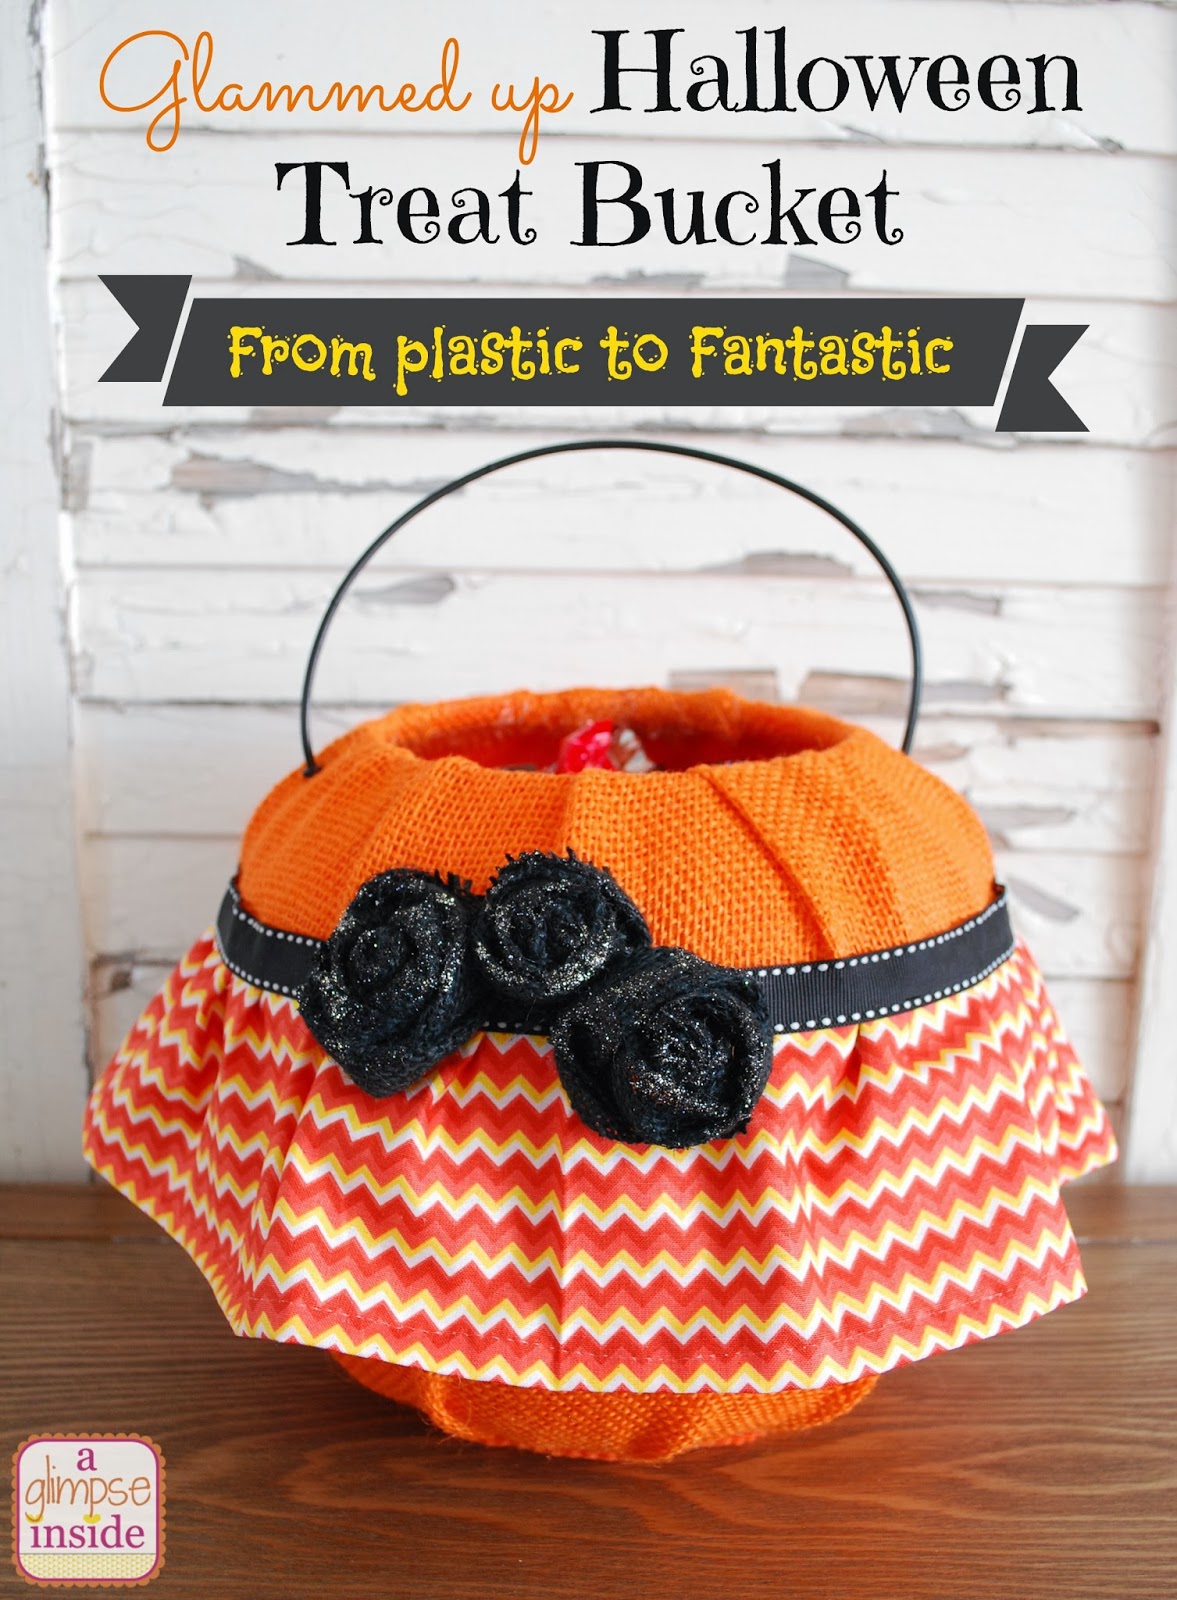
This is the first year we will really take our daughter out trick or treating so I wanted to make a fun bucket for her to carry. Here is what I created.
Here is how I created it:
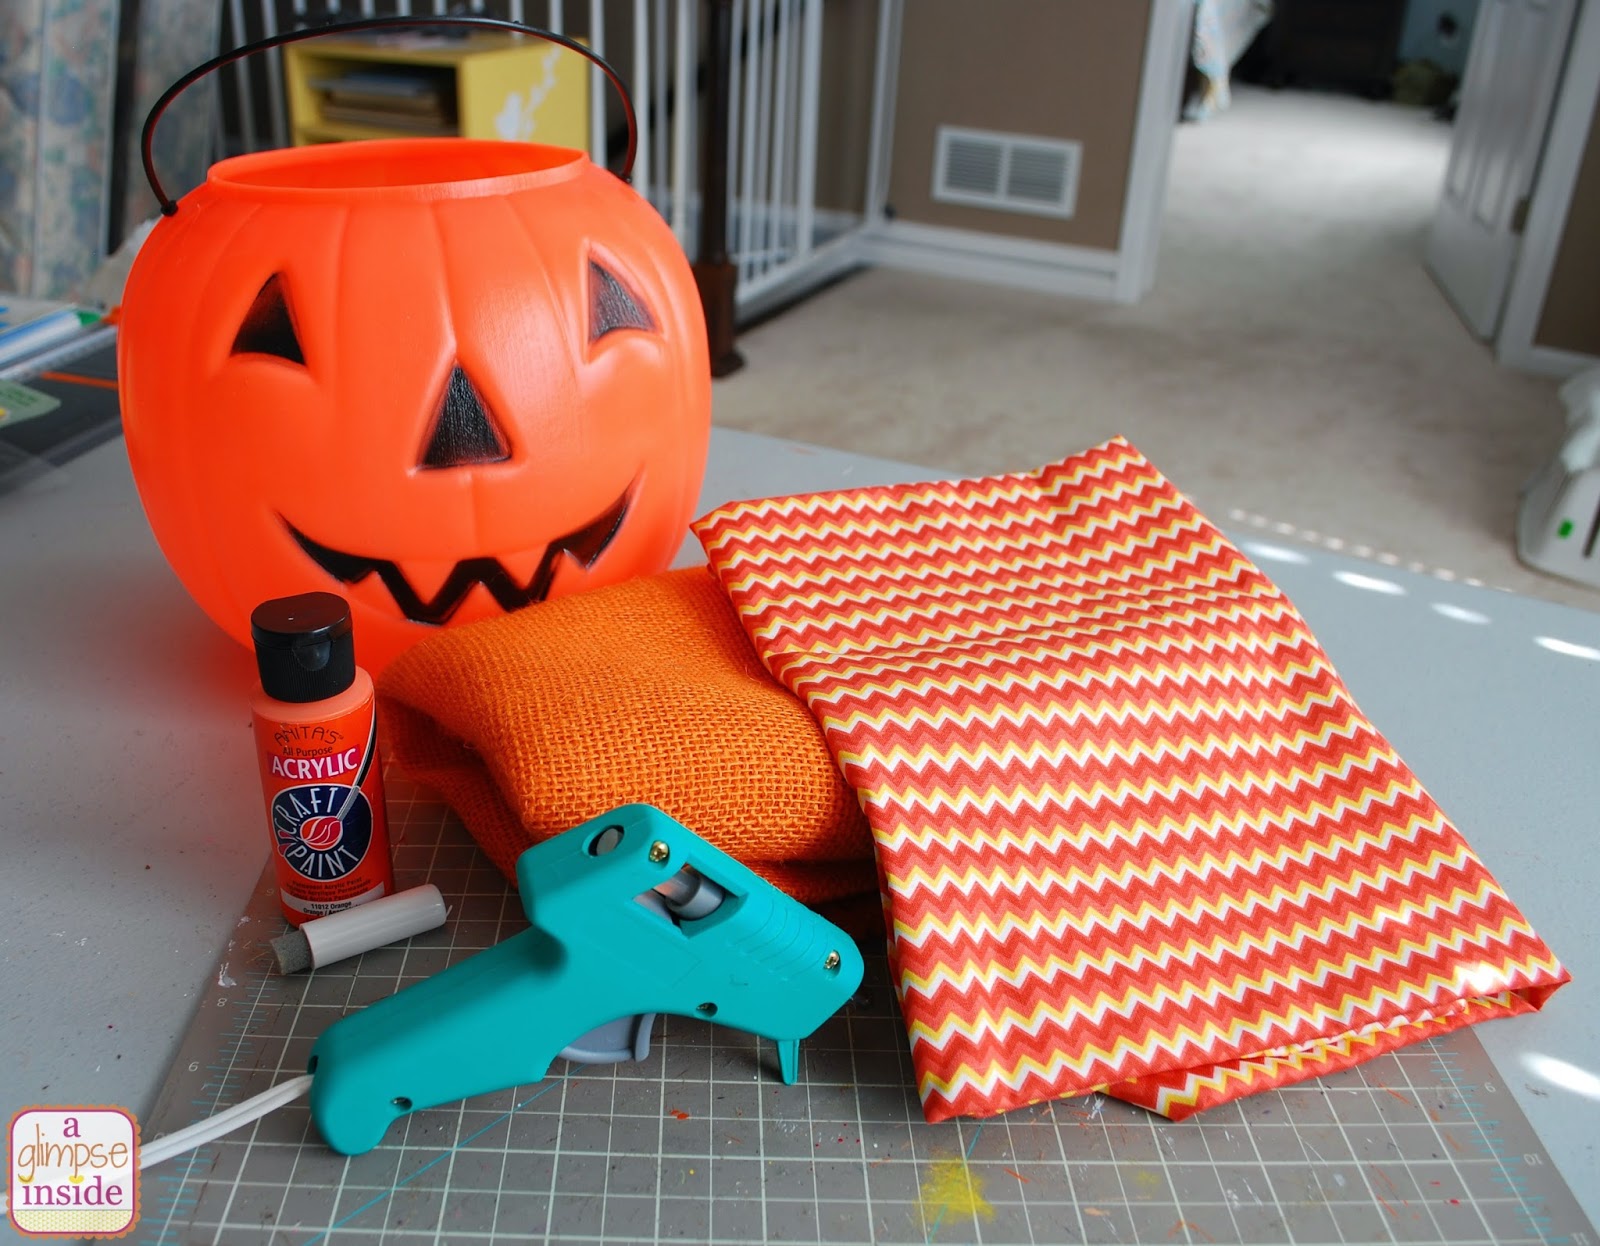
Supplies:
-Plastic Pumpkin Bucket- I bought this at Target for $1
-Orange Burlap
-Fabric of your choice
-Hot Glue Gun
-Orange paint
-Paint brush
-Ribbon
-Felt
-Black Burlap
-Glitter (optional)
To start:

Since I was covering the pumpkin in orange burlap, I didn’t want the face of the pumpkin to shine through so I took orange paint and just painted over the black of the face.
Also, remove the handle of the pumpkin. You can keep it to reuse or you can always use ribbon to create a new handle. I chose to reuse it.

I then cut a square of orange burlap just big enough to cover the face for an additional layer to hide it and glued it to the pumpkin.
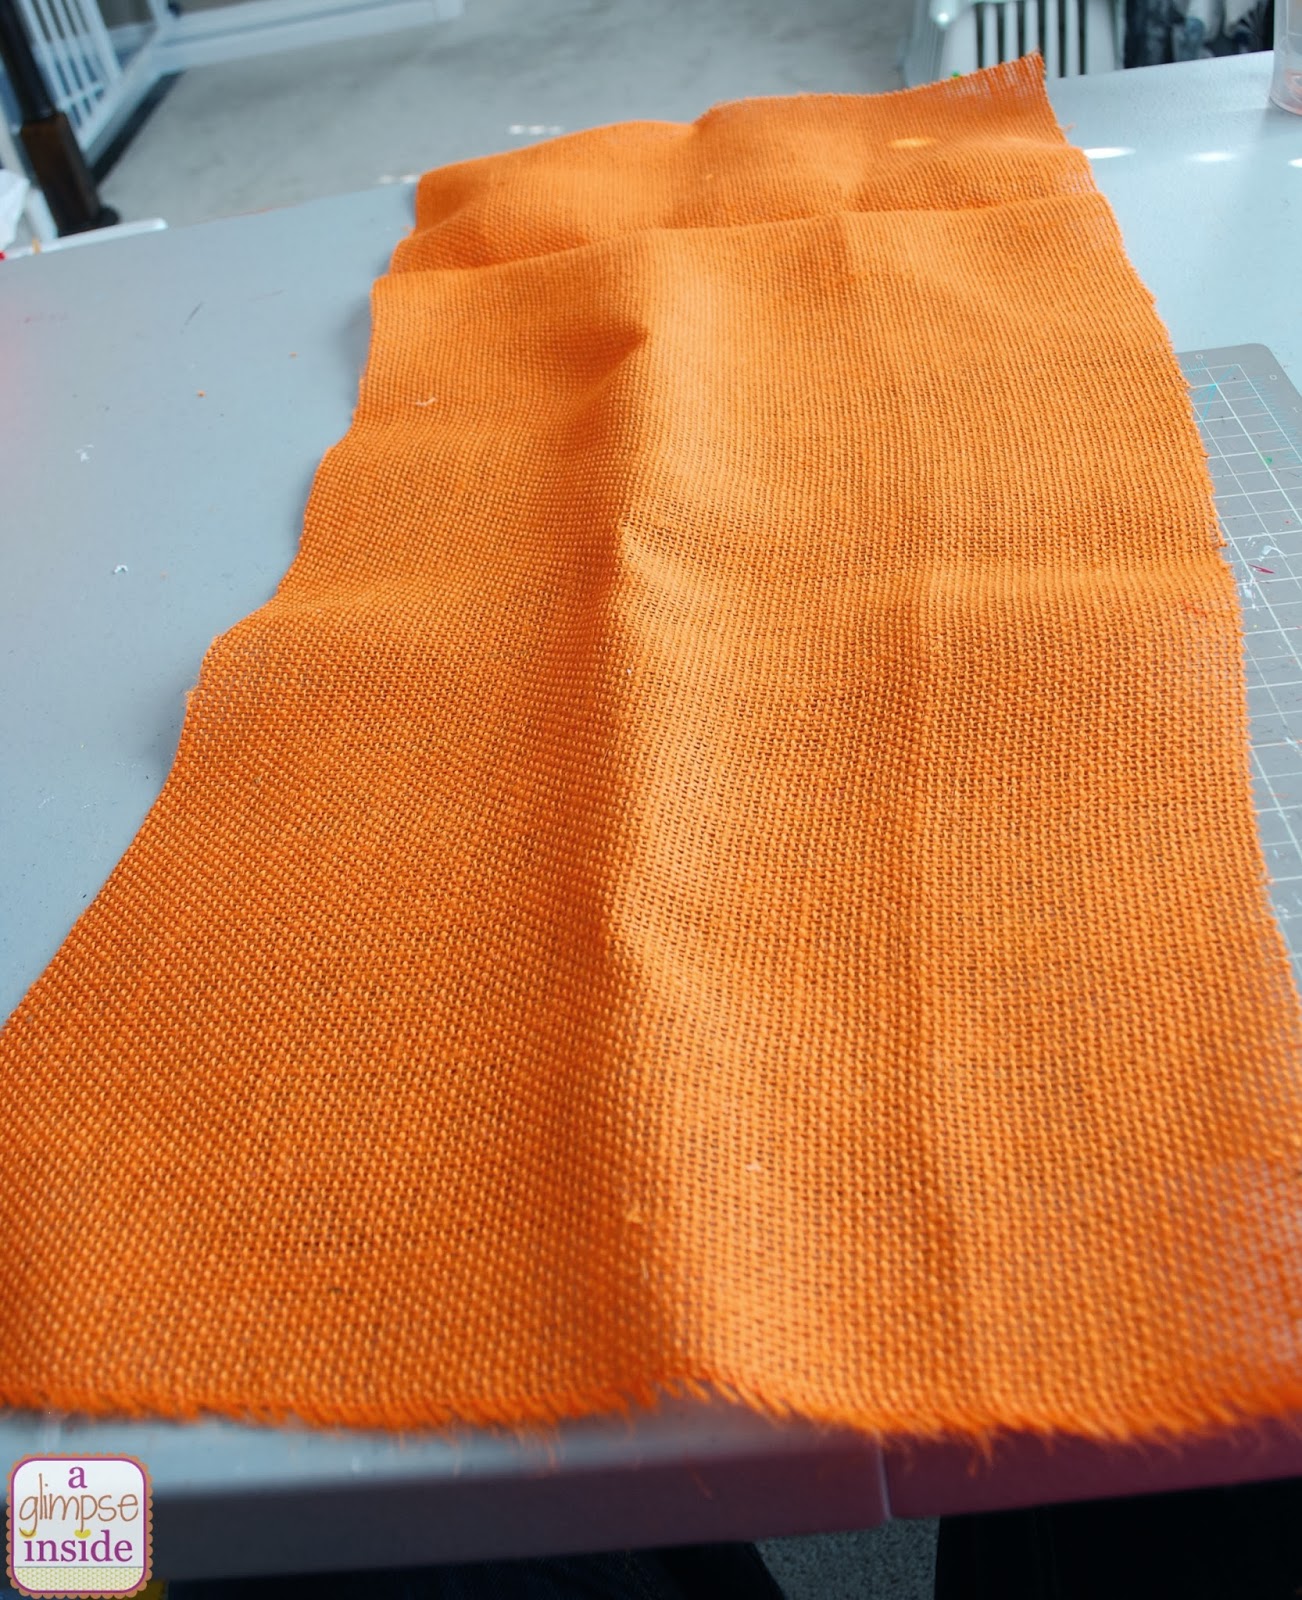
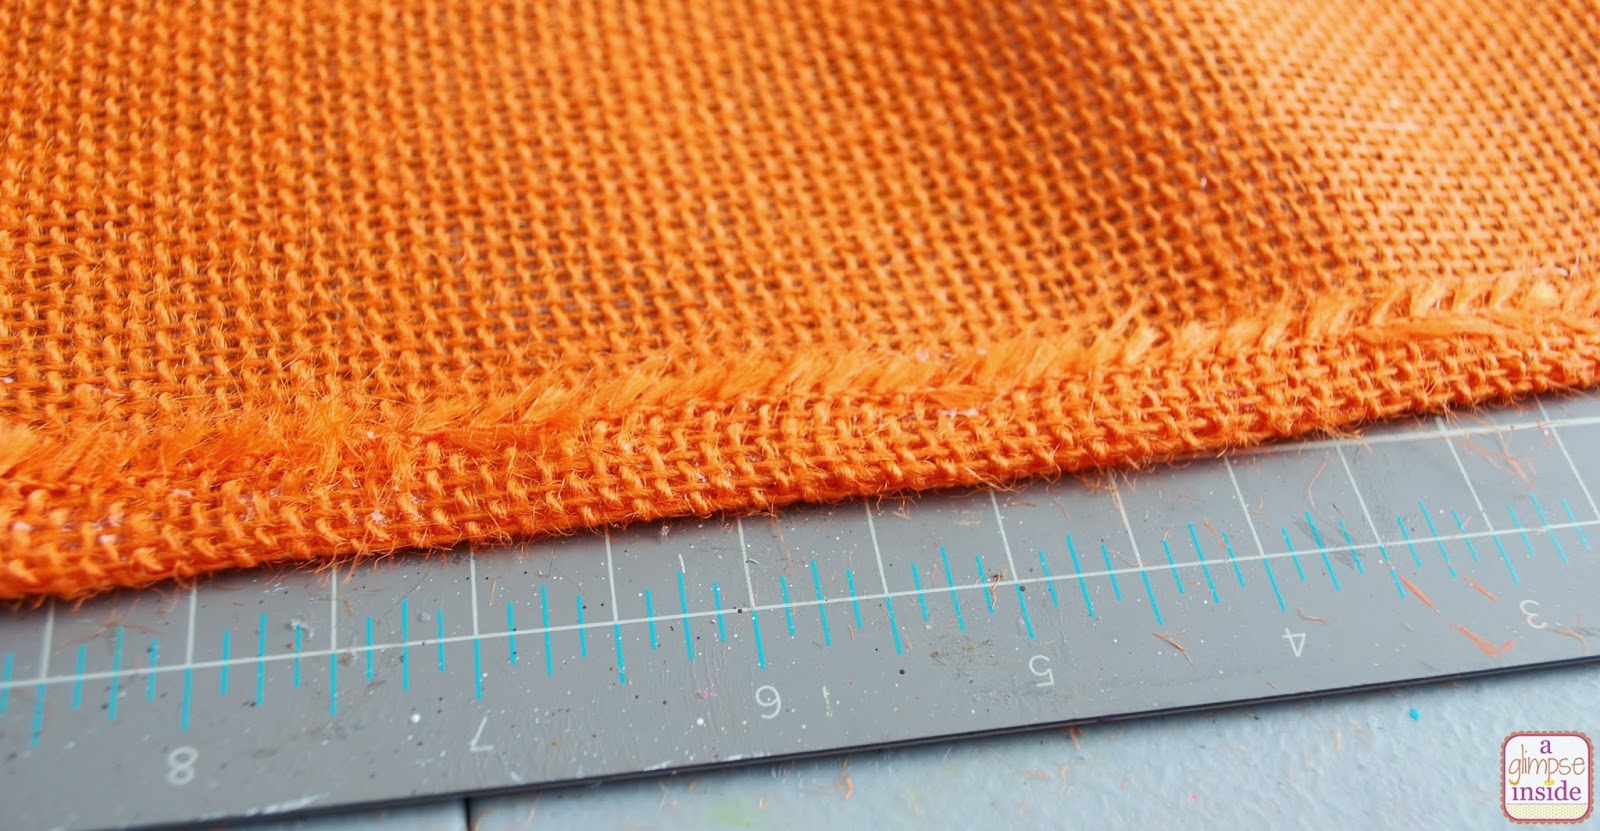
Next, lay the pumpkin on its side on the burlap.
Cut the burlap so that it is long enough to wrap around the pumpkin with a little overlapping.
Then also cut it wide enough so you have a few inches on the top and bottom hanging over the edge of the pumpkin.
I took one end of the burlap and folded it over and glued it down to help prevent fraying.
I chose the area with the face was to be the back of the pumpkin and started here gluing down the burlap.
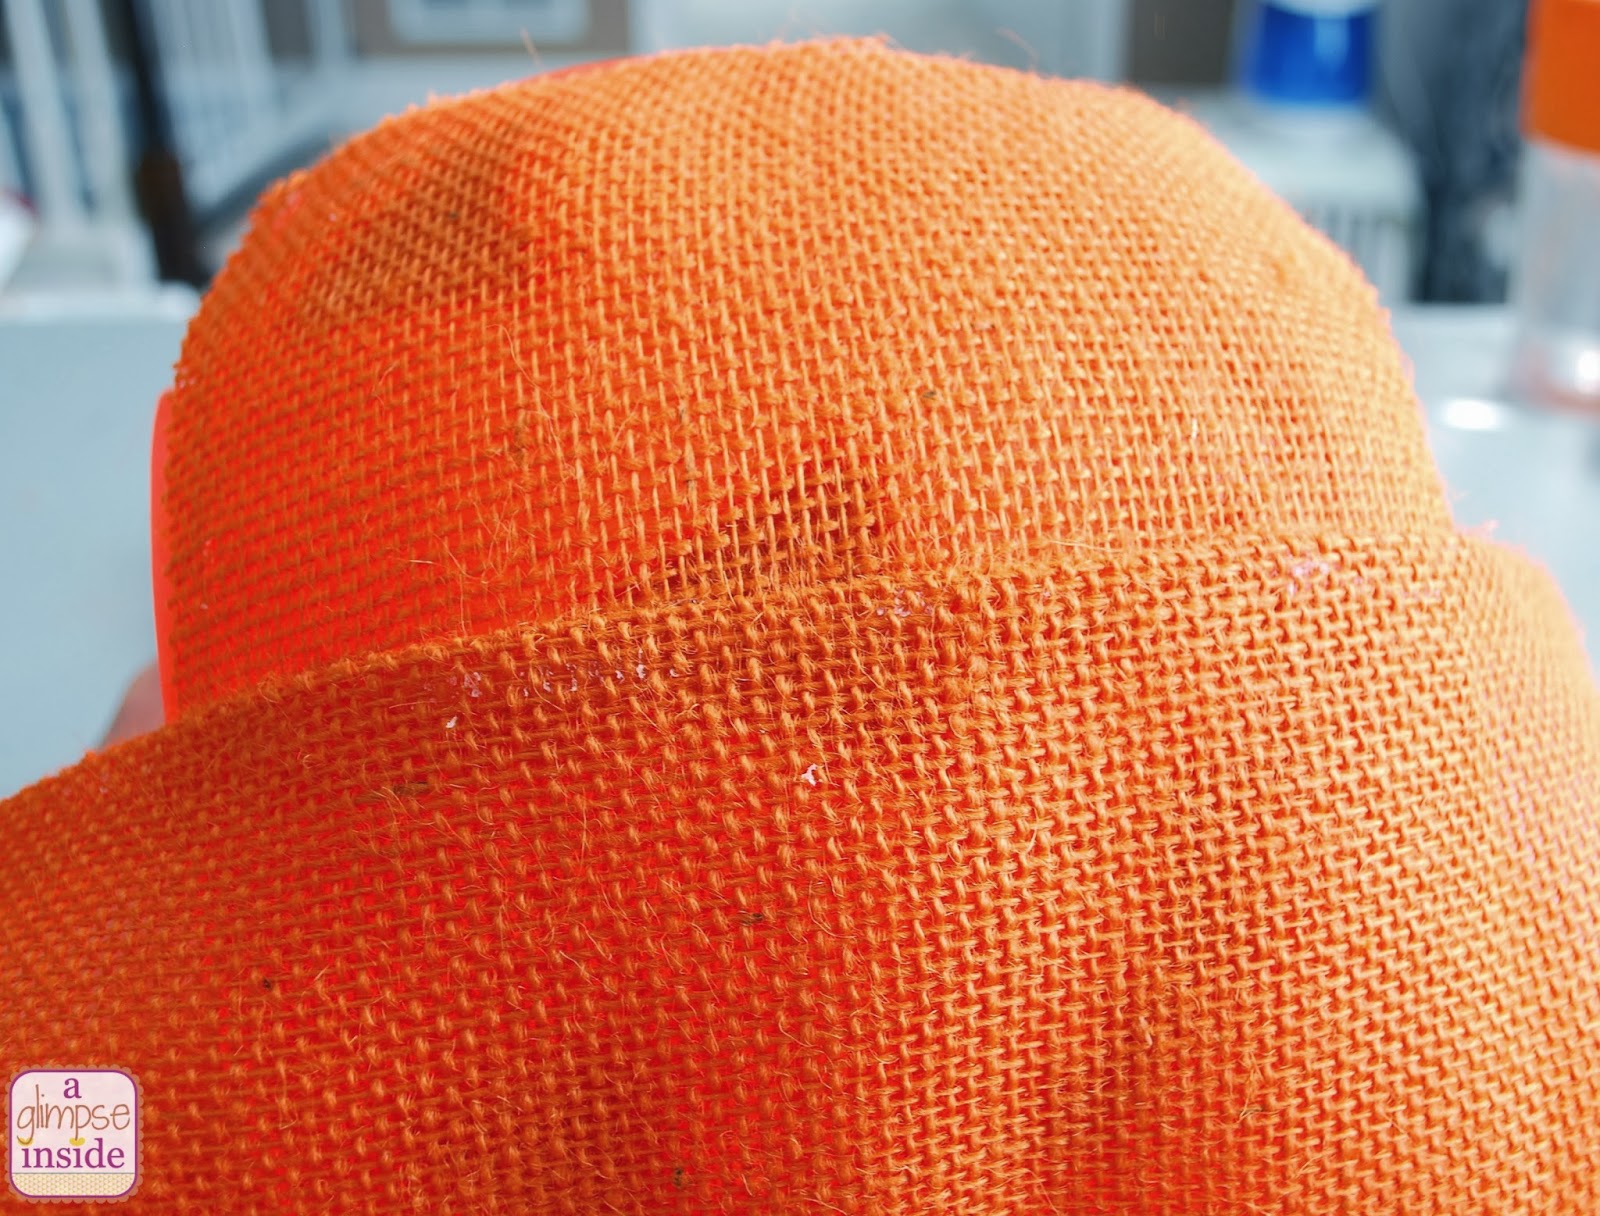
I turned the pumpkin sideways and glued the burlap to the pumpkin.
Wrap the pumpkin in the burlap, pulling it tight. Glue down the end.
I also folded this end over to prevent fraying.

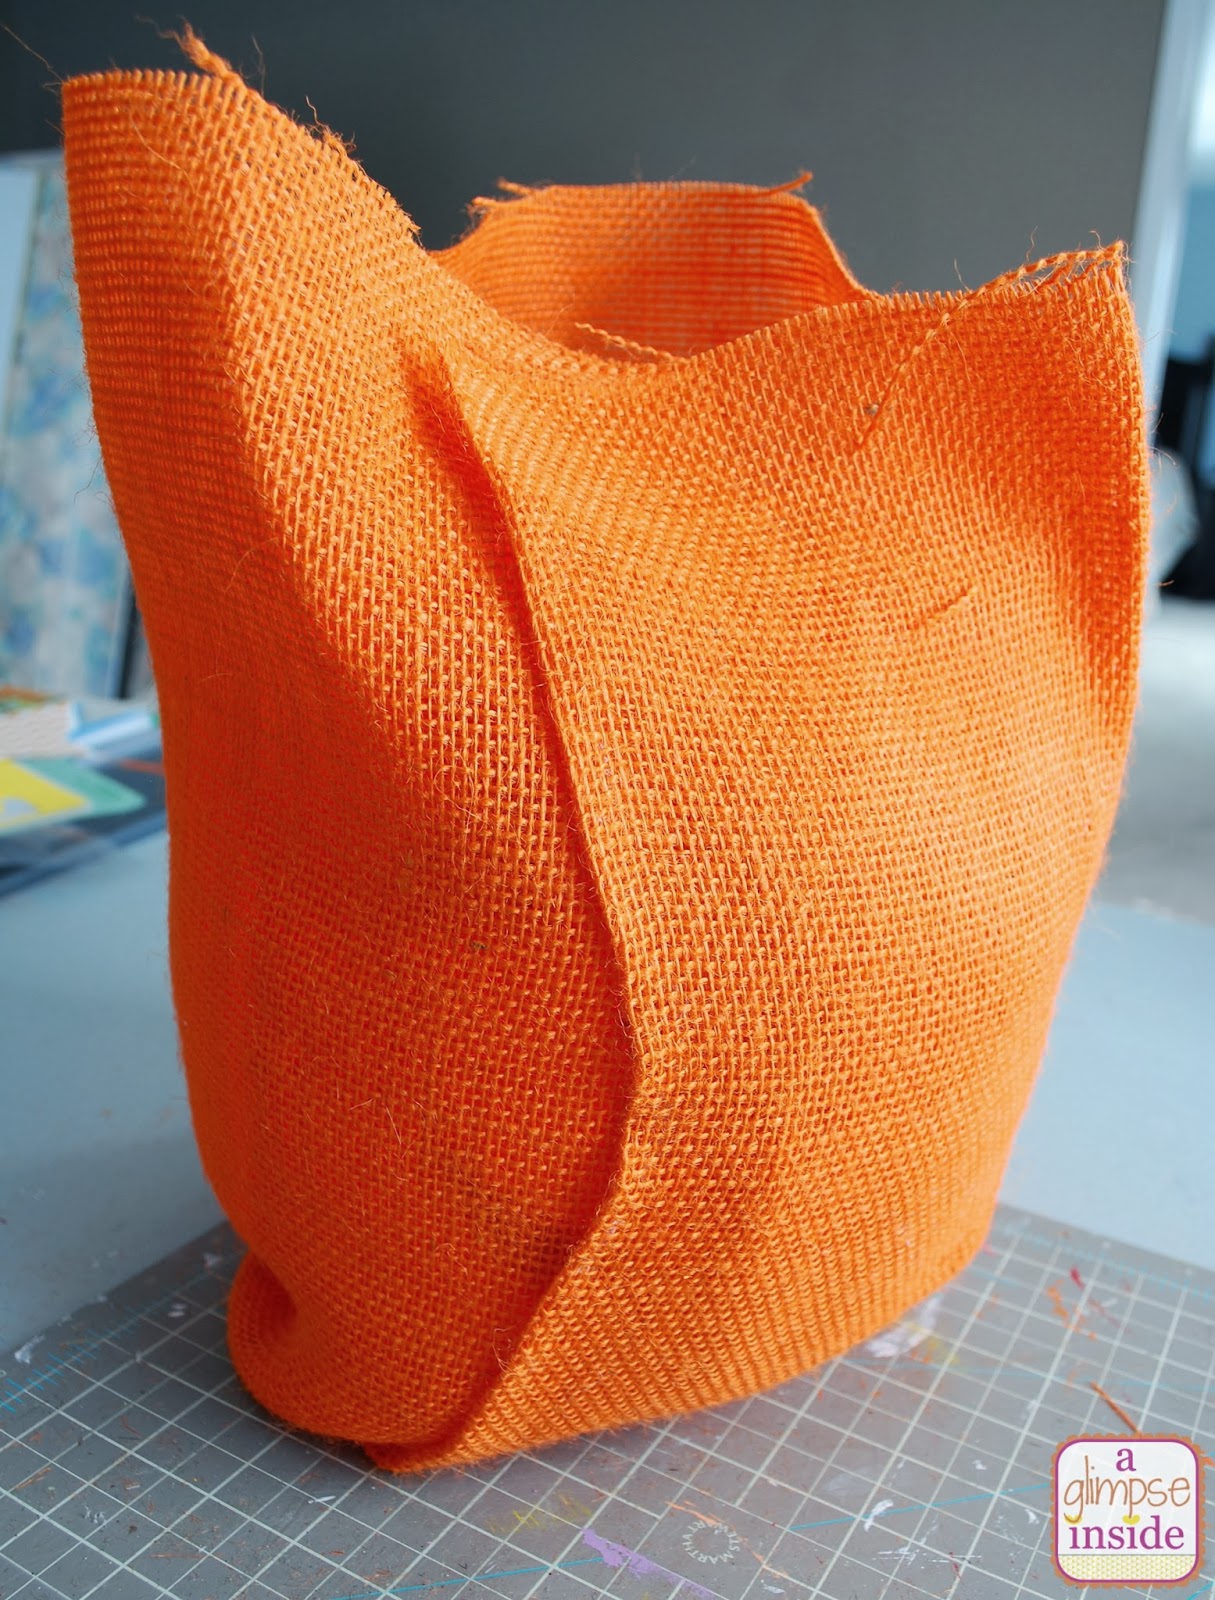
Time to work on the top.
If you have a lot of extra fabric, trim some it off.
Then cut slits in the fabric just to the top of the pumpkin.
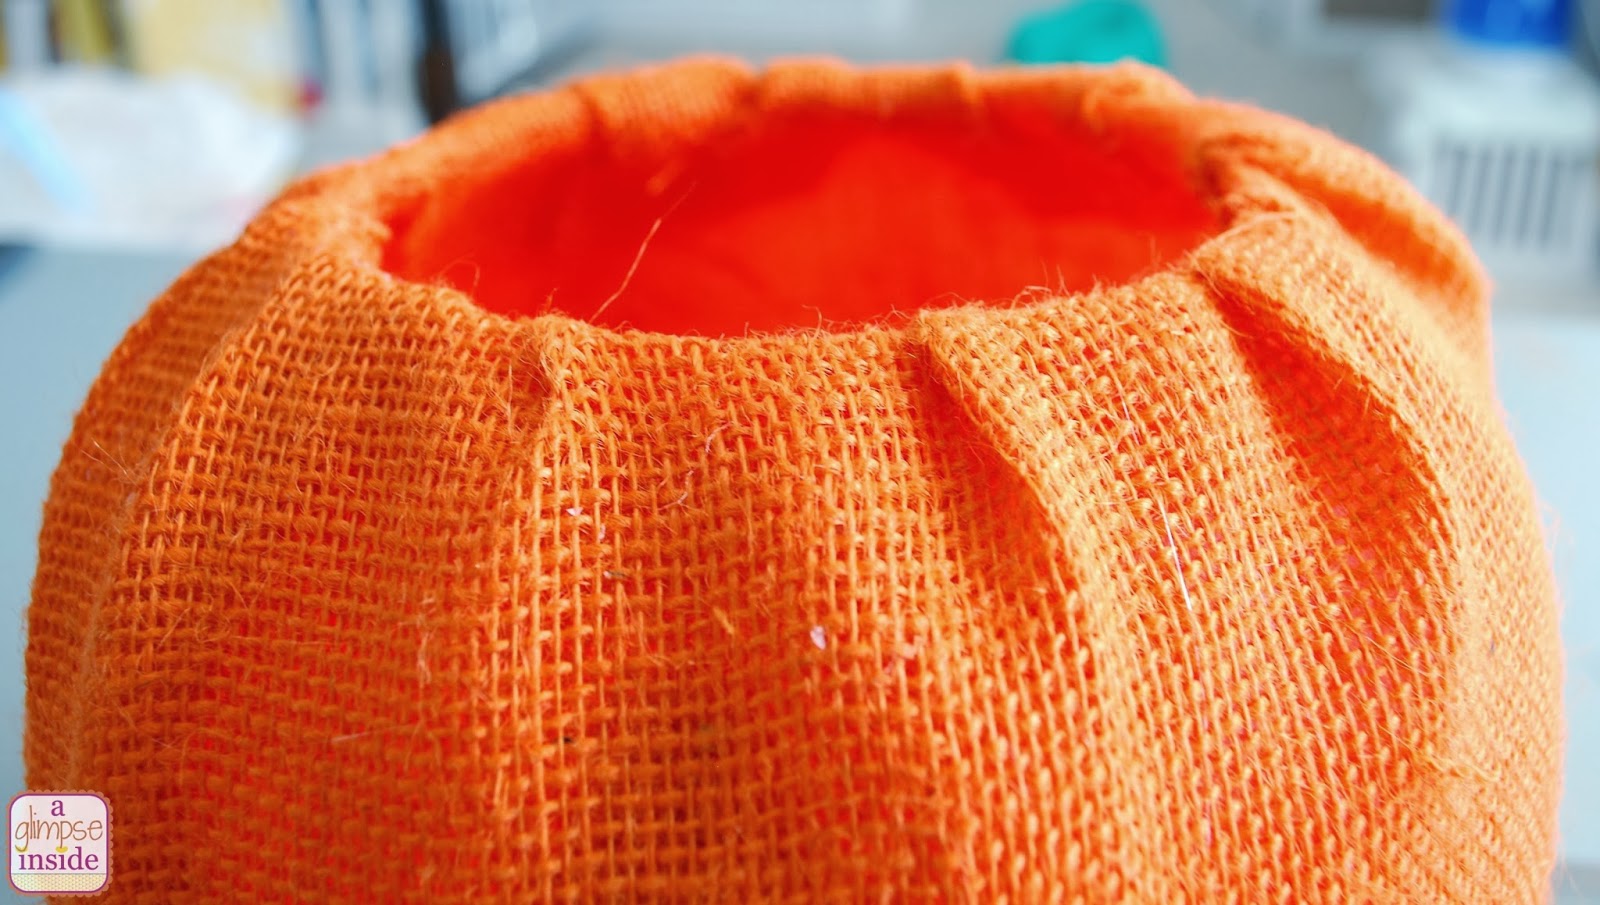
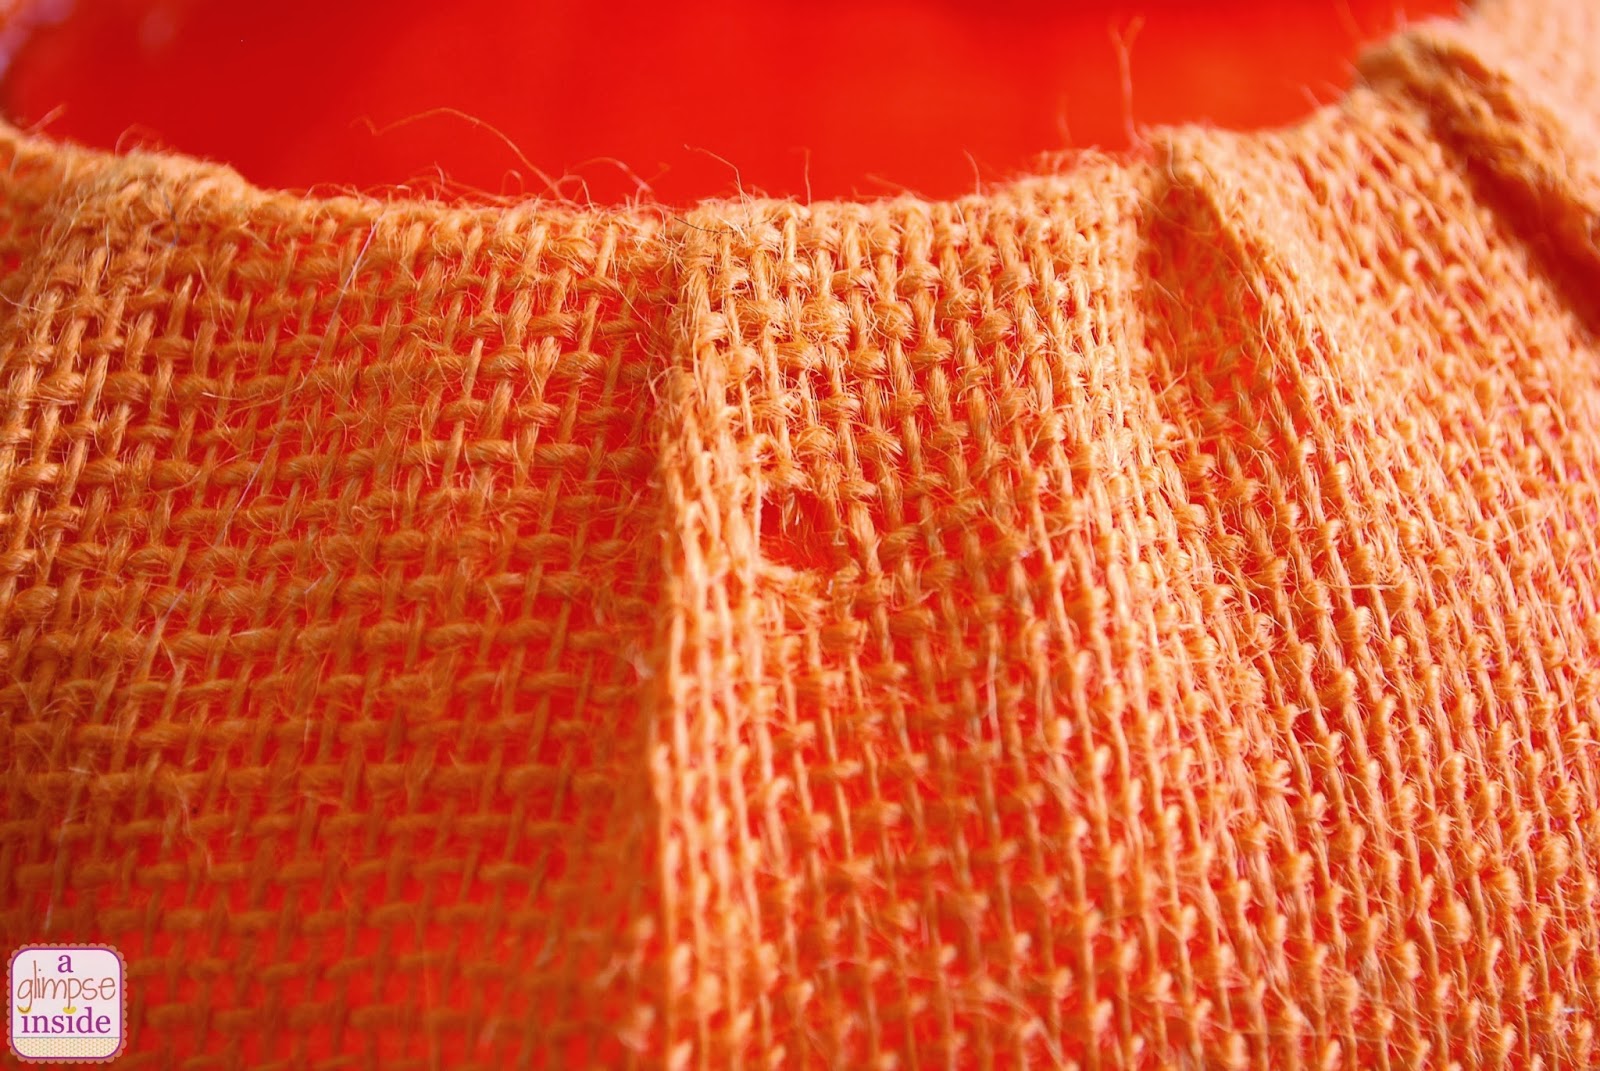
Glue each piece down into the top rim of the pumpkin.
You will overlap the pieces as you go and it will create pleats along the top of the pumpkin. Play around with the size of pleats you want by moving the burlap around while gluing.

Once you complete the top, repeat for the bottom of the pumpkin.
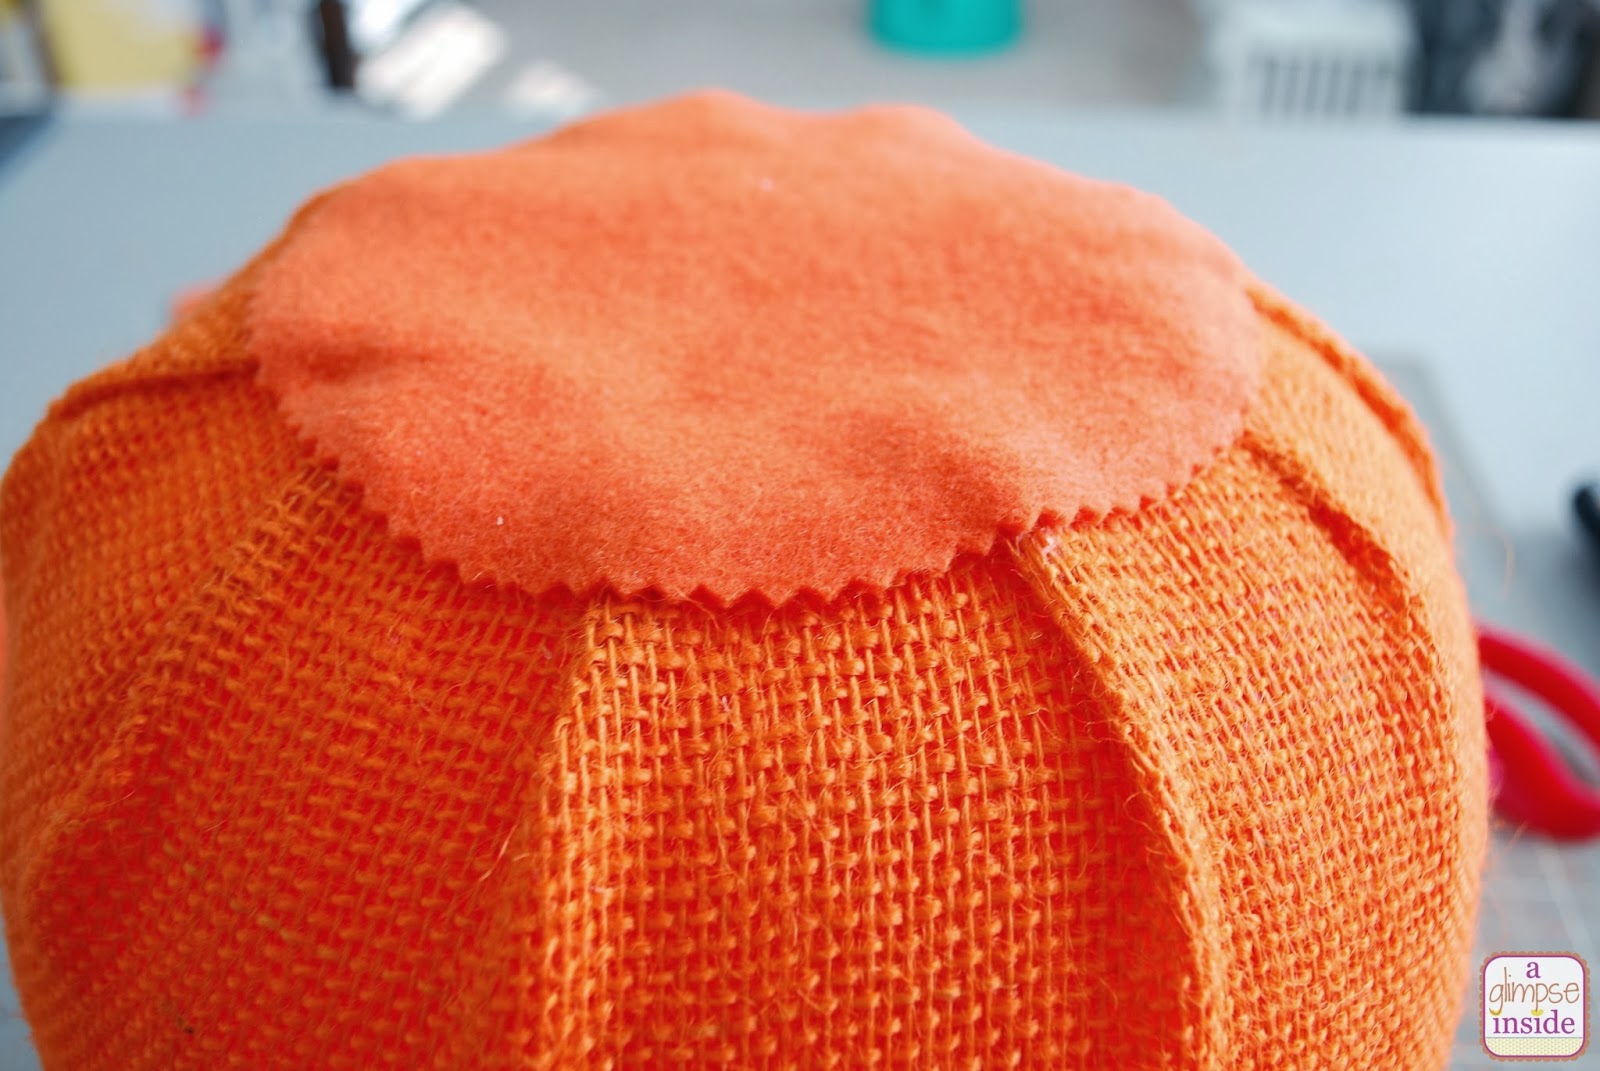
Take a piece of orange felt and place your pumpkin on it.
Trace the bottom of your pumpkin or just free hand it.
Cut out a circle in the felt to fit on the bottom of the pumpkin covering up the messing burlap ends. Glue down.
Before I continued, I found the original handle holes in the pumpkin and took a small pair of scissors and pushed them through the burlap where the hole was to create a hole so I can reinsert the handle.

Time to add the ruffle.
Determine how wide you want your ruffle to be and cut out a piece of fabric long enough to surround your pumpkin plus a few inches for seam allowance.
I had a 1 yd. piece of fabric and just cut the length of it and kept it that length since I planned on ruffling the fabric.
Hem your fabric along all sides.
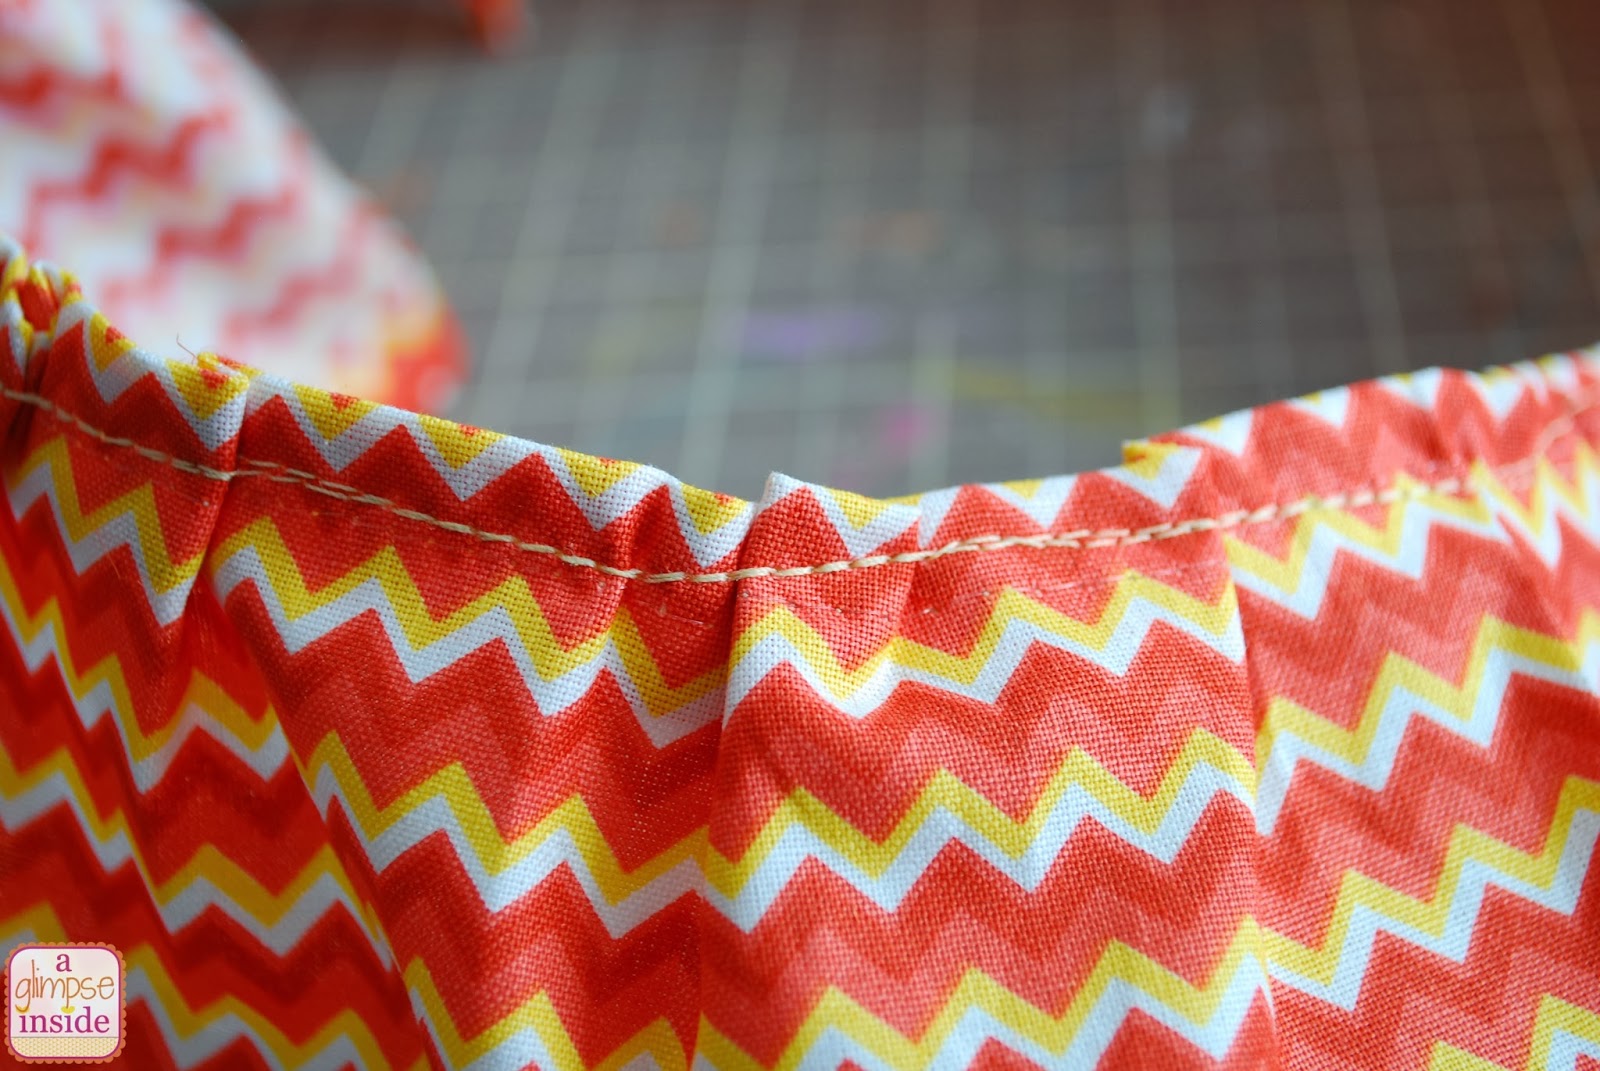
I know there is a proper way to make ruffles but as I was feeding the fabric through my machine, I just pleated the fabric where I chose before it ran under the needle.
Truth be told, I ran it through my machine twice until I was happy with the spacing and amount of ruffle.
I would place it around my pumpkin where I wanted it to determine how many more ruffles would need to be added.
(Totally scientific and proper way of doing it, right?! lol)

Sew the ends together.
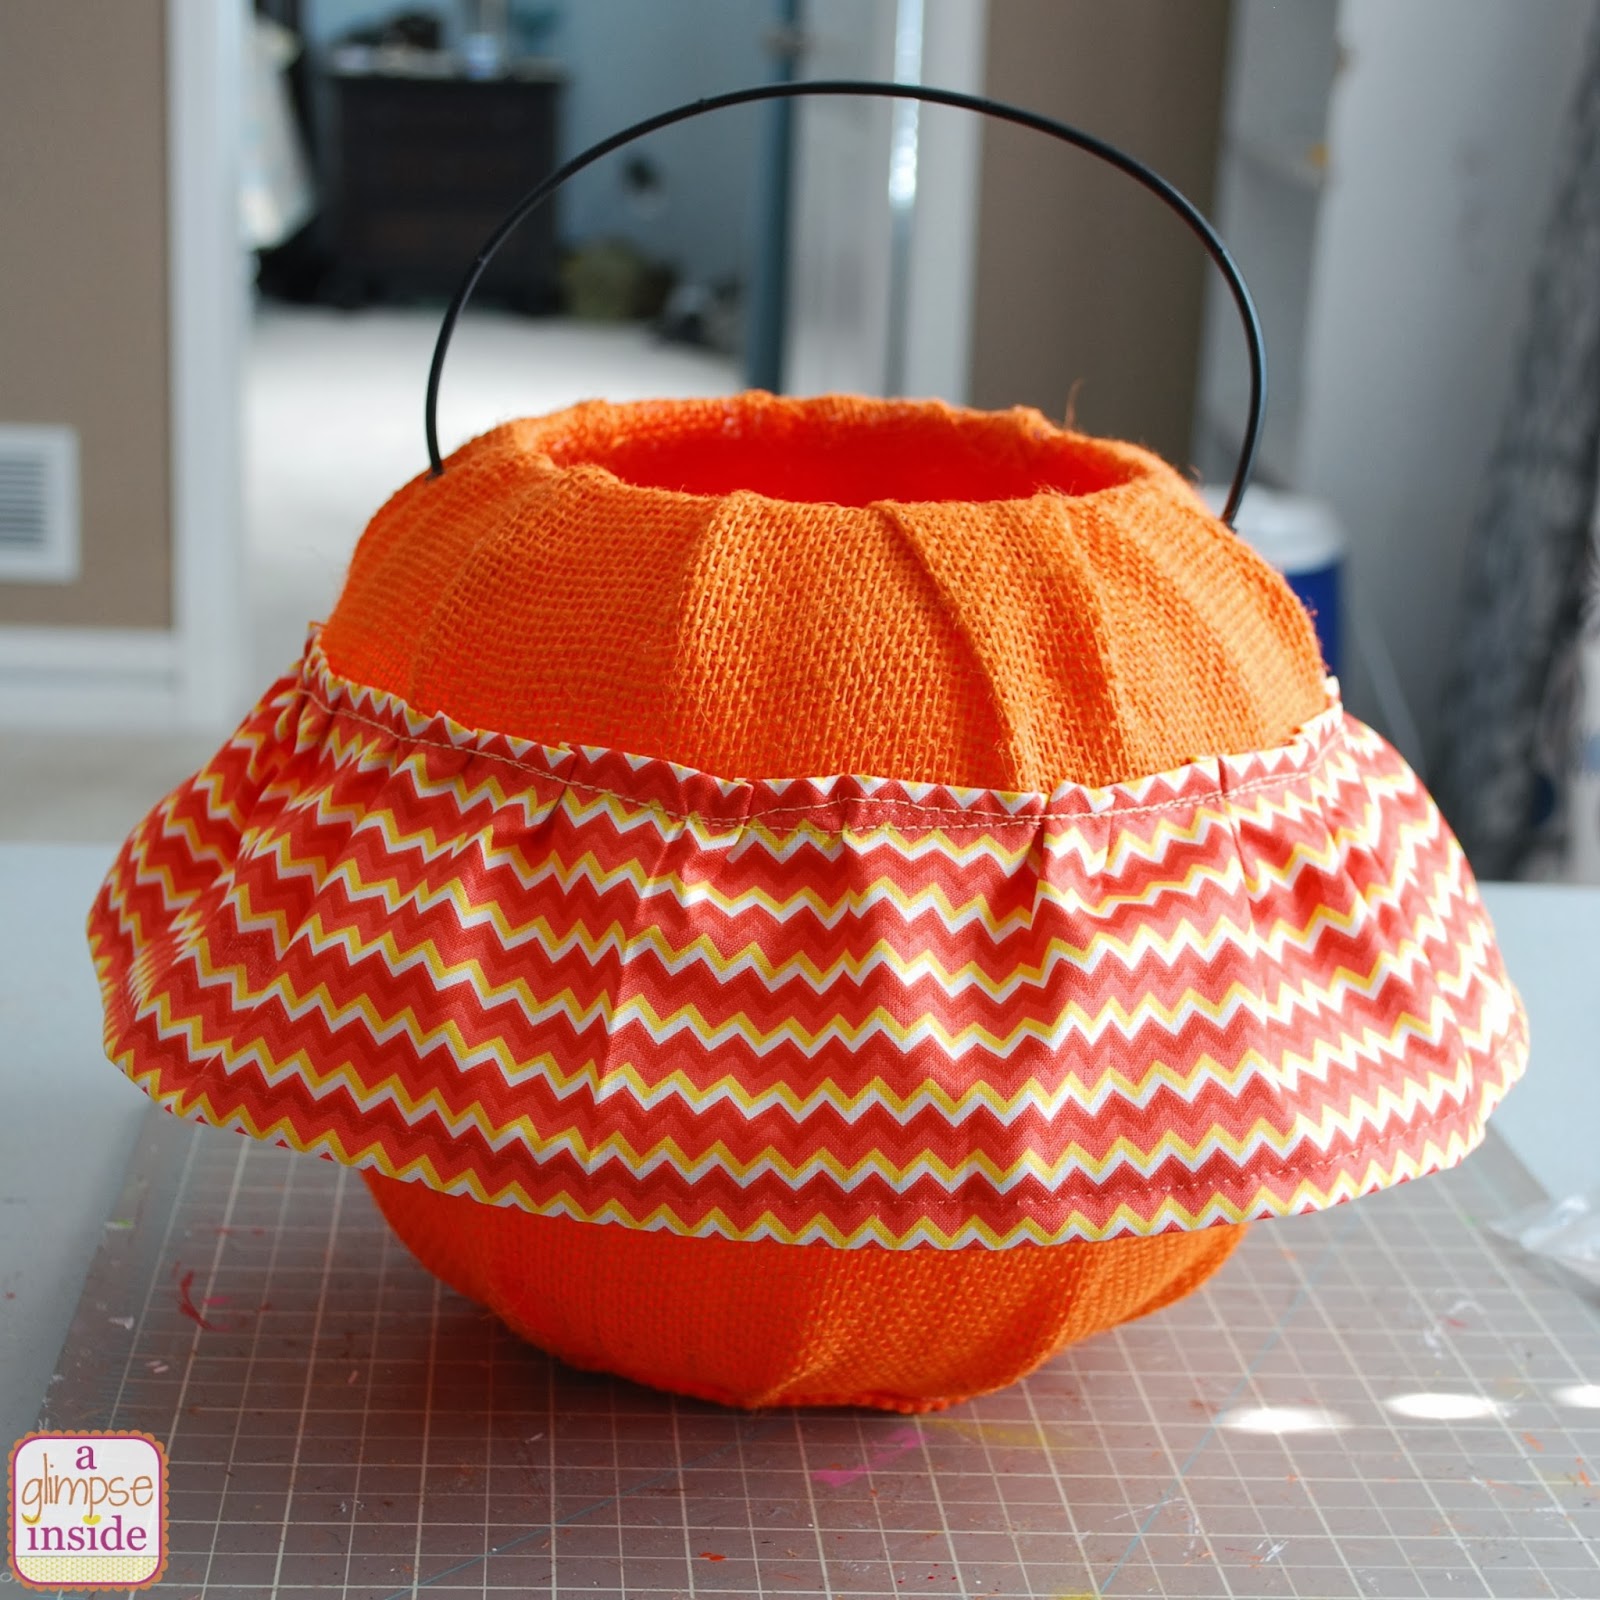
Glue the ruffle to the pumpkin.

I then took black ribbon and glued it down the the top of the ruffle.

And I took black burlap and created black rosettes.
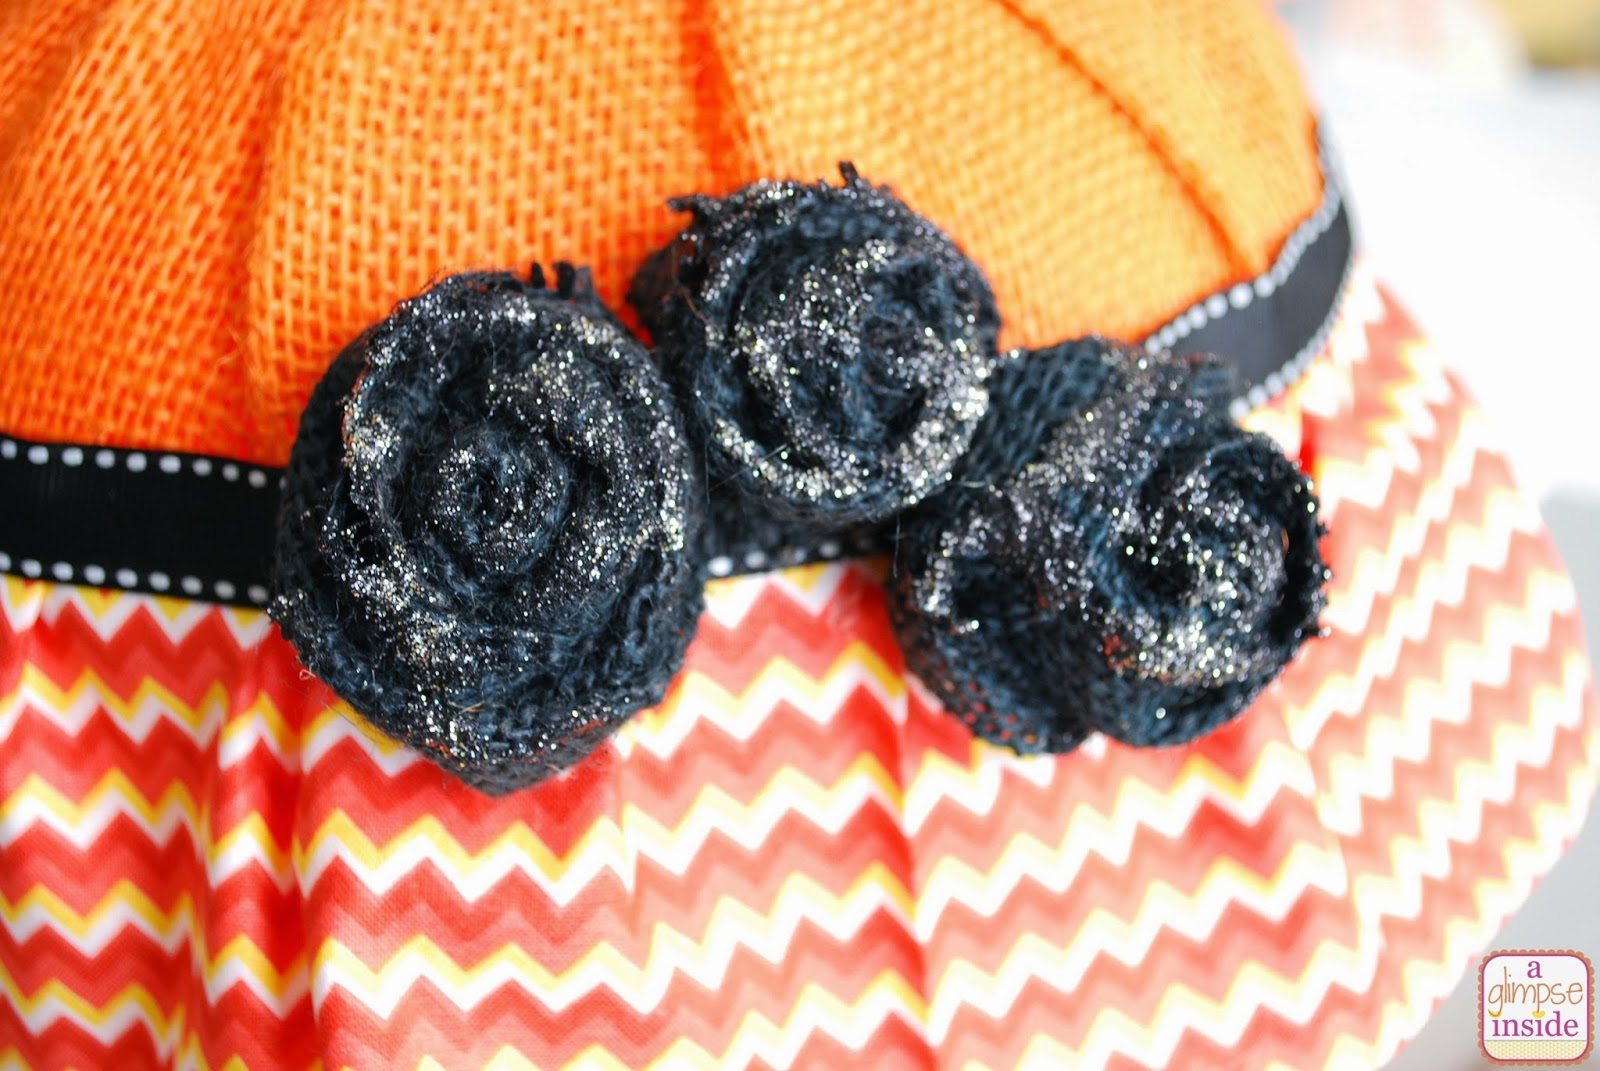
I wanted to add a little something else to the rosettes, so I just dabbed the edges in glue and sprinkled black and silver glitter on them for a little shine.
-Glue onto the pumpkin in whatever arrangement you like.

Reinsert the handle or add your new one and you are done!

Love the look of the revamped pumpkin and it will definitely hold plenty of candy for years to come!
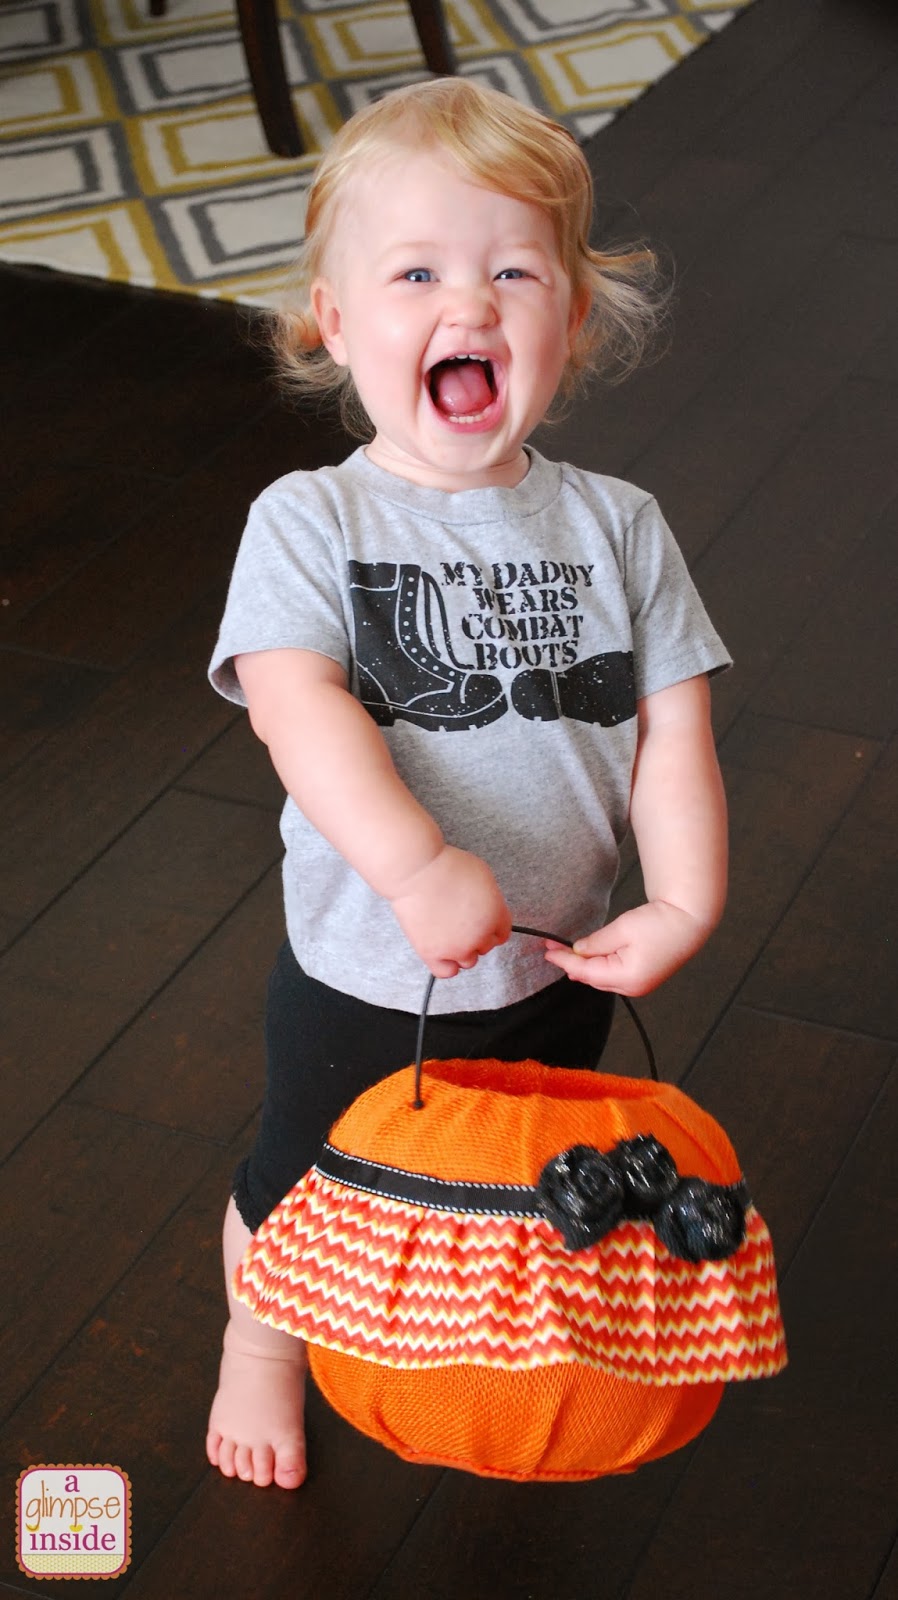
I’m pretty sure Miss P is pretty pleased with her new glammed up pumpkin as well! 🙂
Thanks so much for letting me participate Vanessa!
I would love for you all to stop by my neck of the bloggy woods anytime to see what I am up to!


One Response
That is the most adorable Halloween basket ever! I love it so much more than the jack o lantern face.