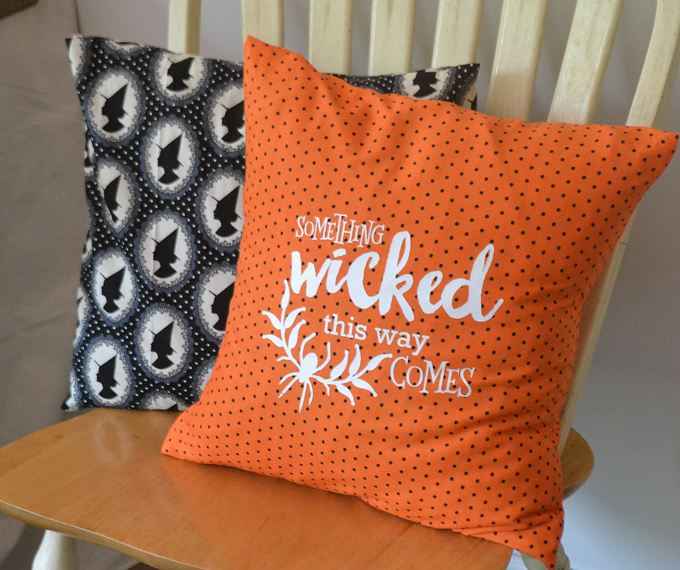
Hey! I am Kelsey from Poofy Cheeks and I am excited to be back sharing on 30 Crafty Days of Halloween. Halloween is my favorite holiday to decorate for. We moved this past year and had to store things in a storage unit for a few months so before moving I purged a lot of my holiday décor. It was a sad day but I knew I would have a lot of fun making new decorations this year. I used to have quite a bit of rustic décor but I wanted to change things up so I have decided to go Glam! This past weekend I started Halloween crafts and made some quick and easy envelope pillow cases to cover my throw pillows. When people walk in our house I want it to scream HALLOWEEN! (no pun intended)
Ready to get this pillow started?! If you are a novice sewer or like quick projects then this pillow is about to be your best friend. Envelope pillows take no time at all and are really simple! For this pillow cover you use one piece of fabric folded with the two ends overlapping to hide the pillow form inside.
SUPPLIES NEEDED:
Fabric
Sewing Machine
Basic Sewing Supplies (thread, scissors, rotary cutter, iron)
Pillow form
Silhouette
Heat Transfer Vinyl
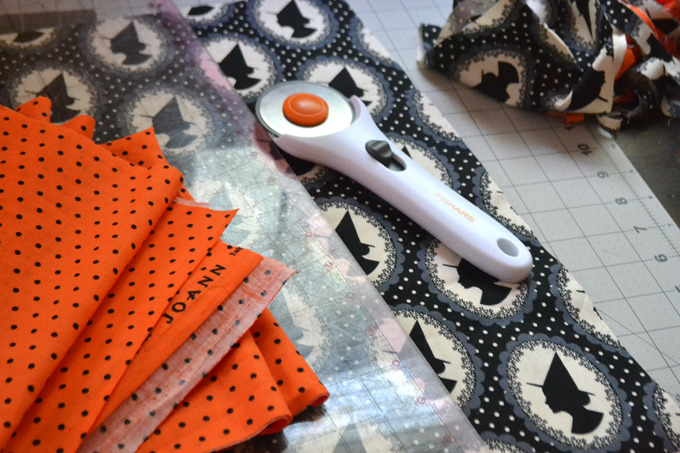
Step 1: To cover a pillow you will first need to measure your form and then cut the fabric. To figure out how big to cut your piece of fabric measure the pillow form and add two inches to the width. For the height double it and then add 6 inches. For my 15×15 inch pillows I used a piece of fabric 17×36 inches.

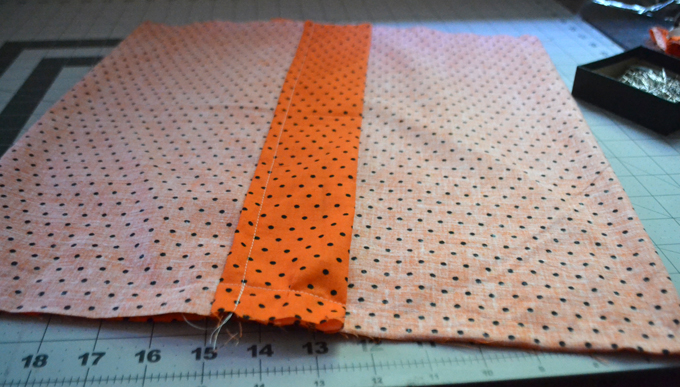
Step 2: With the right side of the fabric facing down fold over the two shorter edges of the fabric, iron and hem. (See the first diagram above)

Step 3: Once the two ends are hemmed put the fabric right side facing down again and fold fabric according to the diagram above. One of the hemmed sides should overlap the other by four inches. (Also see two images below.)


Step 4: Pin the raw edges and sew.

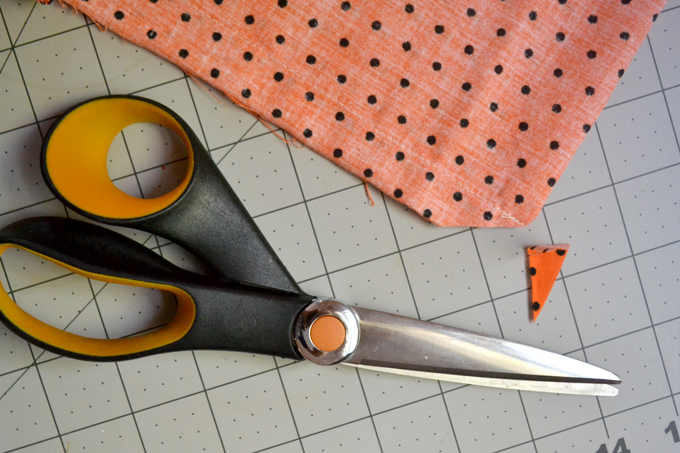
Step 5: Once the raw edges are sewn use scissors to trim any loose threads and cut the corners from the edge right up to the hem line (but do not cut through the hem!). This will help the corners look more professional when you turn the pillowcase right side out.
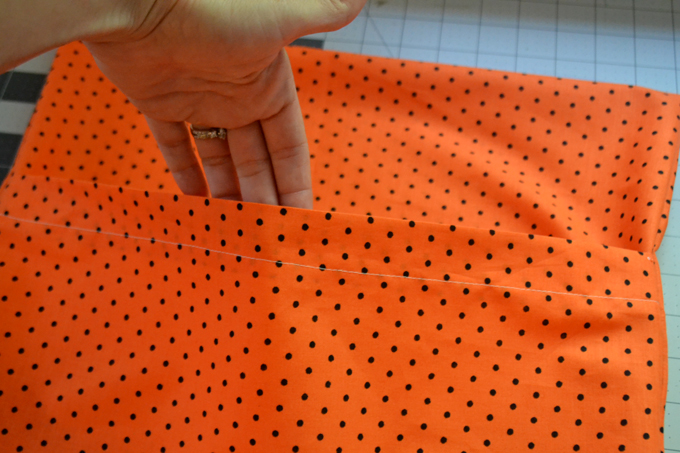
Step 6: Turn the pillowcase right side out. As you can see it opens up for you to push your pillow form into but overlaps so you won’t see the pillow.
Step 7: If you choose to add heat transfer vinyl embellishments do so now! I have included the Silhouette cut file for the text and the link to the spider I used from the Silhouette store below. After you have finished put the pillows into the pillowcases and you have a complete transformation!
GRAB THE CUT FILE and pair it with THIS spider from the Silhouette store!
I made three pillowcases in under an hour and I couldn’t be more pleased with how they turned out. I transformed boring throw pillows that came with our couch into something ‘wicked.’

Feel free to stop by my blog all month long and see what other Halloween projects I have up my sleeve!
Other Halloween crafts and recipes from Poofy Cheeks: