This post has been compensated by As You Wish Pottery and its advertiser. All opinions are mine alone. This post may contain affiliate links.
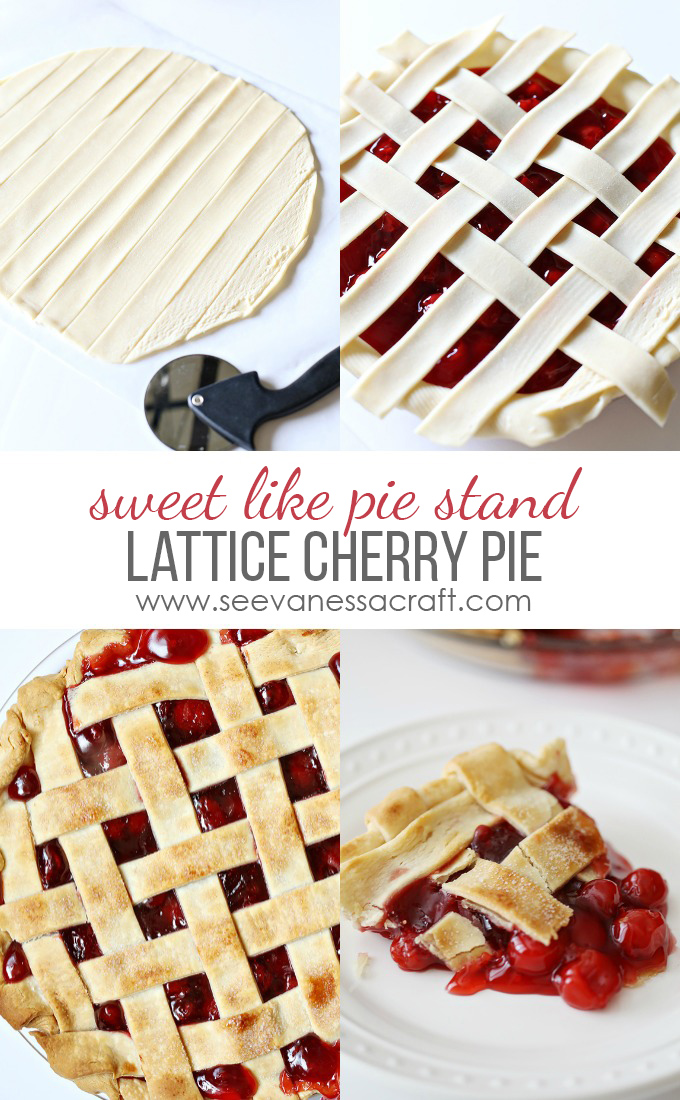
Pi Day (3/14) might not be as big a holiday as say Thanksgiving or Christmas, but it still deserves to be celebrated and it’s one of my favorites. What better way to celebrate Pi Day than with a lattice crust cherry pie! Don’t let the lattice crust scare you away, I’ve got an easy step by step tutorial for you. You can use ready made refrigerated pie crust sheets to make it that much easier. If you are in the Phoenix area, head on in to As You Wish to paint a one of a kind pie stand for your gorgeous pie. I had them fuse a cup and plate together to create a pie stand for me that I painted. Painting and baking are two of my most favorite things to do, they are both so therapeutic!
INGREDIENTS
2 – 20 ounce cans cherry pie filling
2 refrigerated pie crust sheets (or favorite dough)
1/2 tablespoon butter
1 teaspoon sugar
DIRECTIONS
Step 1: Head into As You Wish to create a pie stand. Pick out a cup without a handle and a large plate. Paint the cup and underside of the plate red. Paint the top of the plate white. Have As You Wish fuse the plate and upside down cup together to create a stand. They can also write “sweet like pie” on the plate for you or you can write it yourself.


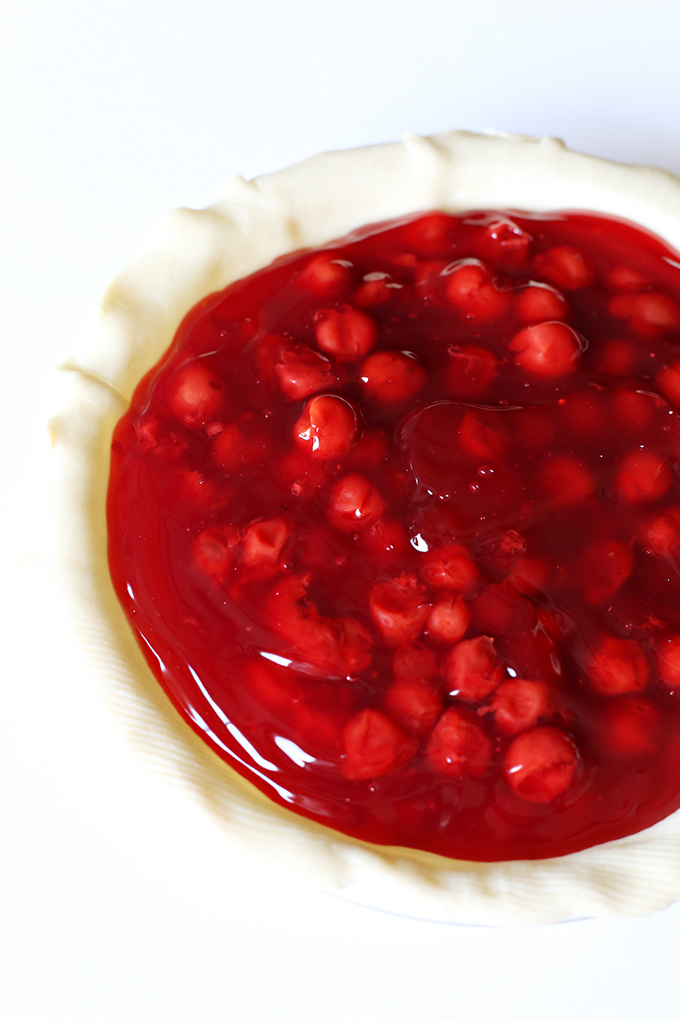
Step 2: Once your pie stand is finished, we can start baking! Defrost the pie crust sheets according to the package. Place one in a 9 inch pie dish and fill with 2 cans of cherry pie filling.
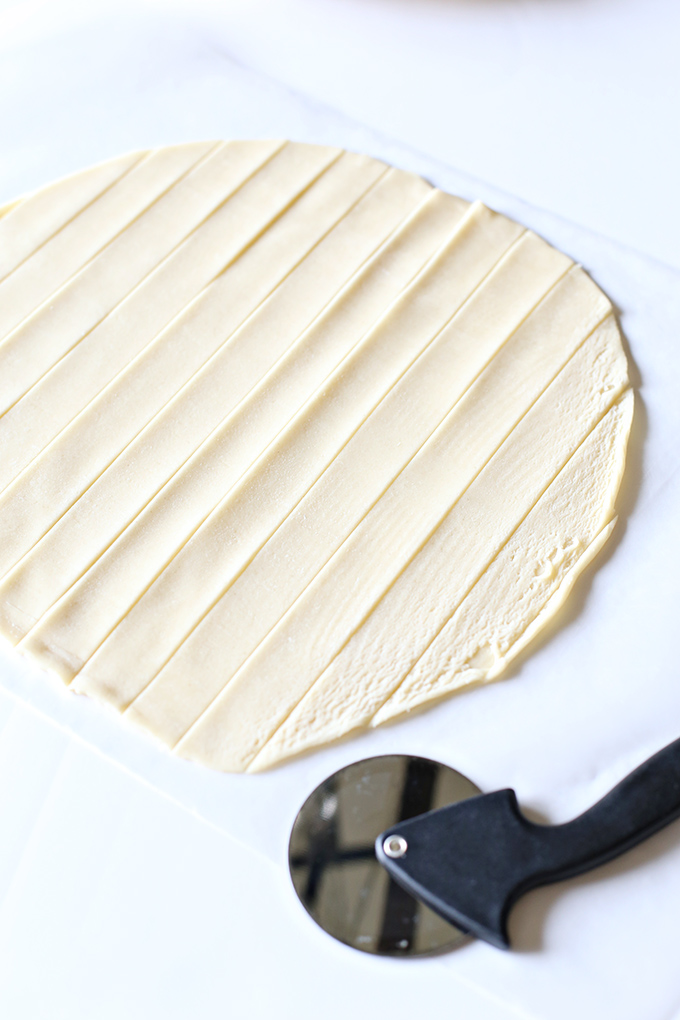
Step 3: Roll out the second pie crust dough and cut into 1/2 inch wide strips using a pizza cutter.
Step 4: Grabbing every other dough strip, lay the strips across the pie every 1/2 inch. The reason you’ll want to grab every other strip is so you have enough strips of each length to make it across your pie in both directions.


Step 5: Using the remainder of the strips, place them on the pie going the opposite direction and weaving in and out of the strips already on the pie. I like to start in the middle and work my way out.

Step 6: Fold the loose strips under the bottom crust and pinch around the pie to crimp. Brush melted butter on the lattice crust and sprinkle with sugar.

Step 7: Cover the outer crust with strips of foil to prevent from burning. Bake at 425 for 40 minutes. Remove foil and bake for an additional 5-10 minutes until the crust is golden brown.
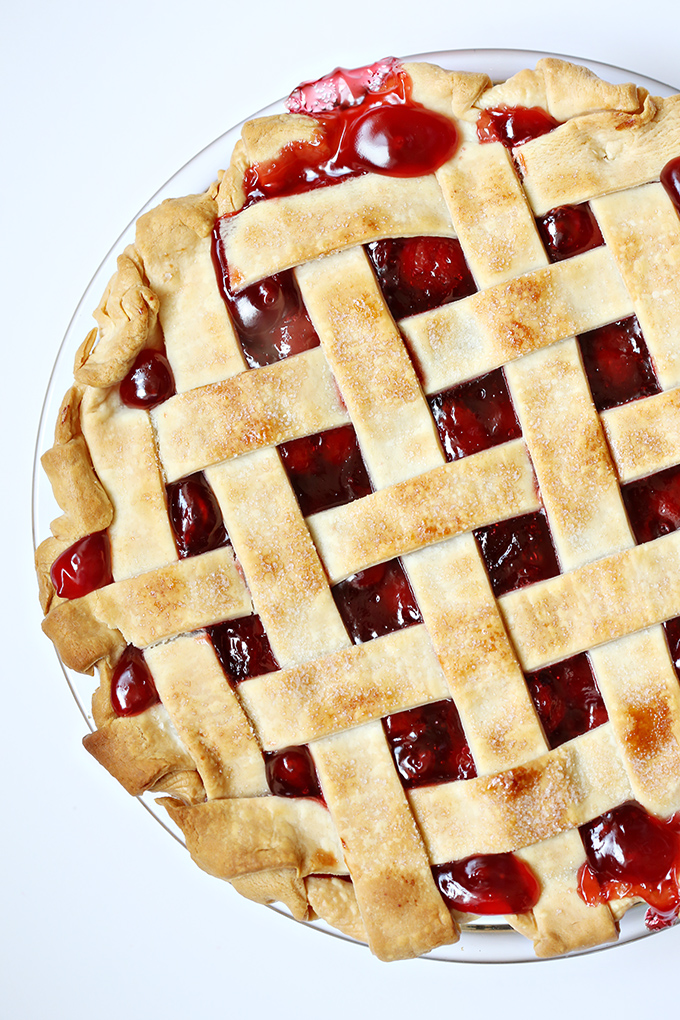

Step 8: Place on your new pie stand, serve and enjoy!


What’s your favorite pie flavor?


