A big welcome to Britni from Hubby Made Me to my blog today! Her blog is totally adorable, I especially love her bedtime stuffed bunny tutorial. She linked up that sweet bunny post here at Do Something Crafty Friday and I became an instant blog follower. She’s showing us how to make super cute pots today on the cheap. Take it away Britni!
You can probably find the materials for even less in certain stores, especially if you have coupons!
Materials
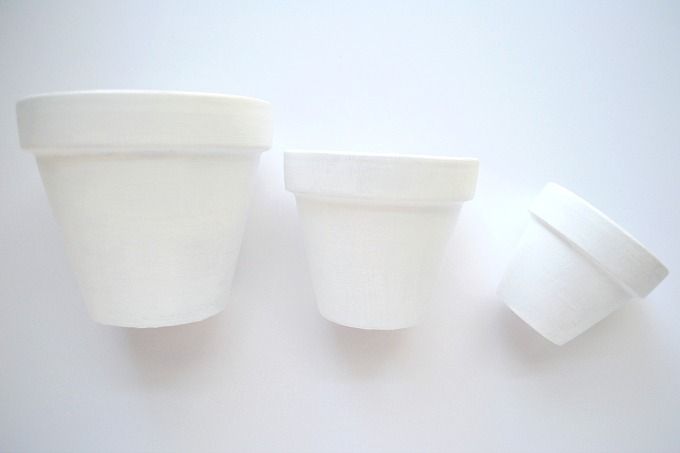
Clay pots: 4-inch(.99), 3-inch(.89), 2-inch(.69)
Paint (1.49 each)- I used 4
Paint brush (on hand)
Rubber band (on hand)
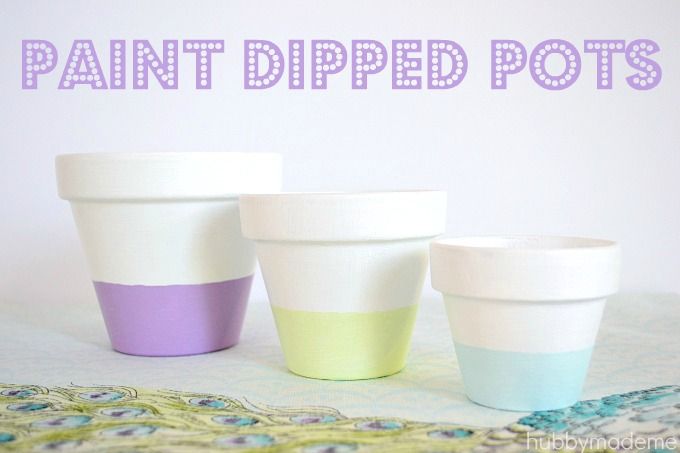
Total Project Cost: $8.53 for 3 paint dipped pots

Directions
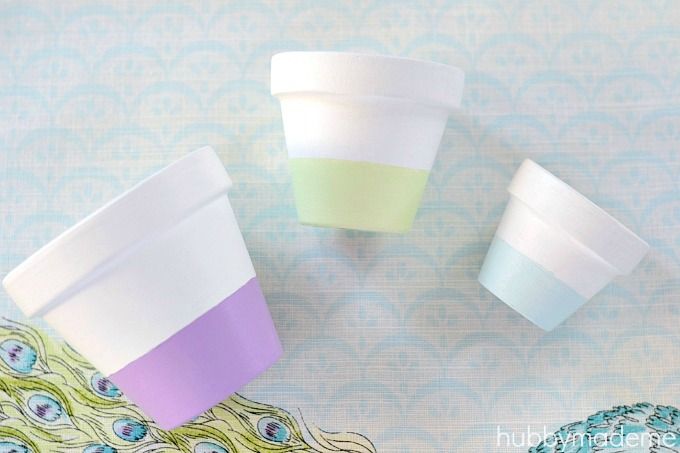
Step 1: Paint your clay pots white (or the color of your choosing). Let dry. Repeat as needed. I did 3 coats.
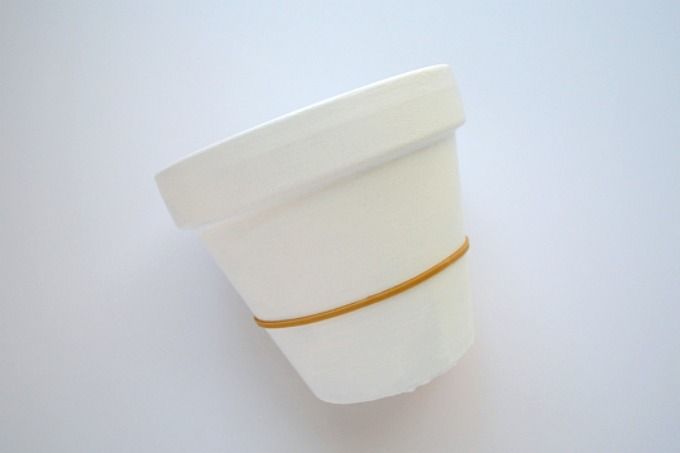
Step 2: Wrap a rubber band around your pot just above where you want the “dipped” color to start. There was no method to my madness here. I just eyeballed it.
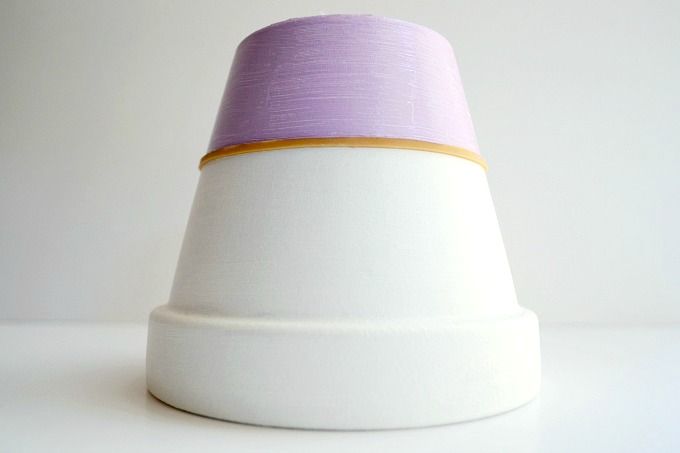
Step 4: Remove the rubber band BEFORE the paint is dry. This is the tricky step. I kind of pulled one side out and slid my fingers around to the other side, and pulled it off quick like a band-aid. Let it dry.

Hello! I’m Britni from Hubby Made Me. The place where I give my hubby a break from my creative endeavors by sharing ideas with you! When I’m not chasing around our baby girl, I’m probably working on a craft, décor, or DIY project. Or at least thinking about one!


2 Responses
I love the pastel colors! I also love the font used for the picture- so cute! (I am a typography nerd 🙂
I also have a little thing for fonts 😉