Affiliate links are included in this DIY Cactus Shirt tutorial. If you make a purchase, I may earn a small commission. #CricutStrongBond #CricutMade #Cricut

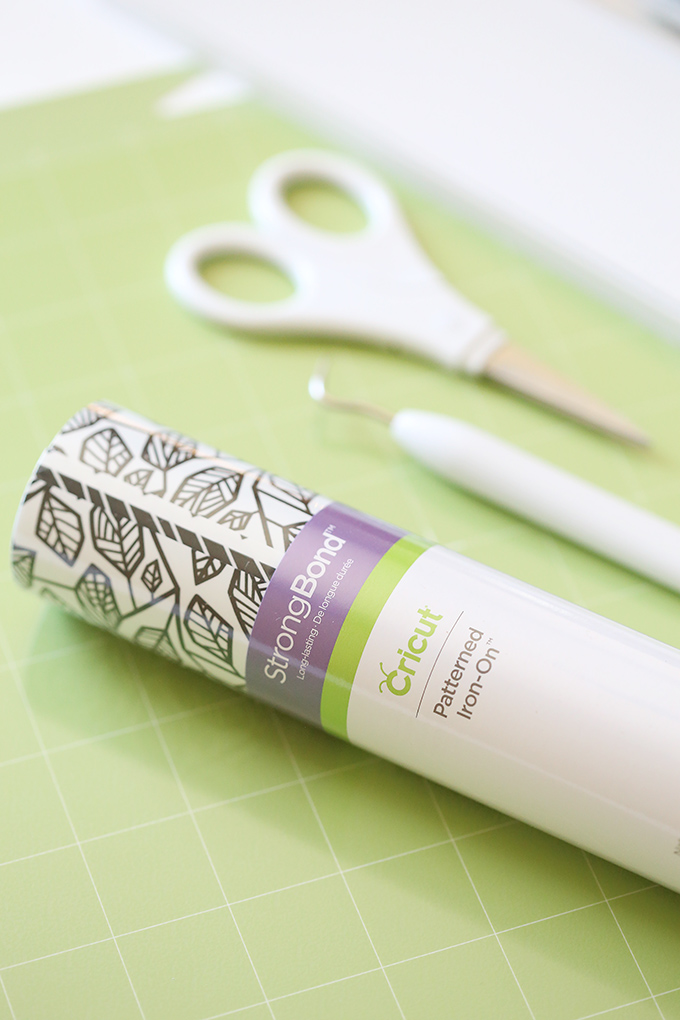
Oh Cricut, you know the way to a crafty gal’s heart. Have you seen Cricut’s Patterned Iron On yet? I’m in love! I stumbled upon the Nature Walk Basics sampler and just knew the black and white patterns would look amazing on a shirt (and a million other things). Cricut currently offers 9 different sampler packs in different colors and patterns! The packs include 3 – 12 x 17″ sheets that are fun to mix and match with. This stuff if so much fun to craft with, I want all the patterns!
Living in Arizona, we love us some saguaros cactus. I combined my love of the desert with my love for the 90’s (MC Hammer wrote a song called “U Can’t Touch This”) to create a shirt. Side story, but a college friend somehow ended up with MC Hammer’s old cell phone number and receives all sorts of hilariously random (and sometimes not so appropriate) calls. Be glad you don’t have a rap star’s old phone number, turn up those 80’s jams and let’s get crafting!
SUPPLIES
Baseball Shirt or T-Shirt
Cricut Patterned Iron On
Cricut Iron On Lite (black)
Cricut Maker
Cricut EasyPress and NEW Cricut EasyPress Mat (or iron)
TUTORIAL
Step 1: Grab your supplies online at Cricut.com. Click on “shop” and start loading your cart. Don’t forget to browse the pretty Cricut Patterned Iron On. I want it all! If you don’t already have one, I highly recommend getting the Cricut EasyPress and EasyPress Mat. They make iron on projects super easy to create!

Step 2: Once you have your supplies on hand, open up the Cactus “Can’t Touch This” Shirt Cut File in Cricut Design Space. You can resize the image and text depending on how large of a shirt you are making.
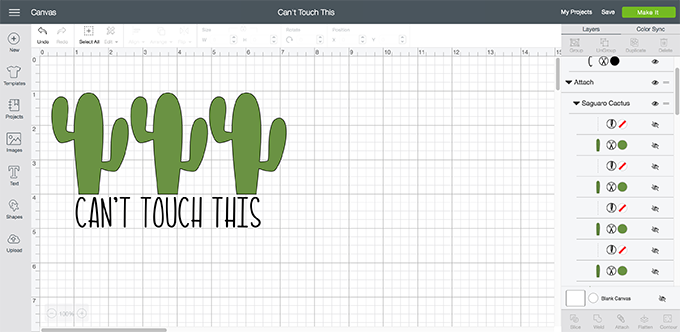
Step 3: Make sure your Cricut Maker is ready to go. Click “Make It” in the upper right corner. Make sure that “Mirror” is turned on for both cuts. First, place a piece of black Cricut Iron On Lite (shiny side down) on a standard mat and make your cut. Next, place a piece of Cricut Patterned Iron On (pattern side down) on a standard mat and make your second cut.


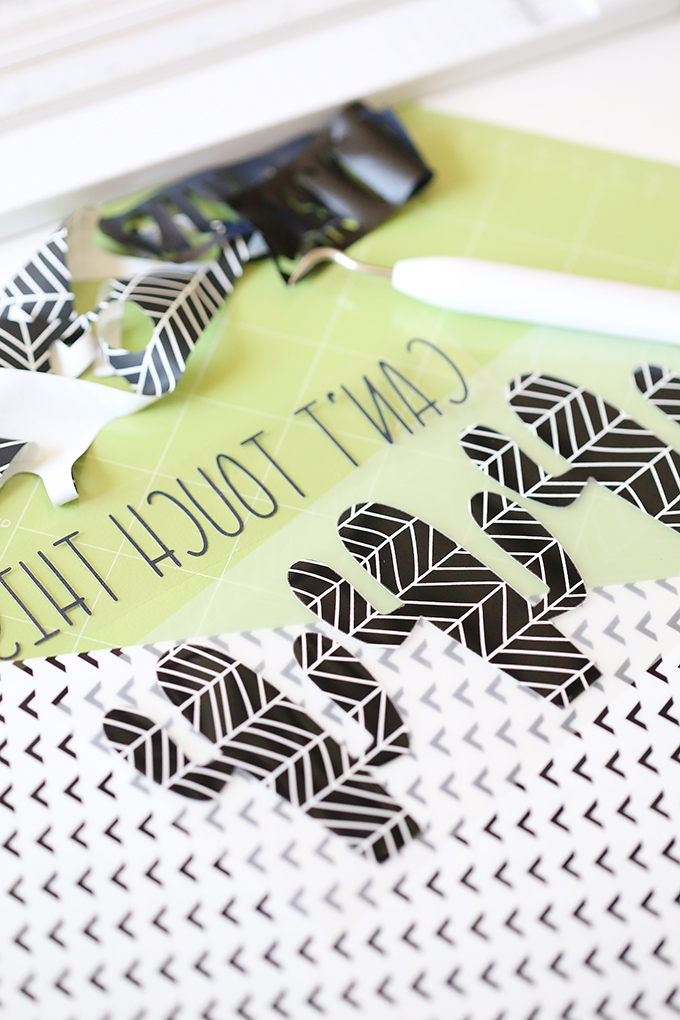
Step 4: Weed your images and text, removing anything that will not be going on the shirt.
Step 5: Preheat the front of the shirt, where the cut image will go, for 5-10 seconds using the EasyPress and EasyPress Mat. Apply the Cricut Patterned Iron On using the EasyPress at 340 degrees for 50 seconds on the front of the garment and 15 seconds on the back of the garment, using firm pressure. Cold peel. Follow the EasyPress instructions for Cricut Iron On Lite to apply the black text (make sure to press the material with the higher settings first).

If using a regular iron, preheat the area of the material in which you will be applying your cut image for 5-10 seconds. Cotton setting for 50 seconds on the front of the garment, 15 seconds on the back of the garment, using firm pressure. Cold peel. Follow the Cricut Iron On Lite package instructions to iron on the text (make sure to iron the material with the higher settings first).

Step 6: Allow the clear iron on liner to completely cool before cool peeling the liner off. Removing the liner before it cools may cause the design to stretch or warp during removal.


Step 7: Your shirt is ready to wear while singing “Can’t Touch This” while doing your very best MC Hammer impression.


Visit Cricut.com for more crafty inspiration! What will you be making with Cricut Patterned Iron On?
You might also like these ideas:
Little Miss Independent Foil Shirt
Glitter Iron On Bridal Survival Kit
Teaching is My Jam Foil Tumbler and Shirt
This is a sponsored conversation written by me on behalf of Cricut. The opinions and text are all mine.


